Category Archives: Salads

Around the World – Turkey: Kısır, Bulgur Salad

Around the World – Turkey: Kısır, Bulgur Salad

Hey guys!

Today I have a yummy salad recipe for you! Kısır is a Turkish bulgur salad packed with tomatoes, cucumbers, onions and lots of herbs! It is very refreshing any delicious!

Around The World, Week by Week: Turkey - Kısır, Bulgur Salad by gingerlemonandspice

I have lots to do today, so I’m a little short about words 😉 Just look at all the yummy pictures and then run to the kitchen and make this yummy salad! That’s what I’ll do at least, as I am invited to a goodbye party this evening and I will make this salad again for tonight.

Around The World, Week by Week: Turkey - Kısır, Bulgur Salad by gingerlemonandspice

It is very delicious, with all the herbs and exotic flavors and healthy as well! it keeps in the fridge for several days, so why not make this ahead and eat throughout the week?

Around The World, Week by Week: Turkey - Kısır, Bulgur Salad by gingerlemonandspice

It is great mixed with lettuce leaves too – I didn’t even need aditional dressing, the bulgur itself has enough flavor!

And if you want to read more about Turkey don’t forget to look for the other posts of this series below after the recipe!

Around The World, Week by Week: Turkey - Kısır, Bulgur Salad by gingerlemonandspice

Have you been to Turkey yourself? Have you enjoyed Turkish food? Do you have any questions about the country or the people? Just leave me a comment below! 🙂

Around The World, Week by Week: Turkey - Kısır, Bulgur Salad by gingerlemonandspice

Kısır, Bulgur Salad
 
Prep time
Total time
 
A great salad to feed lots of people! Perfect for an appetizer, main dish or snack.
Author:
Recipe type: Salad
Cuisine: Turkish
Serves: 8
Ingredients
  • 200g fine bulgur (köftelik bulgur - in Turkish Shops)
  • 200ml boiling water
  • 5 green onions
  • 2 pointed peppers
  • 1 red onion
  • 10 small tomatoes
  • 1 cucumber
  • 2 handfull fresh herbs (parsley, dill, mint)
  • 1 tablespoons salca (red pepper paste - in Turkish Shops)
  • 1 tablespoon tomato paste
  • Juice of one lemon
  • 5 tablespoons pomegranate syrup (in Turkish Shops)
  • 5 tablespoons olive oil
  • 1 teaspoon salt
  • 1 teaspoon black pepper
  • a pinch of chili (pul biber spice)
  • optional: lettuce hearts
Instructions
  1. Put the bulgur into a big bowl and pour the hot water on top. Put a lid (or a big enough plate) on top to seal and let sit for 20 minutes.
  2. Meanwhile chop onions, pepper, tomatoes and cucumber into small cubes. Chop herbs very finely. Set aside
  3. Mix bulgur with salca, lemon juice, olive oil, salt, pepper and pomegranate syrup very well. Put the vegetables and herbs in and mix.
  4. For serving you can leave the salad in the bowl and decorate with tomatoes and parsley or you can arrange the salad on lettuce leaves!

 Afiyet olsun!!


Here are the other recipes I shared during this series:

An Introduction to the new series

Appetizer – Sigara Böreği

Main Dish – Köfte, Cacık & Pirinç Pilavı

Dessert – Künefe

Drink – Ayran

Pastry – Kurabiye

Snack/Fast Food – Lahmacun

Guest Post – Acılı Ezme


Around The World, Week by Week: Turkey - Kısır, Bulgur Salad by gingerlemonandspice

Have a great day!

~ Kathrin

Guest Post: Pulled Pork, Magic Dust and Coleslaw by Tobias

Guest Post: Pulled Pork, Magic Dust and Coleslaw by Tobias

Hi guys!

Today I have something very special for you: The very first guest post on my blog!!

It is even more special because it is my brother Tobias who took the time to write this post and say hi to you!! He is a very passionate cook too, especially barbecuing is something he really likes and celebrates!

me and my brother

Please give him a warm welcome and don’t be shy with comments!! Who knows – he might come back and whip something up for us again 😉

Have fun bro! 🙂


Hi,

This time it’s my turn! I’m making a guest article for my Sister!

I absolutely love barbecuing so that’s why my recipe is about one of the most difficult category of BBQ: Pulled Pork. It’ is pork which is smoked for 12 hours between 90 – 120 °C, 100°C are perfect. In the end it’s incredibly delicate, so you can easily pull the meat fibres apart.

I made it yesterday with some friends and it was absolutely fantastic. But first things first:

We started with three 3 pork shoulders (Two with about 1,3 kg and one with 1,6 kg). They have to be marinated one day before start barbecuing for the best tasting experience. So I coated it really thin with medium-hot mustard and then rubbed it with my absolute favourite spice “Magic Dust”.

Actually it IS absolute magic! You should always keep a spice shaker next to your Barbecue: It’s fantastic with pork, whatever part of it. Unfortunately the recipe is top secret so I can’t tell you the ingredients, sooo…. aahh what the heck:


Magic Dust

Magic Dust

Ingredients

  1. 6 Parts Paprika mild
  2. 2 Parts Paprika hot
  3. 2 Parts Garlic
  4. 1 Parts Mustard seeds light
  5. 1 Parts Mustard seeds dark
  6. 4 Parts Sugar brown
  7. 4 Parts Salt
  8. 2 Parts Pepper black
  9. 1 Parts Cumin
  10. 2 Small hot Chilies

Directions

  1. The Ingredients should be in the shape of powder and dry. I prefer using whole pepper and whole cumin and grind it myself for better taste and the whole taste of the essential oil. Just mix everything together!
http://gingerlemonandspice.com/2013/07/pulled-pork-magic-dust-and-coleslaw/


Back to topic: After rubbing it, the pork should be dry outside, so you should use a real lot of the magic dust. It can use it!

Now wrap it with foil and keep it in the fridge for at least 12 hours. The longer you keep it the better it is!


But what about the Hardware I use?

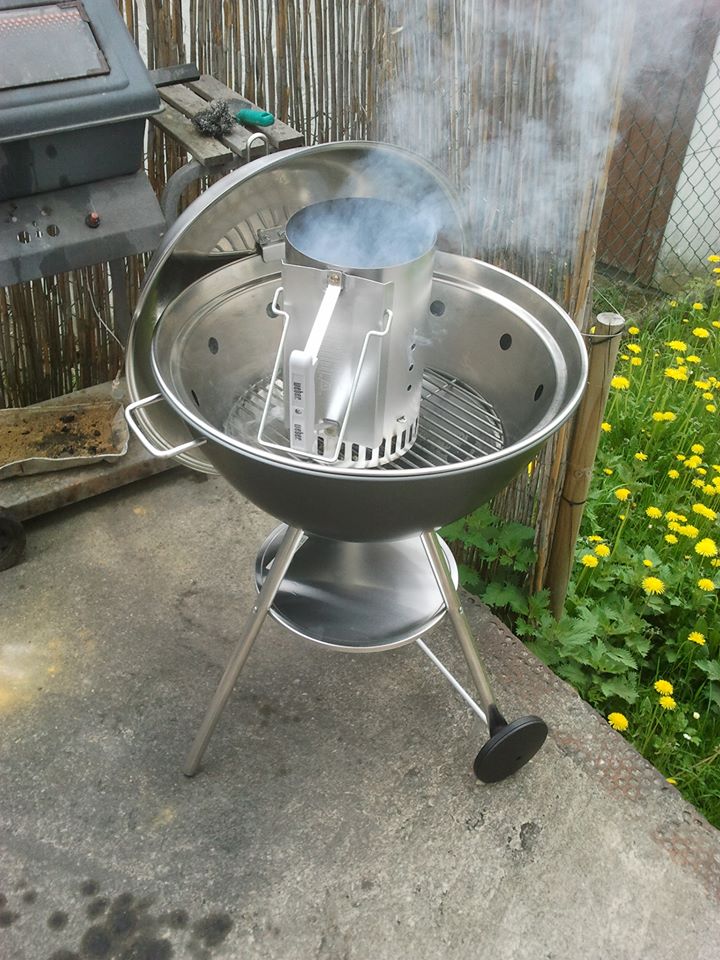
I got a Kettle Barbecue grill from Dancook the Dancook 1400. It has a fantastic technique which helps saving charcoal, for further informations just google it! There are some good tests about it!

For charcoal I used Profagus Brekkies. There are completely made out of beech from the last charcoal factory in Germany. They are one of the best on the market. High and long heat, easy to light and they don’t smoke!

For lighting I use the Weber rapidfire chimney starter. I put one egg carton and a paraffin cube underneath it and it glows in 10min.

Pulled Pork, Magic Dust and Coleslaw from gingerlemonandspice

Furthermore I have a Maverick ET-732 for BBQ-temperature and food-temperature control and a Smokinator grill attachment. With this Smokinator you can perfectly keep the BBQ Temperature at about 100 °C.


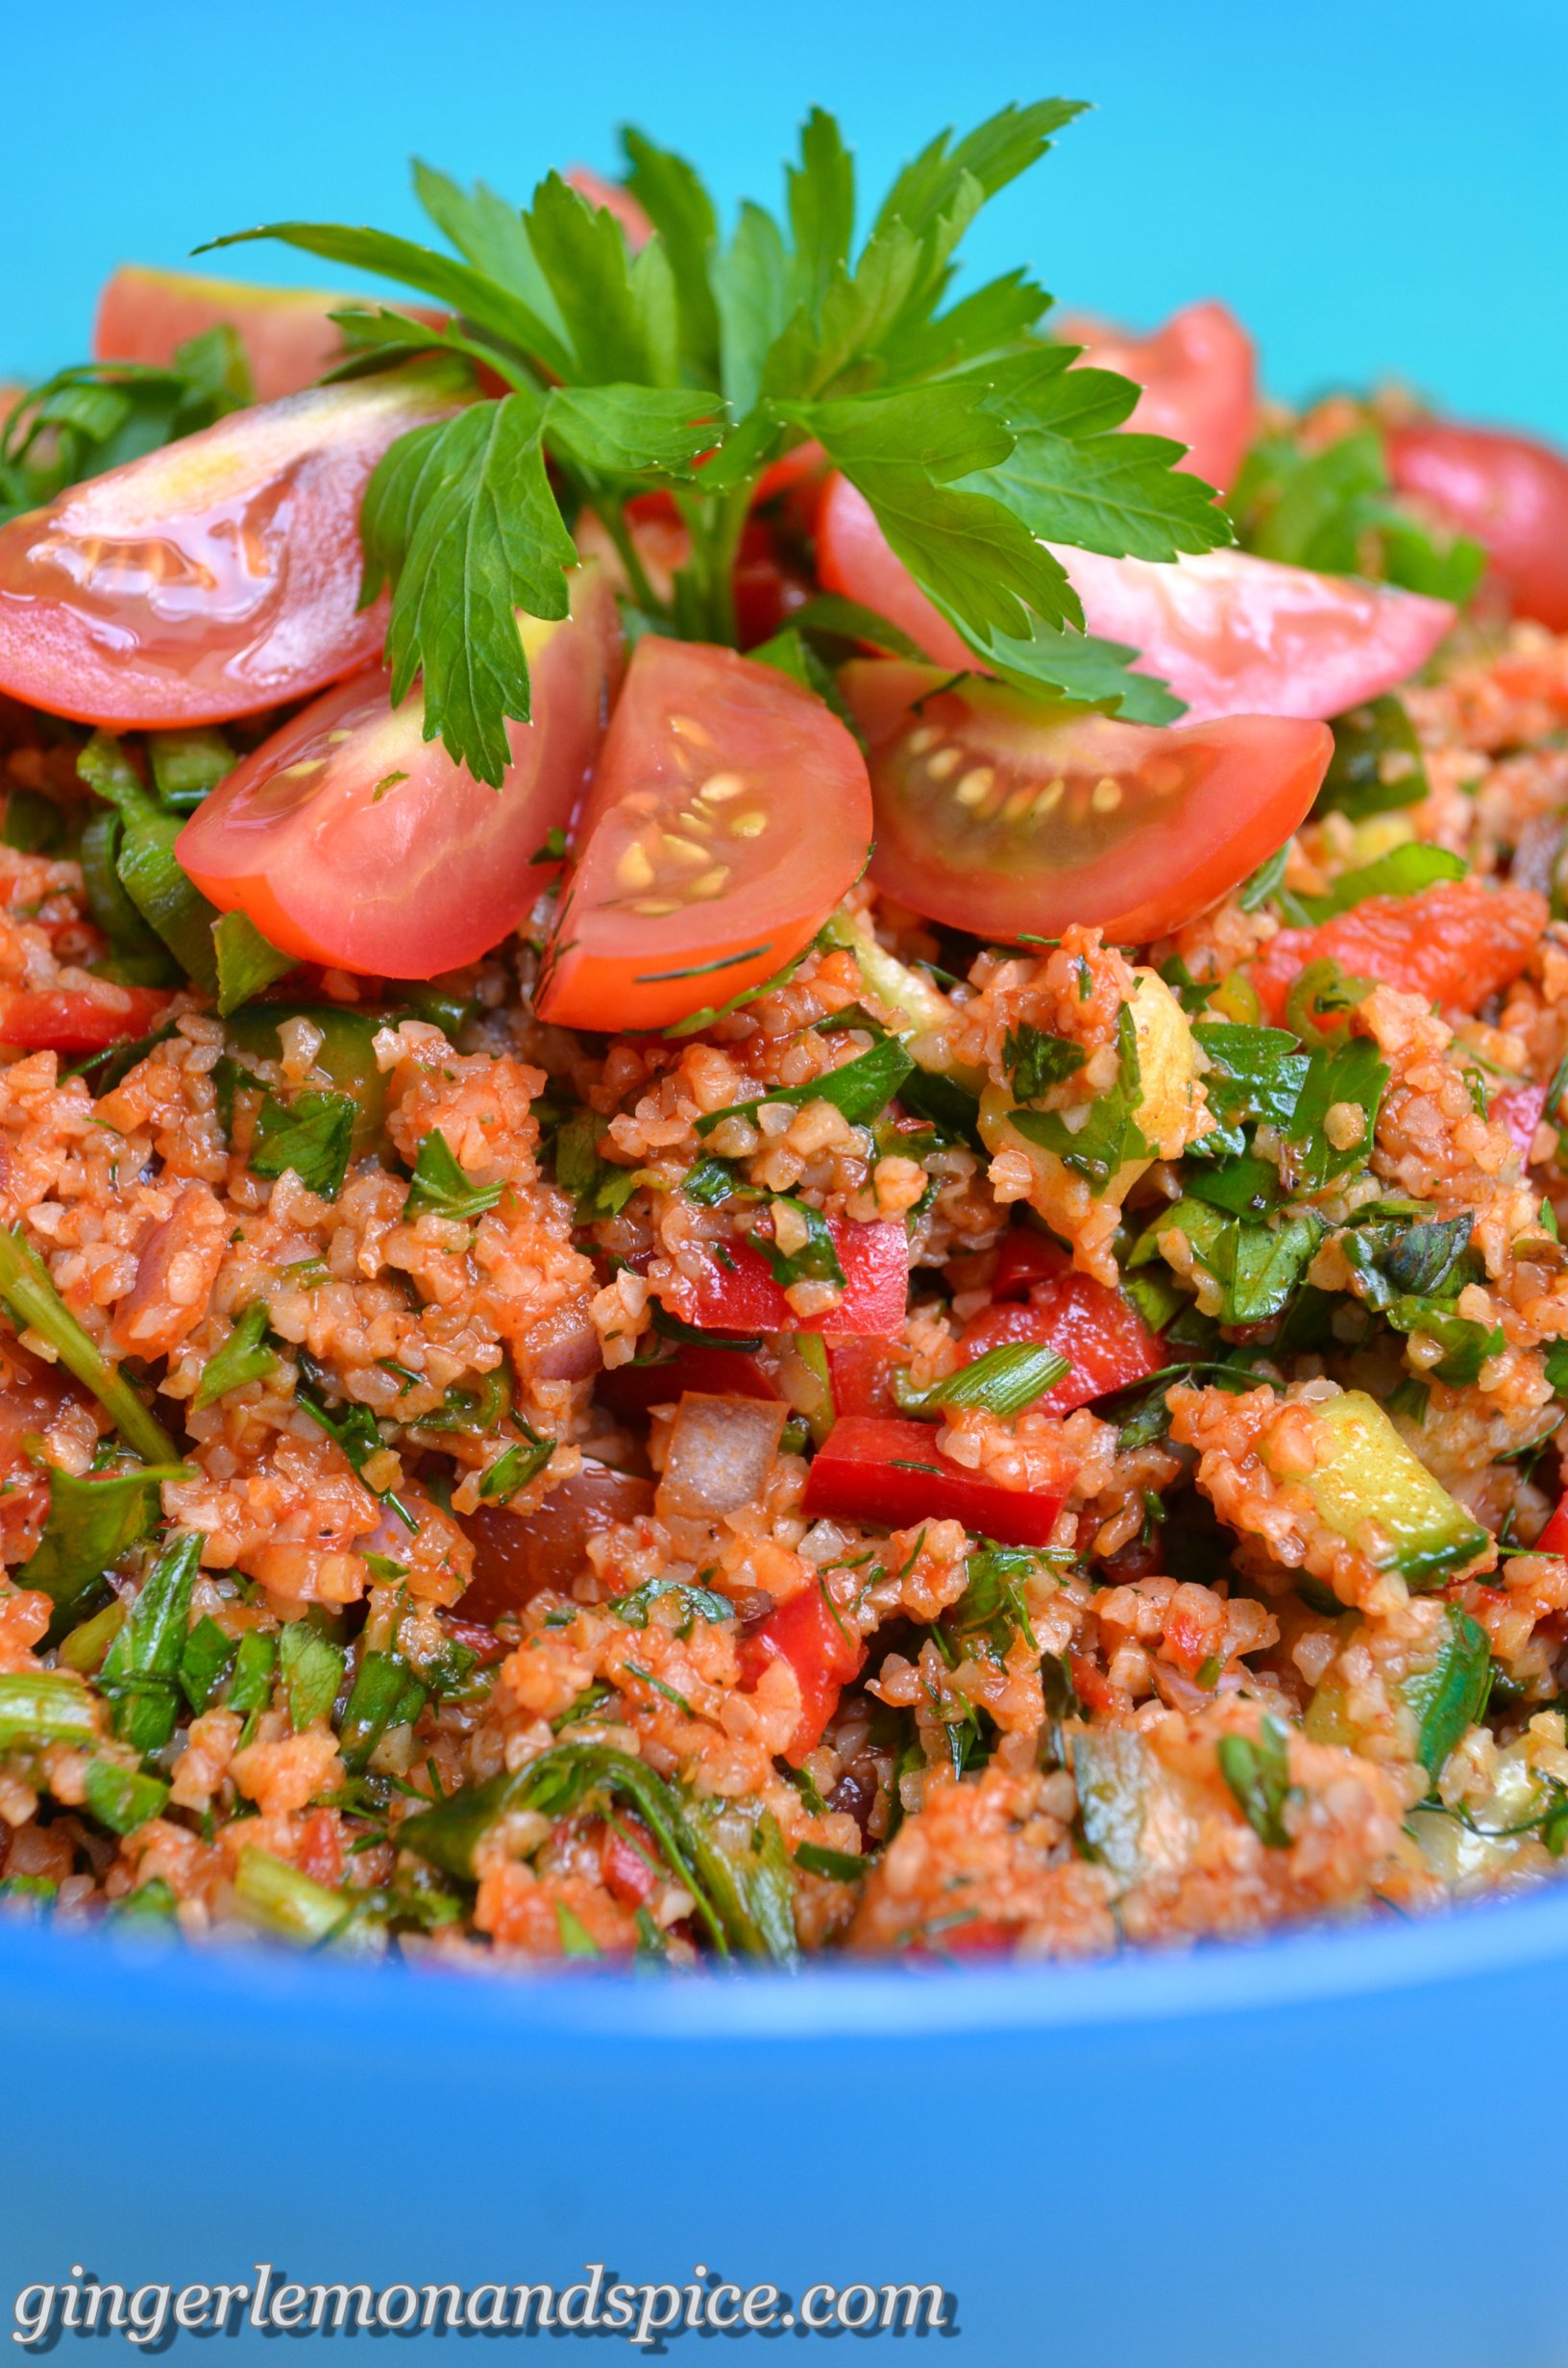
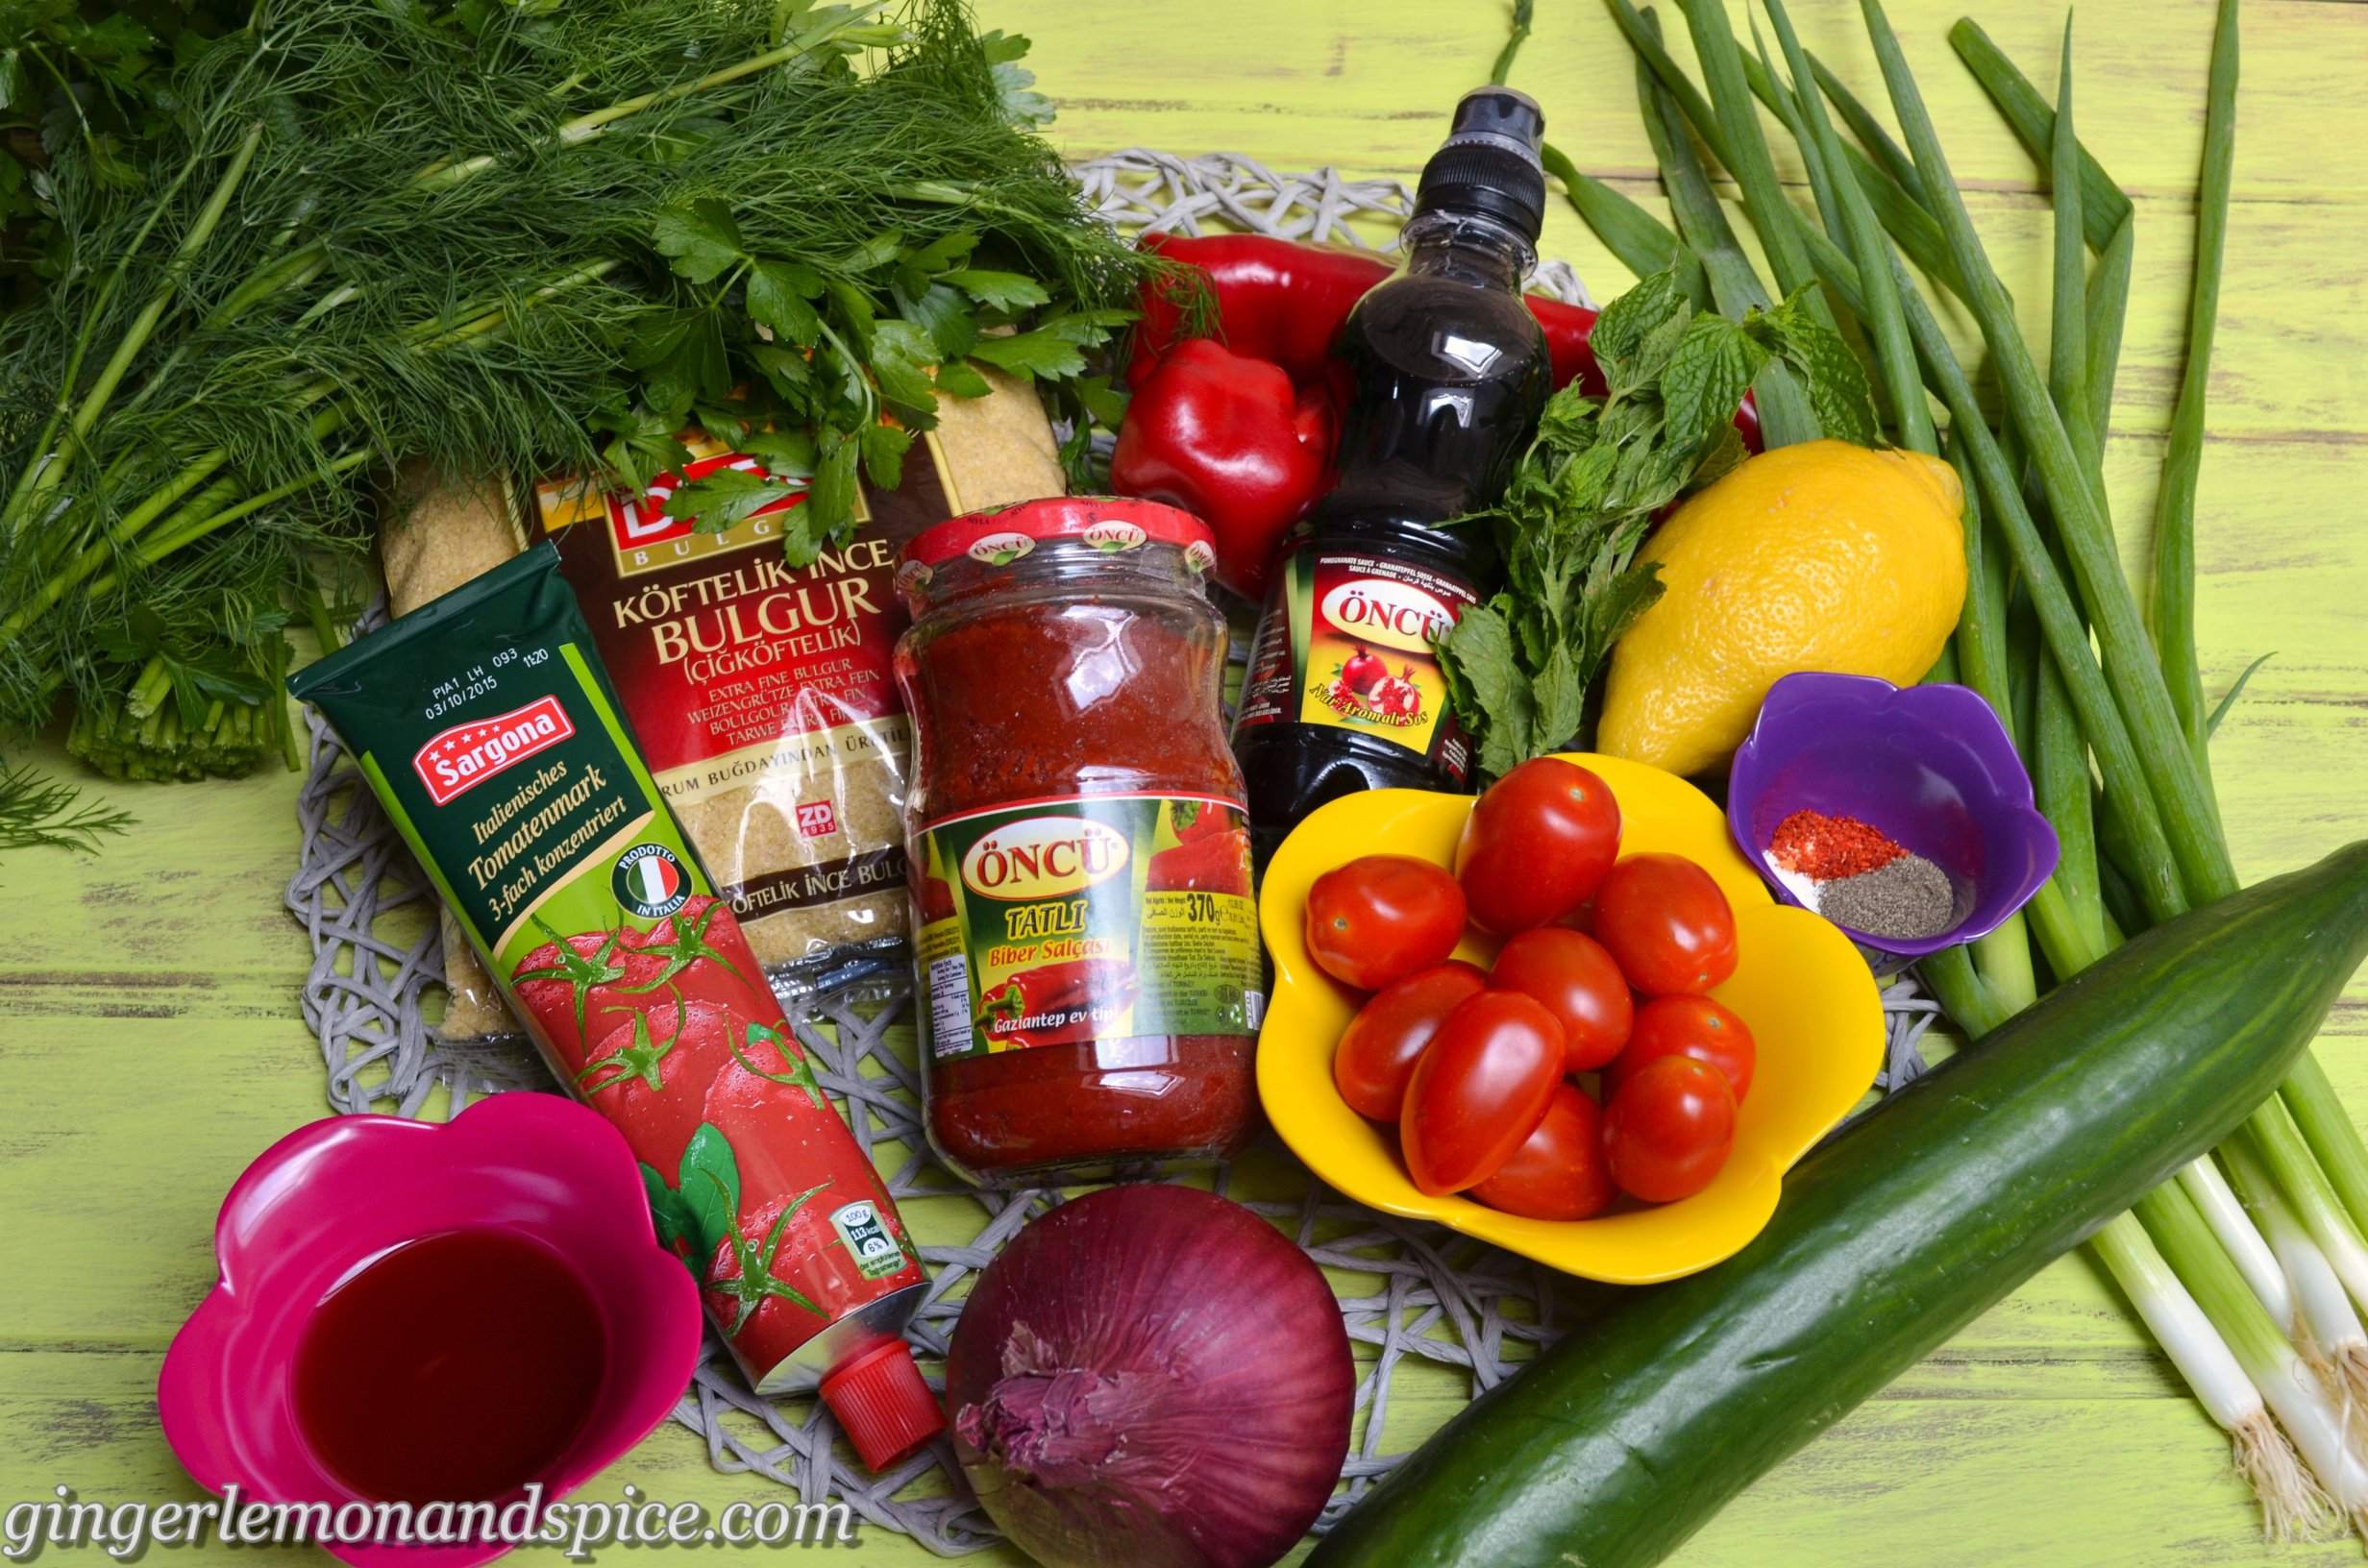
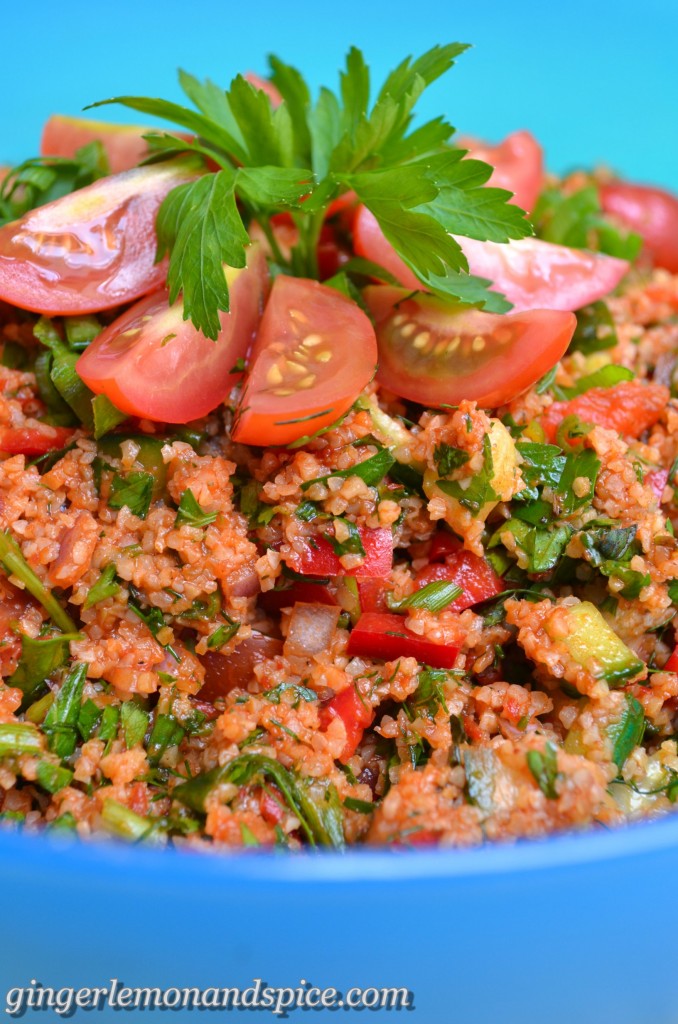
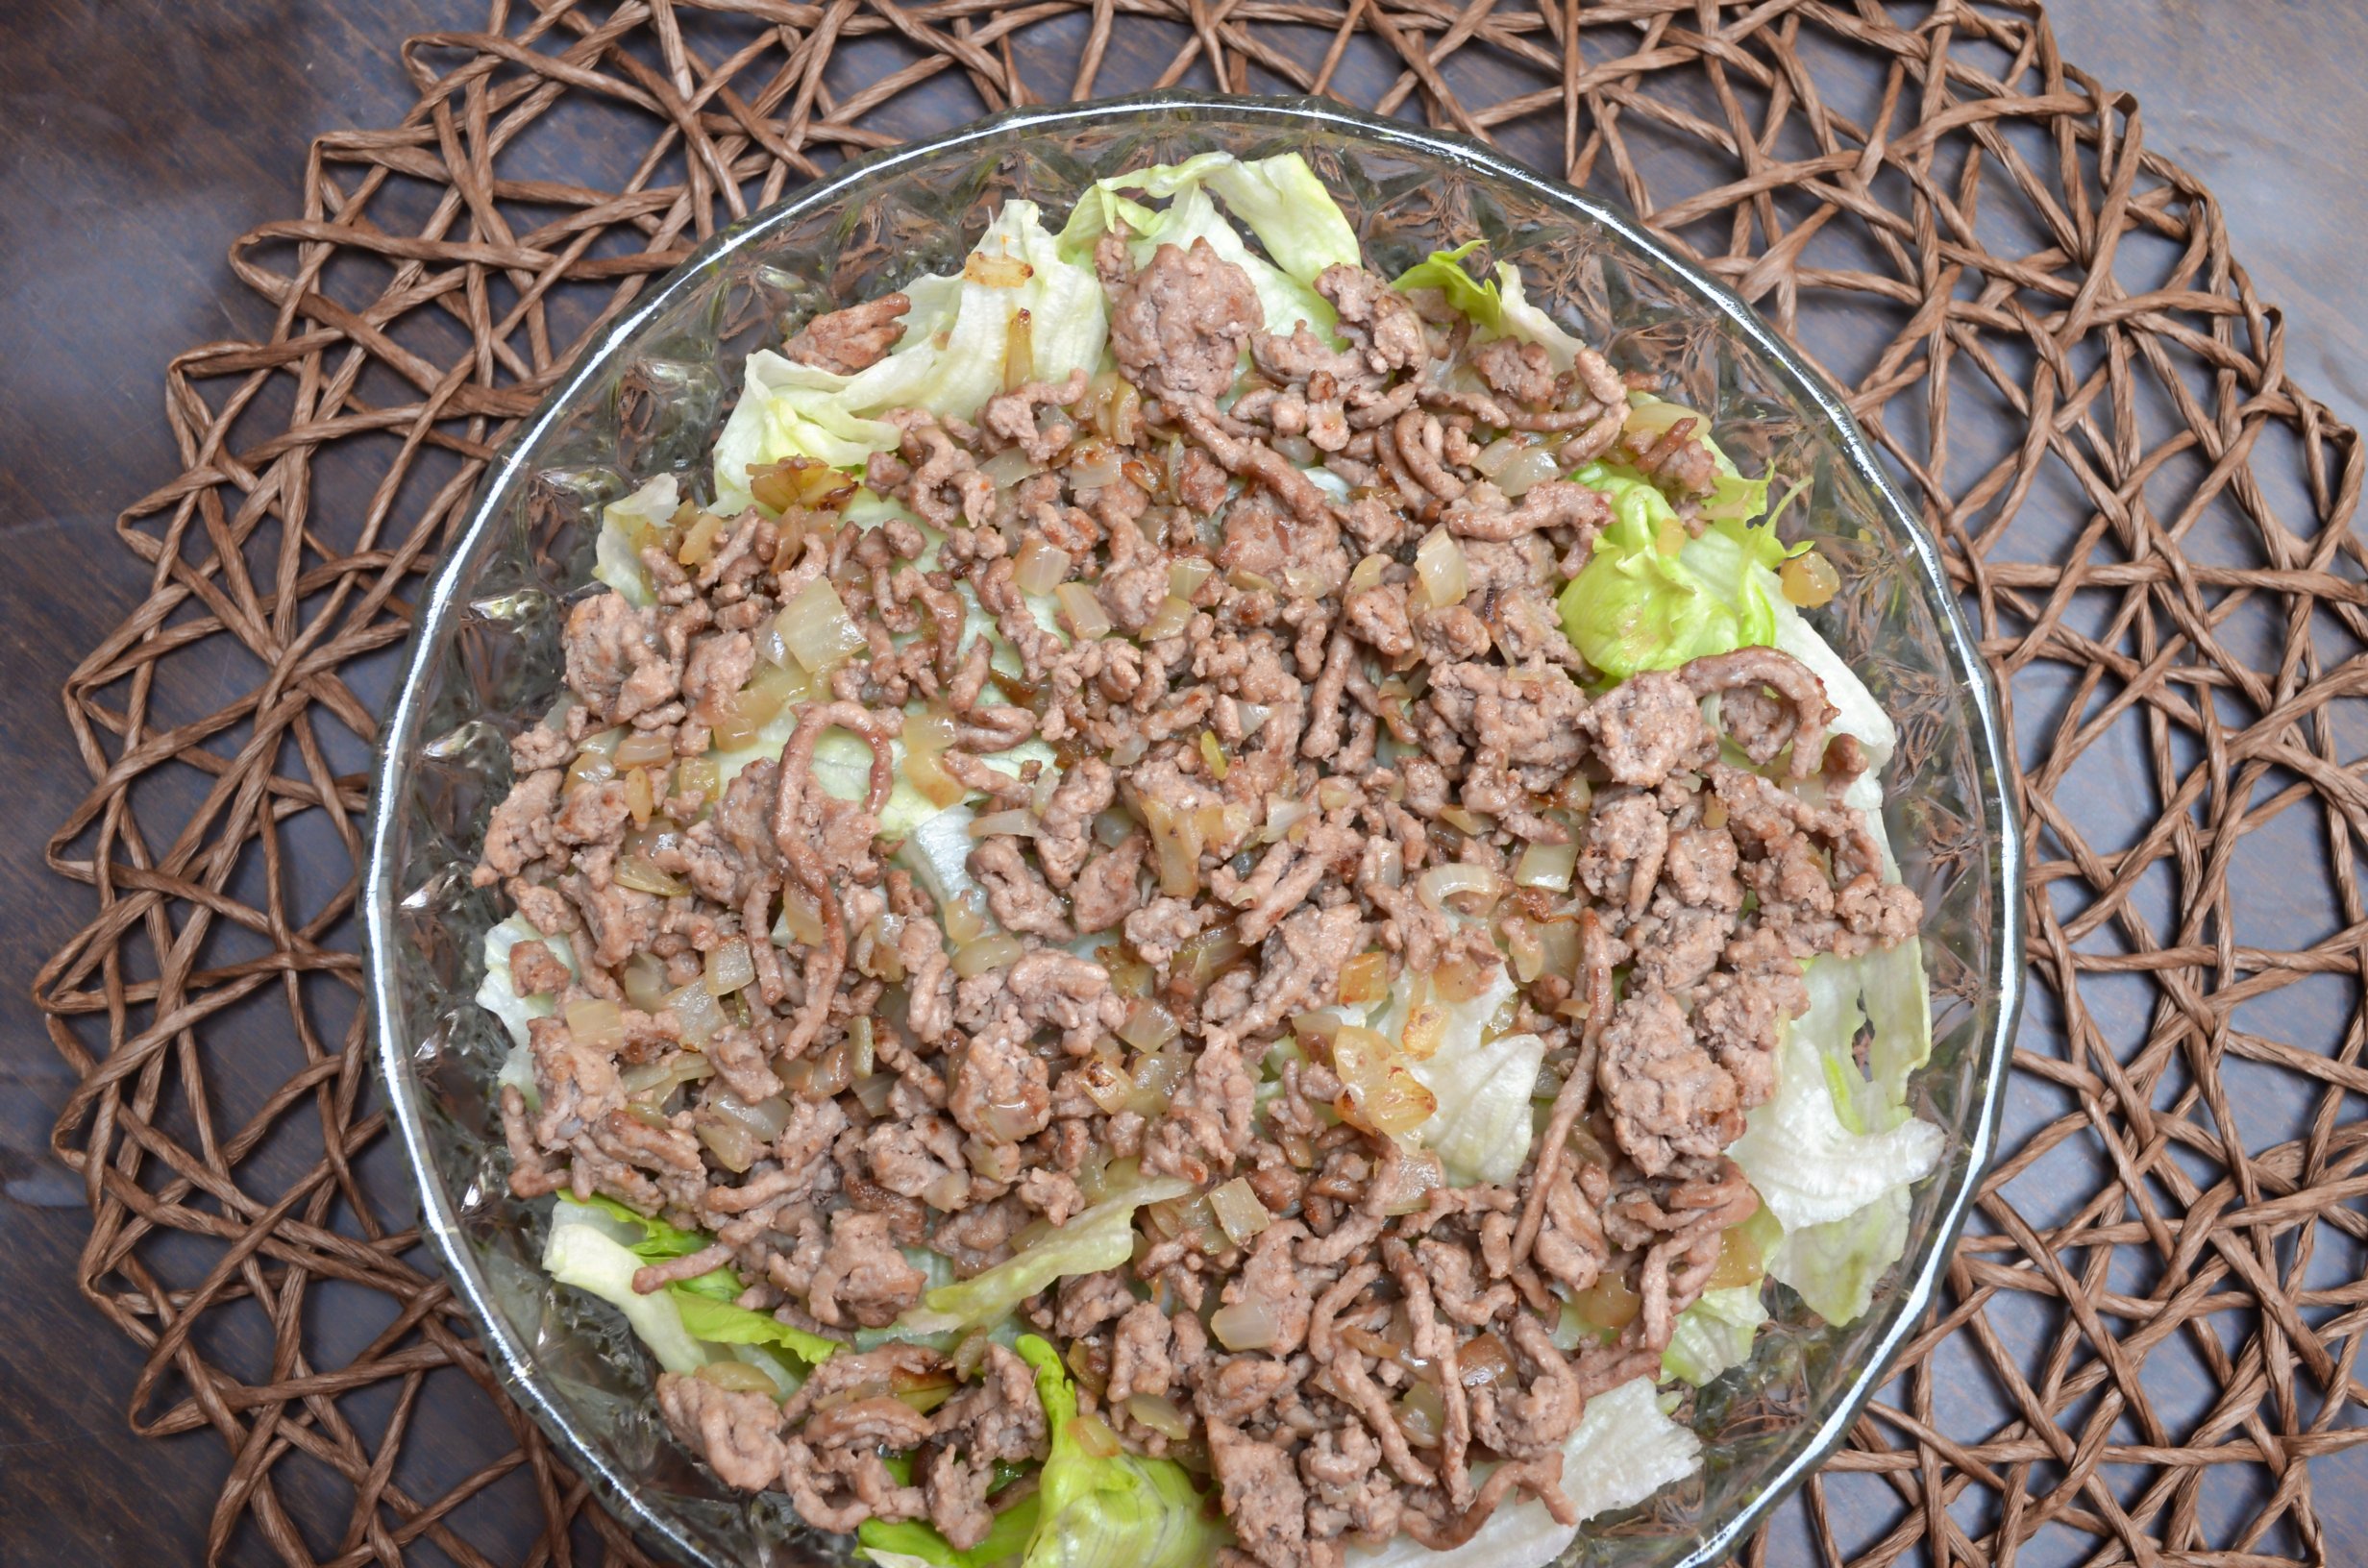
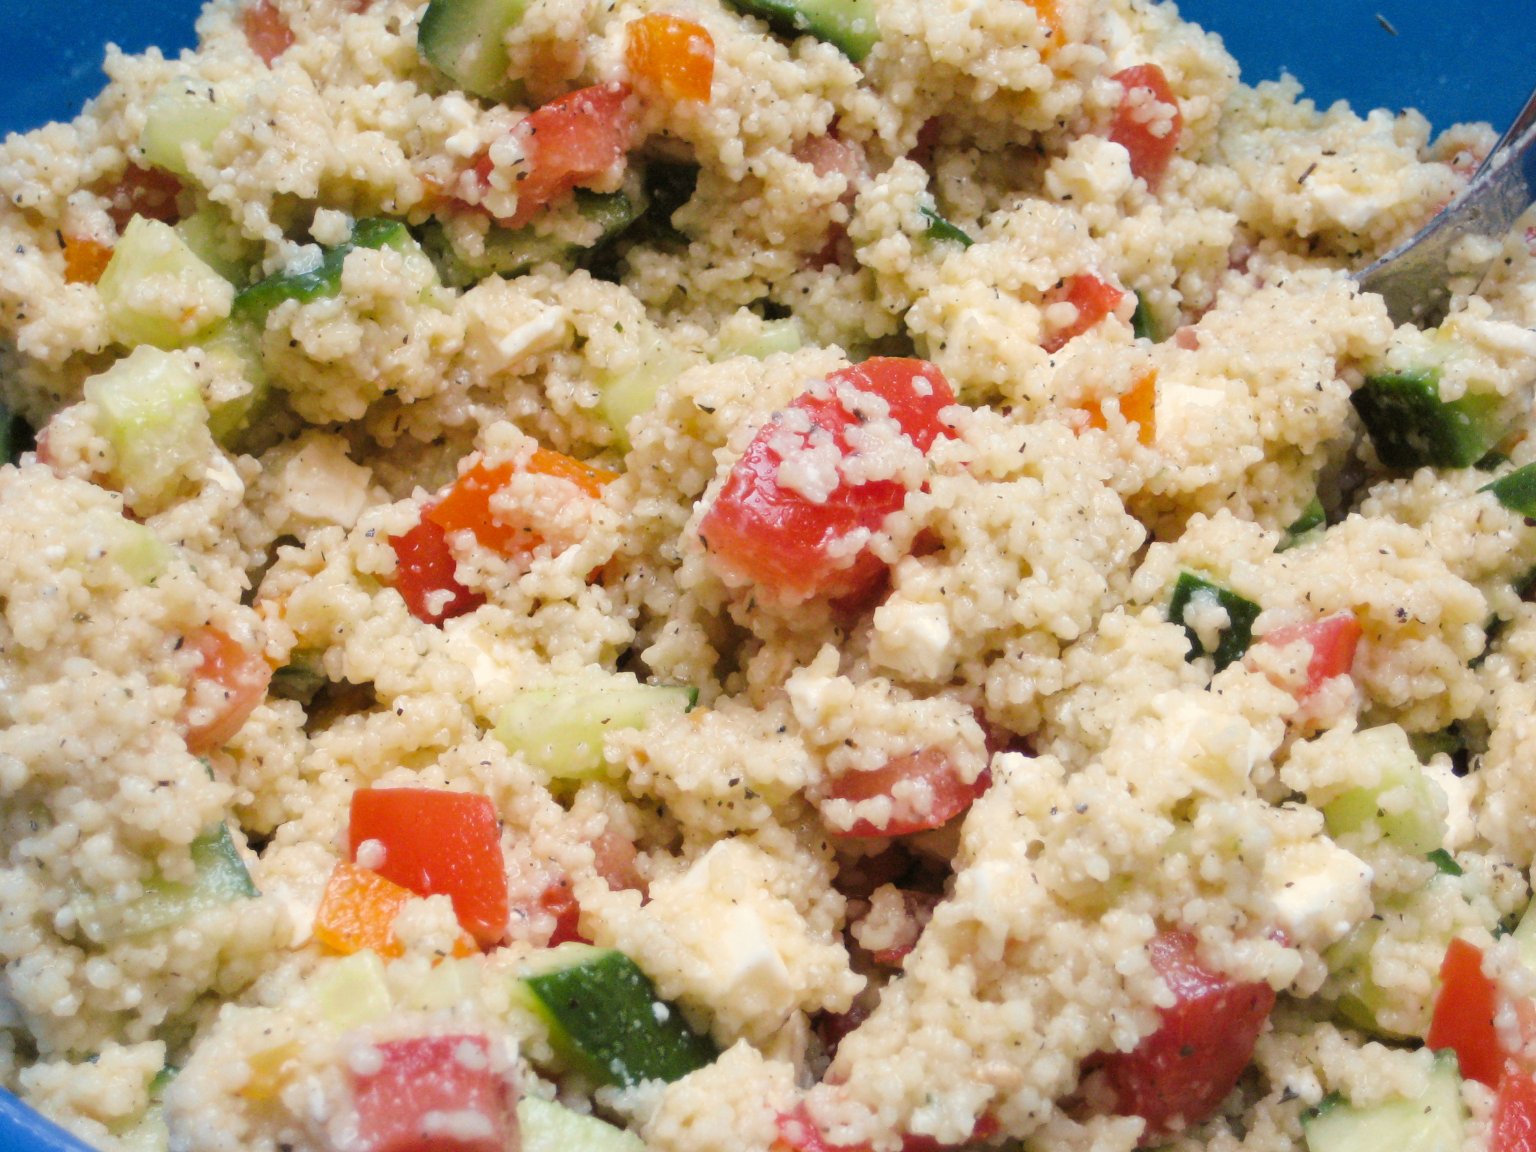
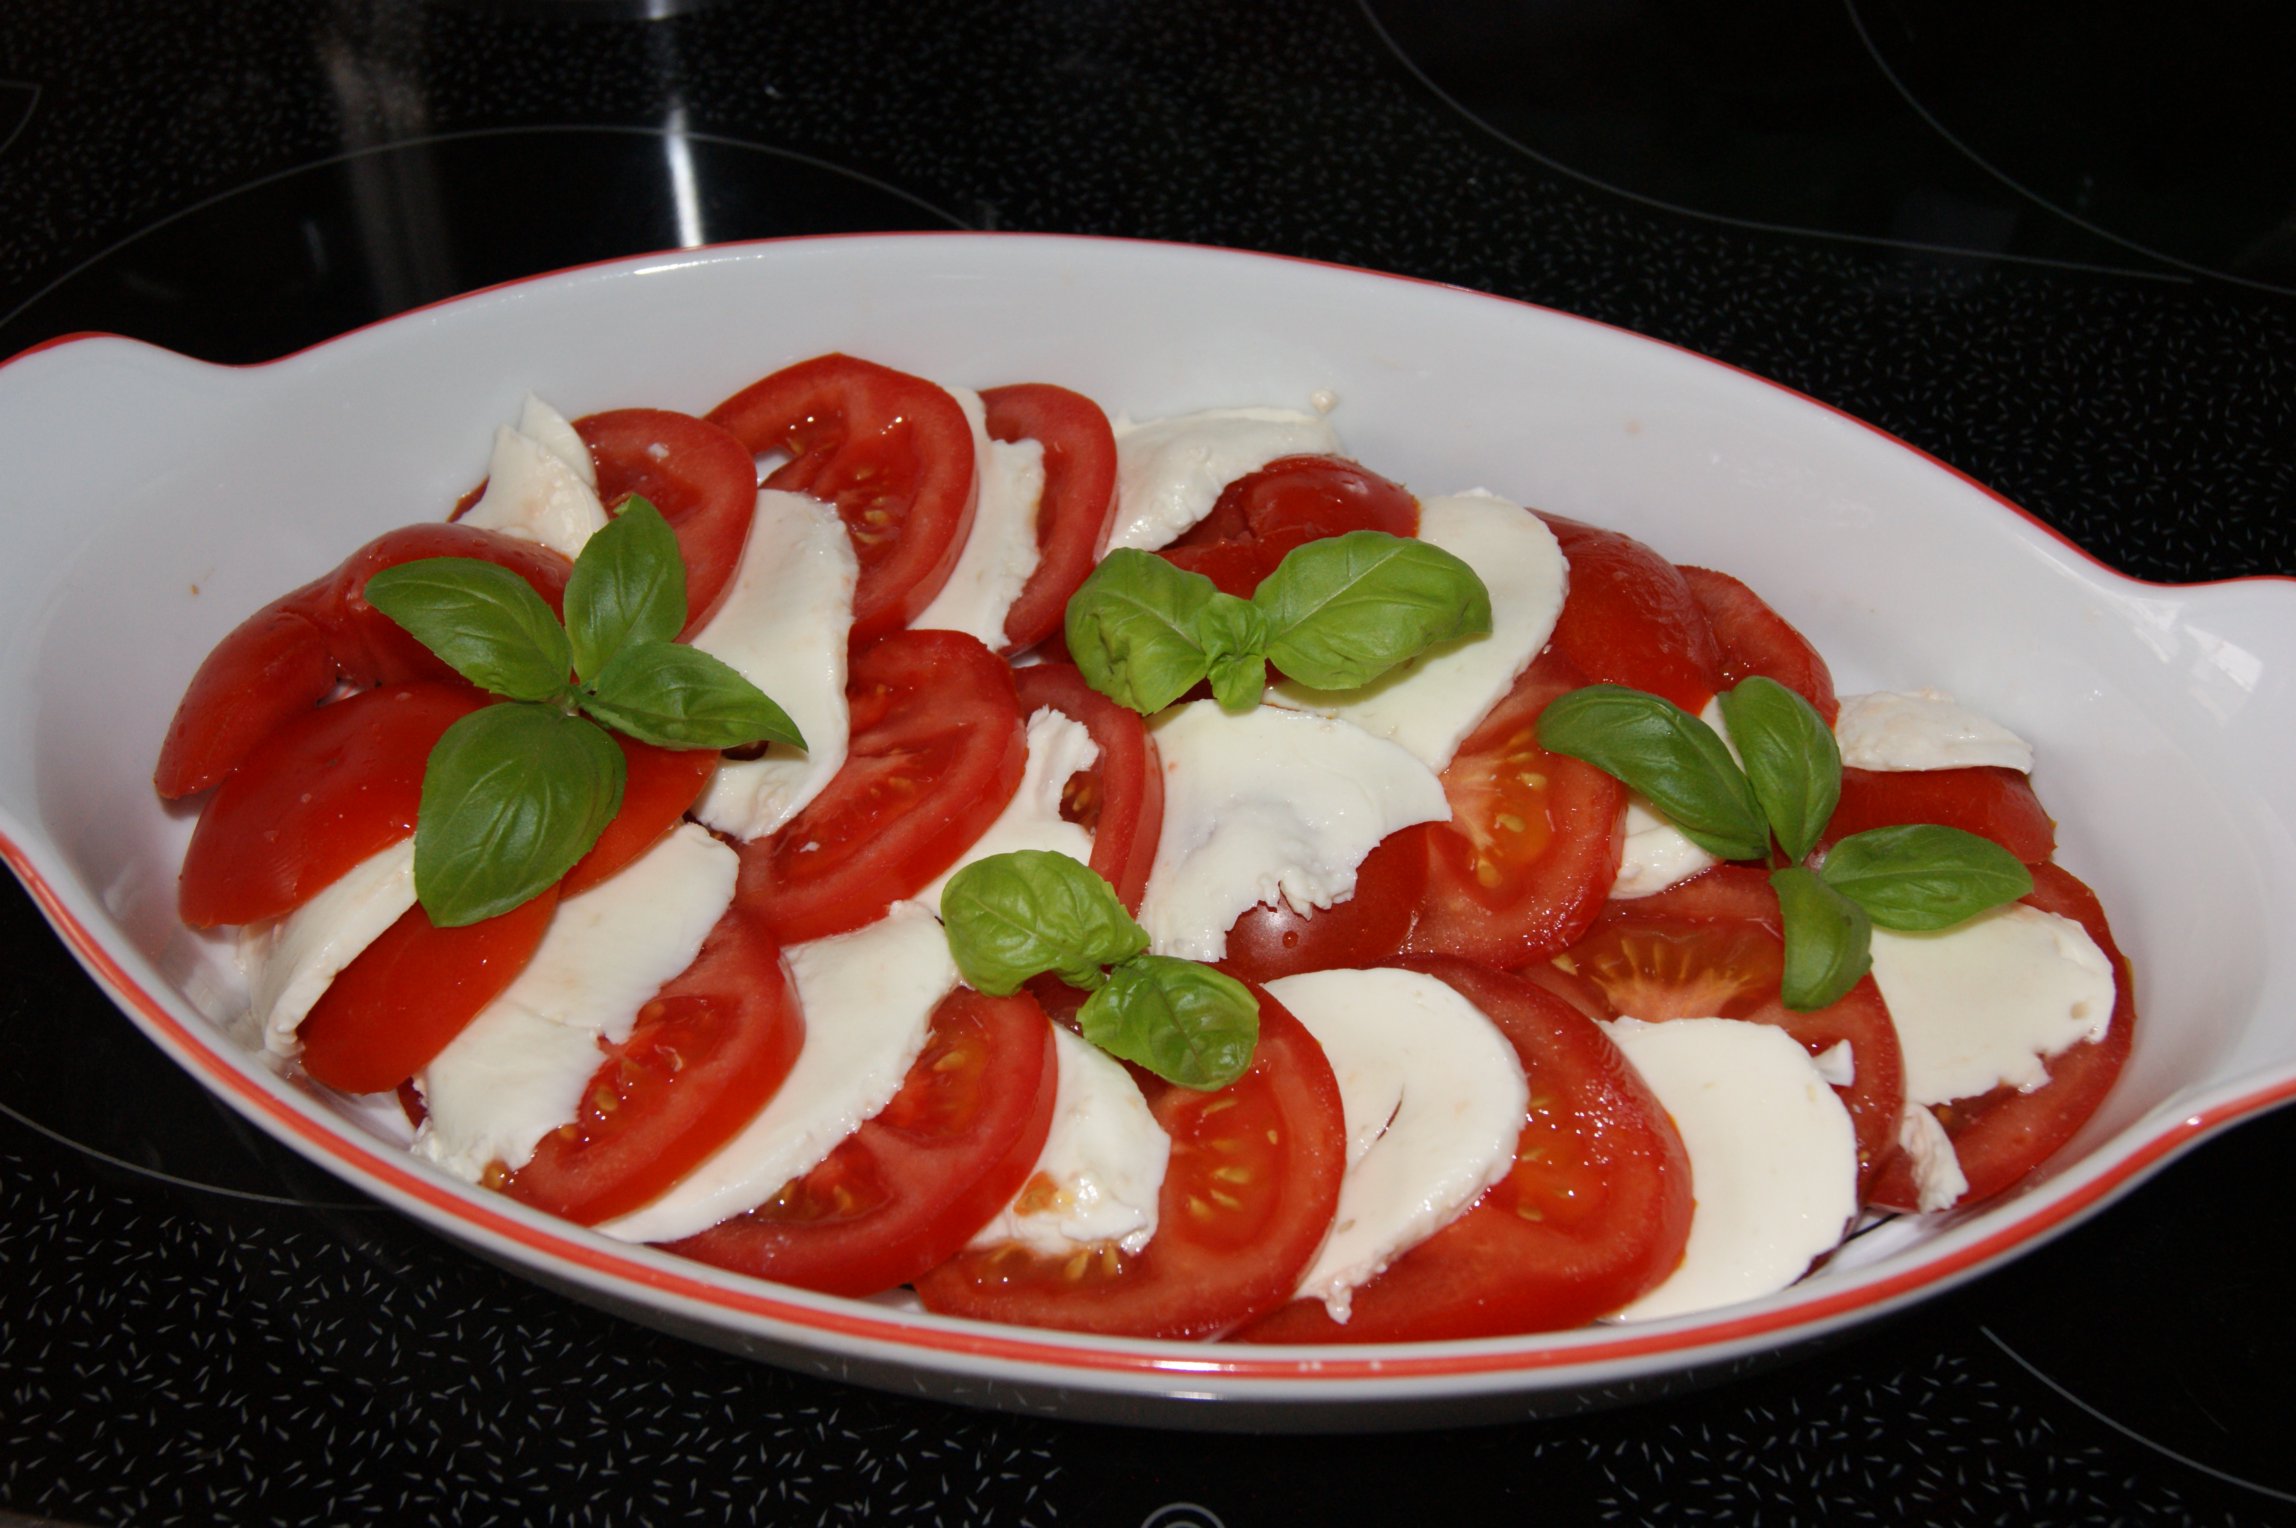
Beside the Meat we wanted Coleslaw, so I made one a day before, also like my favourite recipe.

Toby's Coleslaw

Prep Time: 20 minutes

Total Time: 20 minutes

Toby's Coleslaw

Ingredients

  1. 1 white cabbage
  2. 2 onions
  3. 1 Cup Oil sunflower
  4. 1 Cup Spice vinegar
  5. 1 Cup Sugar
  6. Pepper, Salt, caraway,

Directions

  1. Slice cabbage and onions.
  2. Heat oil, vinegar, sugar and spices and pour it hot over the vegetables.
  3. Keep it for a few hours while mixing it every once in a while.
http://gingerlemonandspice.com/2013/07/pulled-pork-magic-dust-and-coleslaw/

On the next day I started at 4:30am with lighting up the charcoal. It was 5:00 am when the Pork got on to the Barbecue. Use about two hands of watered beech on the charcoal for a great smoky flavour. The meat only gather the smoke in the first few hours!

Pulled Pork, Magic Dust and Coleslaw from gingerlemonandspice

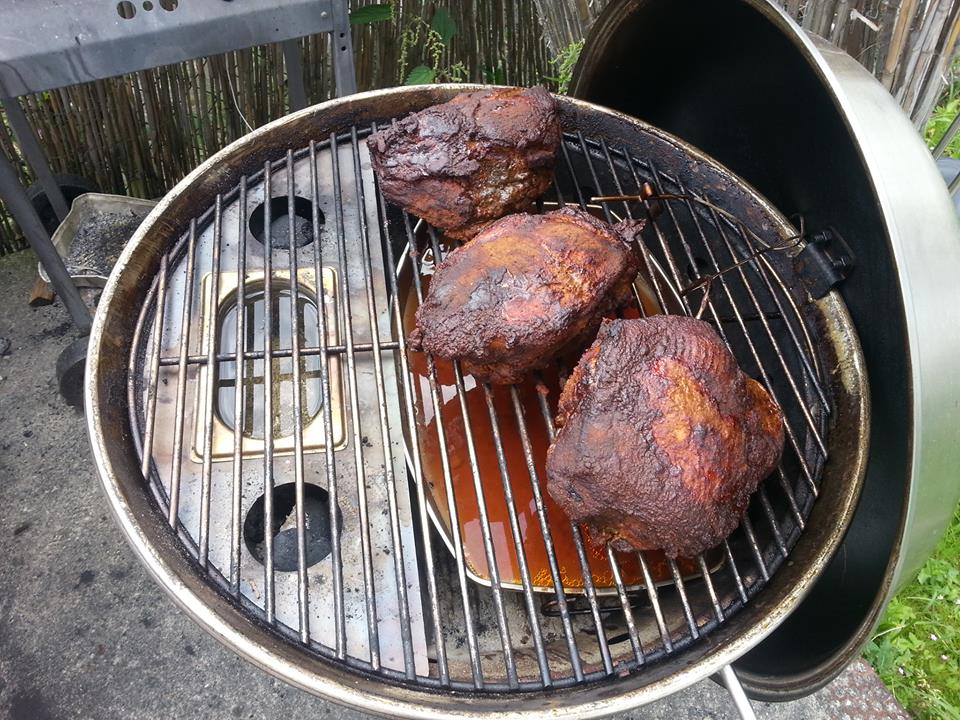
This Picture was made after 5 hours. On the left side you see the Smokinator with the charcoal inside. The bowl underneath the meat is for the juice.

The Meat Temperature should get up to 94°C. When you try to do so, you will notice a strange phenomenon. The temperature rises in the first 4 hours from 10 to 60 °C but at about 65 °C it keeps a REALLY long time to rise over 70 °C. In my case it took another 4 hours to get over 70 °C. This is called the Stall.

It is because of the enthalpy of evaporation. This keeps the temperature the same as long as you have free liquid water in the meat, but there is a small simple trick to get it faster: wrap the meat with aluminium foil. With this trick you minimize the volume of the relevant cooking chamber, so the air is saturated with steam much faster. When the air is saturated, the process of evaporation and condensation is fulfilled much faster and the temperature rises again.

When the meat is at 94 °C its still wrap in aluminium foil, but before you start eating, let it some time to relax. The best way to do so is to take a big cooling box and put some glass bottles filled with boiling water on the bottom of it, put the wrapped meat on it and another layer of bottles. Keep it for half an hour so the juice can spread.

Now the “work” is done! 🙂

Pulled Pork, Magic Dust and Coleslaw from gingerlemonandspice

Take two forks and start pulling! It should be so delicate that it crumbles.

Pulled Pork, Magic Dust and Coleslaw from gingerlemonandspice

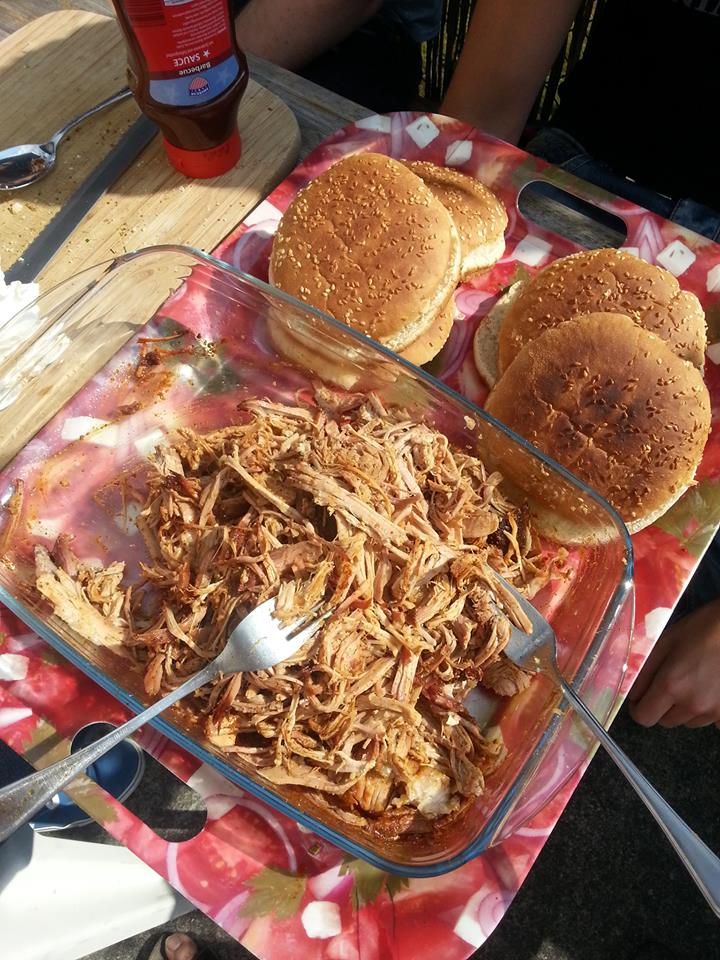
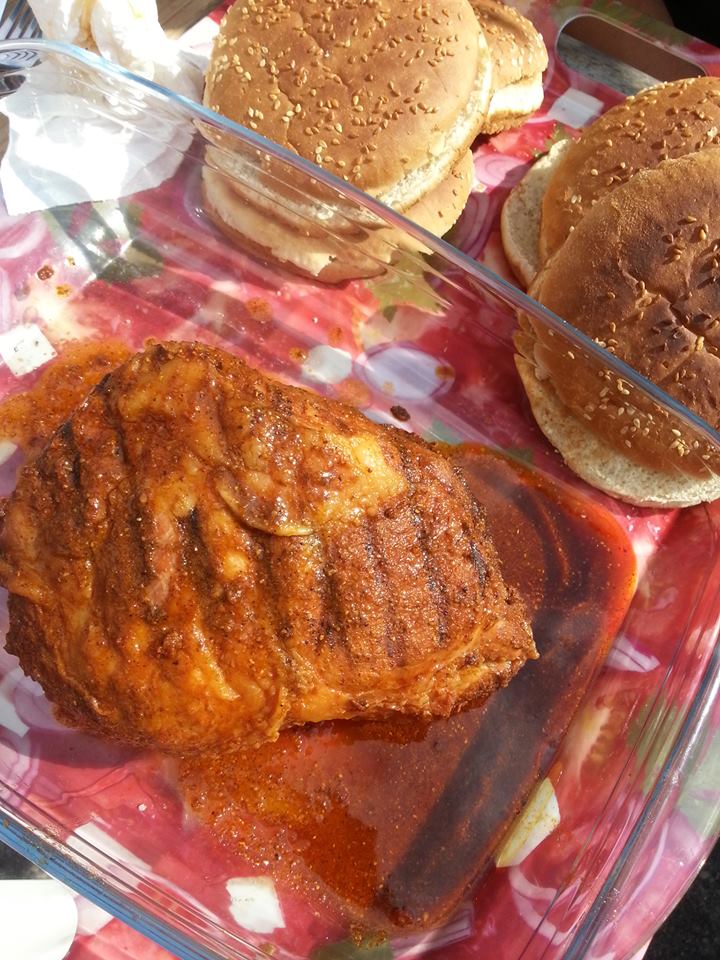
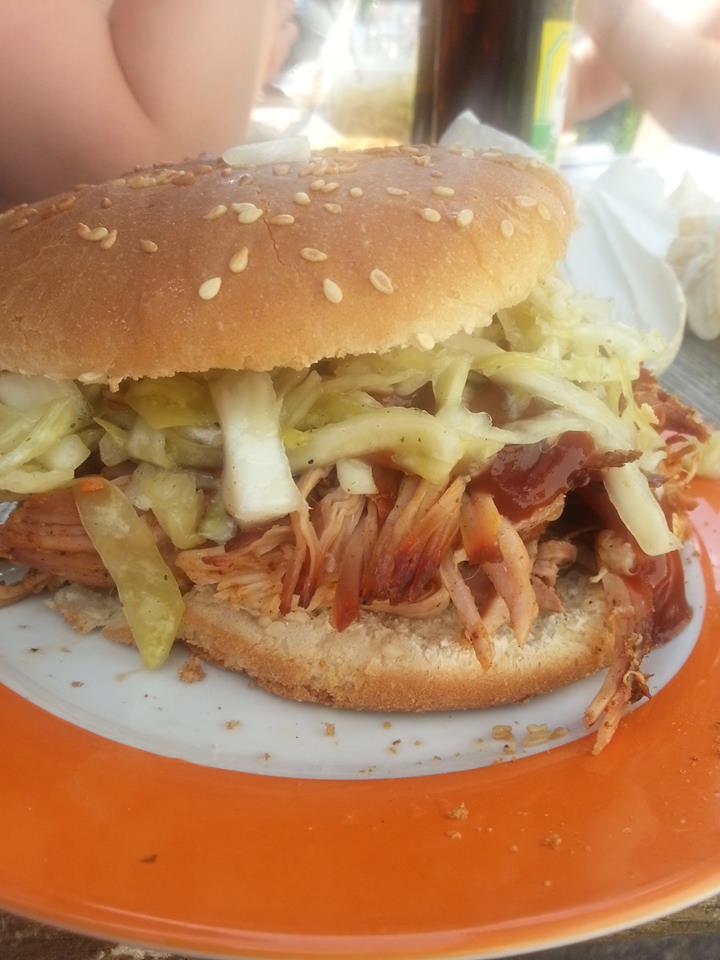
Now take a burger bun, half it, toast it, put some pulled pork and some barbecue sauce (recipe below) on one side and some coleslaw on the other.

Pulled Pork, Magic Dust and Coleslaw from gingerlemonandspice

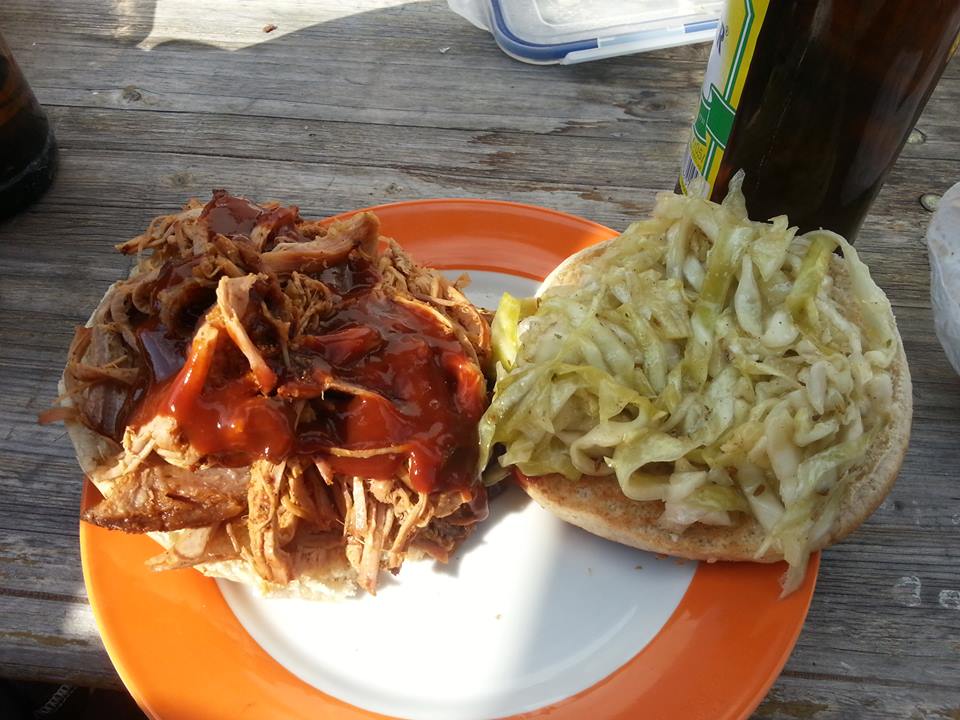
Put it together and enjoy 🙂

Pulled Pork, Magic Dust and Coleslaw from gingerlemonandspice

For one of the best barbecue sauce ever, take the meat juice from the bowl and reduce it, put some apple vinegar, sugar, a tube tomato paste to it and season it with magic dust. Et voila 🙂

Now you might think: “stand up at 4 o’clock and barbecue for 12 hours? Why???” The only thing I could say: try it only once and you’ll be on my side! All my friends thought the same until they have tasted.

I hope you all enjoyed my first blog article. I would love to hear some constructive criticism.

Best wishes

Tobias

Mexican Style Tex-Mex Taco Salad

Mexican Style Tex-Mex Taco Salad

Hello everybody!

Today really is a nice day!! The sun is shining, not brightly, but still and it is quite warm outside! I was already on tour this morning – I went to the flea market and looked for nice probs, went to a nice store in the city where I looked for more probs 😉 And then went to the supermarket to buy all the ingredients for this yummy Tex-Mex Taco Salad!!

Mexican Style Tex-Mex Taco Salad by Ginger, Lemon & Spice

I was craving this salad because of all the delicious Cinco de Mayo recipes posted all over the food blogging world… I didn’t even know what Cinco de Mayo was. I had to google it!!

For those of you who don’t already know: It is a national holiday in Mexico where they celebrate the victory over the French army in the village Puebla which happend on the 5th of May in 1862.

Mexican Style Tex-Mex Taco Salad by Ginger, Lemon & Spice

So I suggested you get into your kitchen and look if you might have already all those ingredients at home or you go for a quick stop at the supermarket and buy them to make this fresh and delicious salad right now!! 🙂

Mexican Style Tex-Mex Taco Salad by Ginger, Lemon & Spice

The flavors mix together really well, it has the freshness of the iceberg salad and tomatoes, the creaminess of the sauces and the beans and just the right amount of a little spice of the chilis in the Texicana sauce. I just ate this salad for lunch, it is quite filling and you don’t feel like a tightly stuffed sausage afterwards. In fact I could go outside again and do some more cycling! 🙂 I hope you like it too!

Just a quick note before I continue with the recipe: I made only half of the recipe this time. So the salad bowl you see on the pictures is just half of what you will get!


Mexican Style Tex-Mex Taco Salad

Mexican Style Tex-Mex Taco Salad by Ginger, Lemon & Spice

Mexican Style Tex-Mex Taco Salad by Ginger, Lemon & Spice


Mexican Style Tex-Mex Taco Salad by Ginger, Lemon & Spice


Ingredients:

1 head of iceberg salad

400-500g minced meat (I used half & half low fat)

1 onion

1 can of corn

Mexican Style Tex-Mex Taco Salad by Ginger, Lemon & Spice

1 can of kidney beans

1 bottle (500ml) of Texicana Salsa Sauce (or something similar)

2-3 tomatoes

200g sour cream

4 tablespoons milk

200g shredded cheese (I used Emmentaler)

optional: Taco Chips or Nachos


Directions:

1. Put a pan on your stove and heat up on high heat. Meanwhile peel and cut your onion into small squares. Put meat and onion into your pan all at once. reduce heat to medium and stir often. The meat should be very crumbly and in small pieces! Once your meat is done set it aside and let cool.

2. Wash your salad and dry it with a salad spinner. Take a very big bowl and put the iceberg salad in it and make it even. Layer the meat on top. Drain Beans and corn and sprinkle them evenly over the meat. Pour your Texicana Salsa on top and try to create an even layer. Cut the tomatoes in cubes and sprinkle on top.

3. Take a little bowl and whisk together your sour cream and the milk. Pour the mixture on top of your salad and distribute with a spoon. Take the shredded cheese and sprinkle on top!

4. The salad tastes best if you cover it and let it rest in the fridge for 1 hour. If you want you can add the taco chips on top (whole or crushed) or give them as an extra! I usually don’t eat any with my salad because I just don’t need it and I’d rather save the calories 😉 It is important that if you want them you put the taco chips on top of your salad just before serving!! They will become mushy otherwise.

As with all layered salads you should take something of every layer when you put salad on your plate. Enjoy!! 🙂

Mexican Style Tex-Mex Taco Salad by Ginger, Lemon & Spice

~ Kathrin

Simple Everyday Couscous Salad

Simple Everyday Couscous Salad

Hello everybody!!

simple everyday couscous salad with tomatoes and cucumber recipe

I hope you are great, all of you? Well, I took some time off to have my second birthday party with my family and friends at home. Then I did a whole lot of nothing, resting my brain from all the work 😉 But now I am back again!! Ready to show you some more food and stories and finally being creative again! 🙂 Last night I had a great time with my godchild. She always wanted to do a sweet yeast bread with poppy seeds on her own, so we just made a date and did it!! It was very much fun and the two braided buns turned out beautifully, too!! Of course everyone had to make their own. I would love to show you a picture, but I was so very clever to bring only my camera and not my charger to my parents house and we already took too many pictures at the wild animal park we went as a family last sunday. Well, things happen 😉

With a little luck my godchild remembered to take a picture of hers when she got back to her house!! But I can’t promise. At least I can say it wasn’t very difficult at all, so maybe  I will make it again soon with proper pictures! To round up the evening we had a lot of fun eating pasta with pesto, watching Harry Potter and the Order of the Phoenix in English  and laughing about the silliest scens and of course – trying the first pieces of our sweet bread!! It tasted as good as it looked!


Today I have a recipe of a couscous salad for you. Well, it is not any couscous salad!! As I already told you, I live in a flat with two other girls – and this is what we eat a lot. And I really mean A LOT!!! We eat it on mondays or tuesdays, for lunch or for dinner, together or seperately – just all the time!! It is soooo very quick and definitly way too delicious to not been eaten at least twice a week!! I also take it to university if I don’t have time to eat at home which works perfectly too.

I don’t want to keep you in the loop any longer!! Here you go:


Simple Everyday Couscous Salad

simple everyday couscous salad with tomatoes and cucumber recipe

Ingredients:

2 cups couscous (the easy cooking type)

4 cups boiling water

2 tea-bags (about 6-8g, or as much as you want) of mint tea – fresh might be better, but that’s all we have on hand in winter

2 teaspoons of granulated vegetable broth

1/2 cucumber (Salatgurke in German)

3-4 big tomatoes (or the equivalent in small ones)

200g feta cheese (in Germany that is one package)

about 8 tablespoons white balsamic vinegar

6 tablespoons olive oil

Salt, Pepper

optional: 1 bell pepper


directions:

1. Put couscous, mint, vegetable broth and hot water into your salad bowl. Stir a little bit with a fork, then let sit for 10 minutes.

2. Cut cucumber, tomatoes, feta cheese and bell pepper into squares.

3. If the water is soaked up by the couscous already, loosen up with a fork. If not, just wait a little bit more and then go on. Put the vegetables and feta into your bowl and continue loosing up the mixture.

4. Season with salt and pepper, be careful with the salt as the feta already is salty. Pour olive oil and balsamic vinegar over the salad and mix well. Have a taste! We never measure olive oil or vinegar, we just go on taste. So if you feel you need more of anything, just add it. I like a little tingling from the vinegar on my tounge 😉

5. Enjoy lukewarm or cold!! We usually eat this as a whole meal, but it would be great as a side dish or at a barbecue too!!

simple everyday couscous salad with tomatoes and cucumber recipe

~Kathrin

Caprese – Tomatoes, Mozzarella and Basil Salad

Caprese – Tomatoes, Mozzarella and Basil Salad

Hello everybody!


Today I want to share a recipe of the italian salad caprese with you.

DSC07160

I made it this weekend for my parents and I think it was really delicious! Usually I am not at my parents house, as I am studying at a university 110 km north of my hometown. The last times I went to visit my family over the weekend or for some days around christmas and new years, it became a habit for them to pronounce me as their cook 😉 I have free hand – I can cook whatever I want and usually they eat it, so it can’t be too bad. I like being creative and think about what meal they might like and how to make a meal a little less in carbs – as that is what we are trying to change our diets into since the new year. So a little caprese salad really fits well into this plan – and it also looks very delicious because of the italian colours!! And for an extra bonus it is very quick and easy to make.


Also I got to spend the weekend with the beautiful Sony DSLR  camera of my godchild. It was soo fun to work with it! The pictures are just waaaay better then with my own pocket digital one. And all the options!! I am totally in love ♥ ♥ ♥


So enough talk for now – of to the recipe we go!

DSC07150

DSC07142

Caprese salad


About 5 tomatoes (depends on size)

1 ball of mozzarella (about 125 g)

basil leaves

2 tablespoons olive oil

4 tablespoons dark balsamic vinegar

salt, herbs (I used a dry mixture called pizza herbs, it contains thyme, oregano, basil,…)


1. Hold tomato on the side and cut it into 5mm slices from bottom to top. If you do it like that, all the kernels will stay in their place!

2. Cut the mozzarella into very thin slices.

3. Put tomatoes and mozzarella slices diversified and variantly into a dish. Your dish needs to have a rim to hold the oil and vinegar later on! Put as much basi leaves in between the layers as you like! I didn’t have much basil left which is why I only did a little decoration.

4. Mix the vinegar, oil, and herbs in a little bowl. Salt the tomato and mozzarella layers just from the top, that is enough. Take a spoon and drizzle the vinaigrette on top.

5. You can let it sit for half an hour or just eat it straight away! It won’t go bad if it stays for a little while. Enjoy!!

DSC07161

Kathrin