Monthly Archives: April 2013

Mini Pavlovas with Lemon Curd, Raspberries and Chocolate

Mini Pavlovas with Lemon Curd, Raspberries and Chocolate

Hello everybody!!

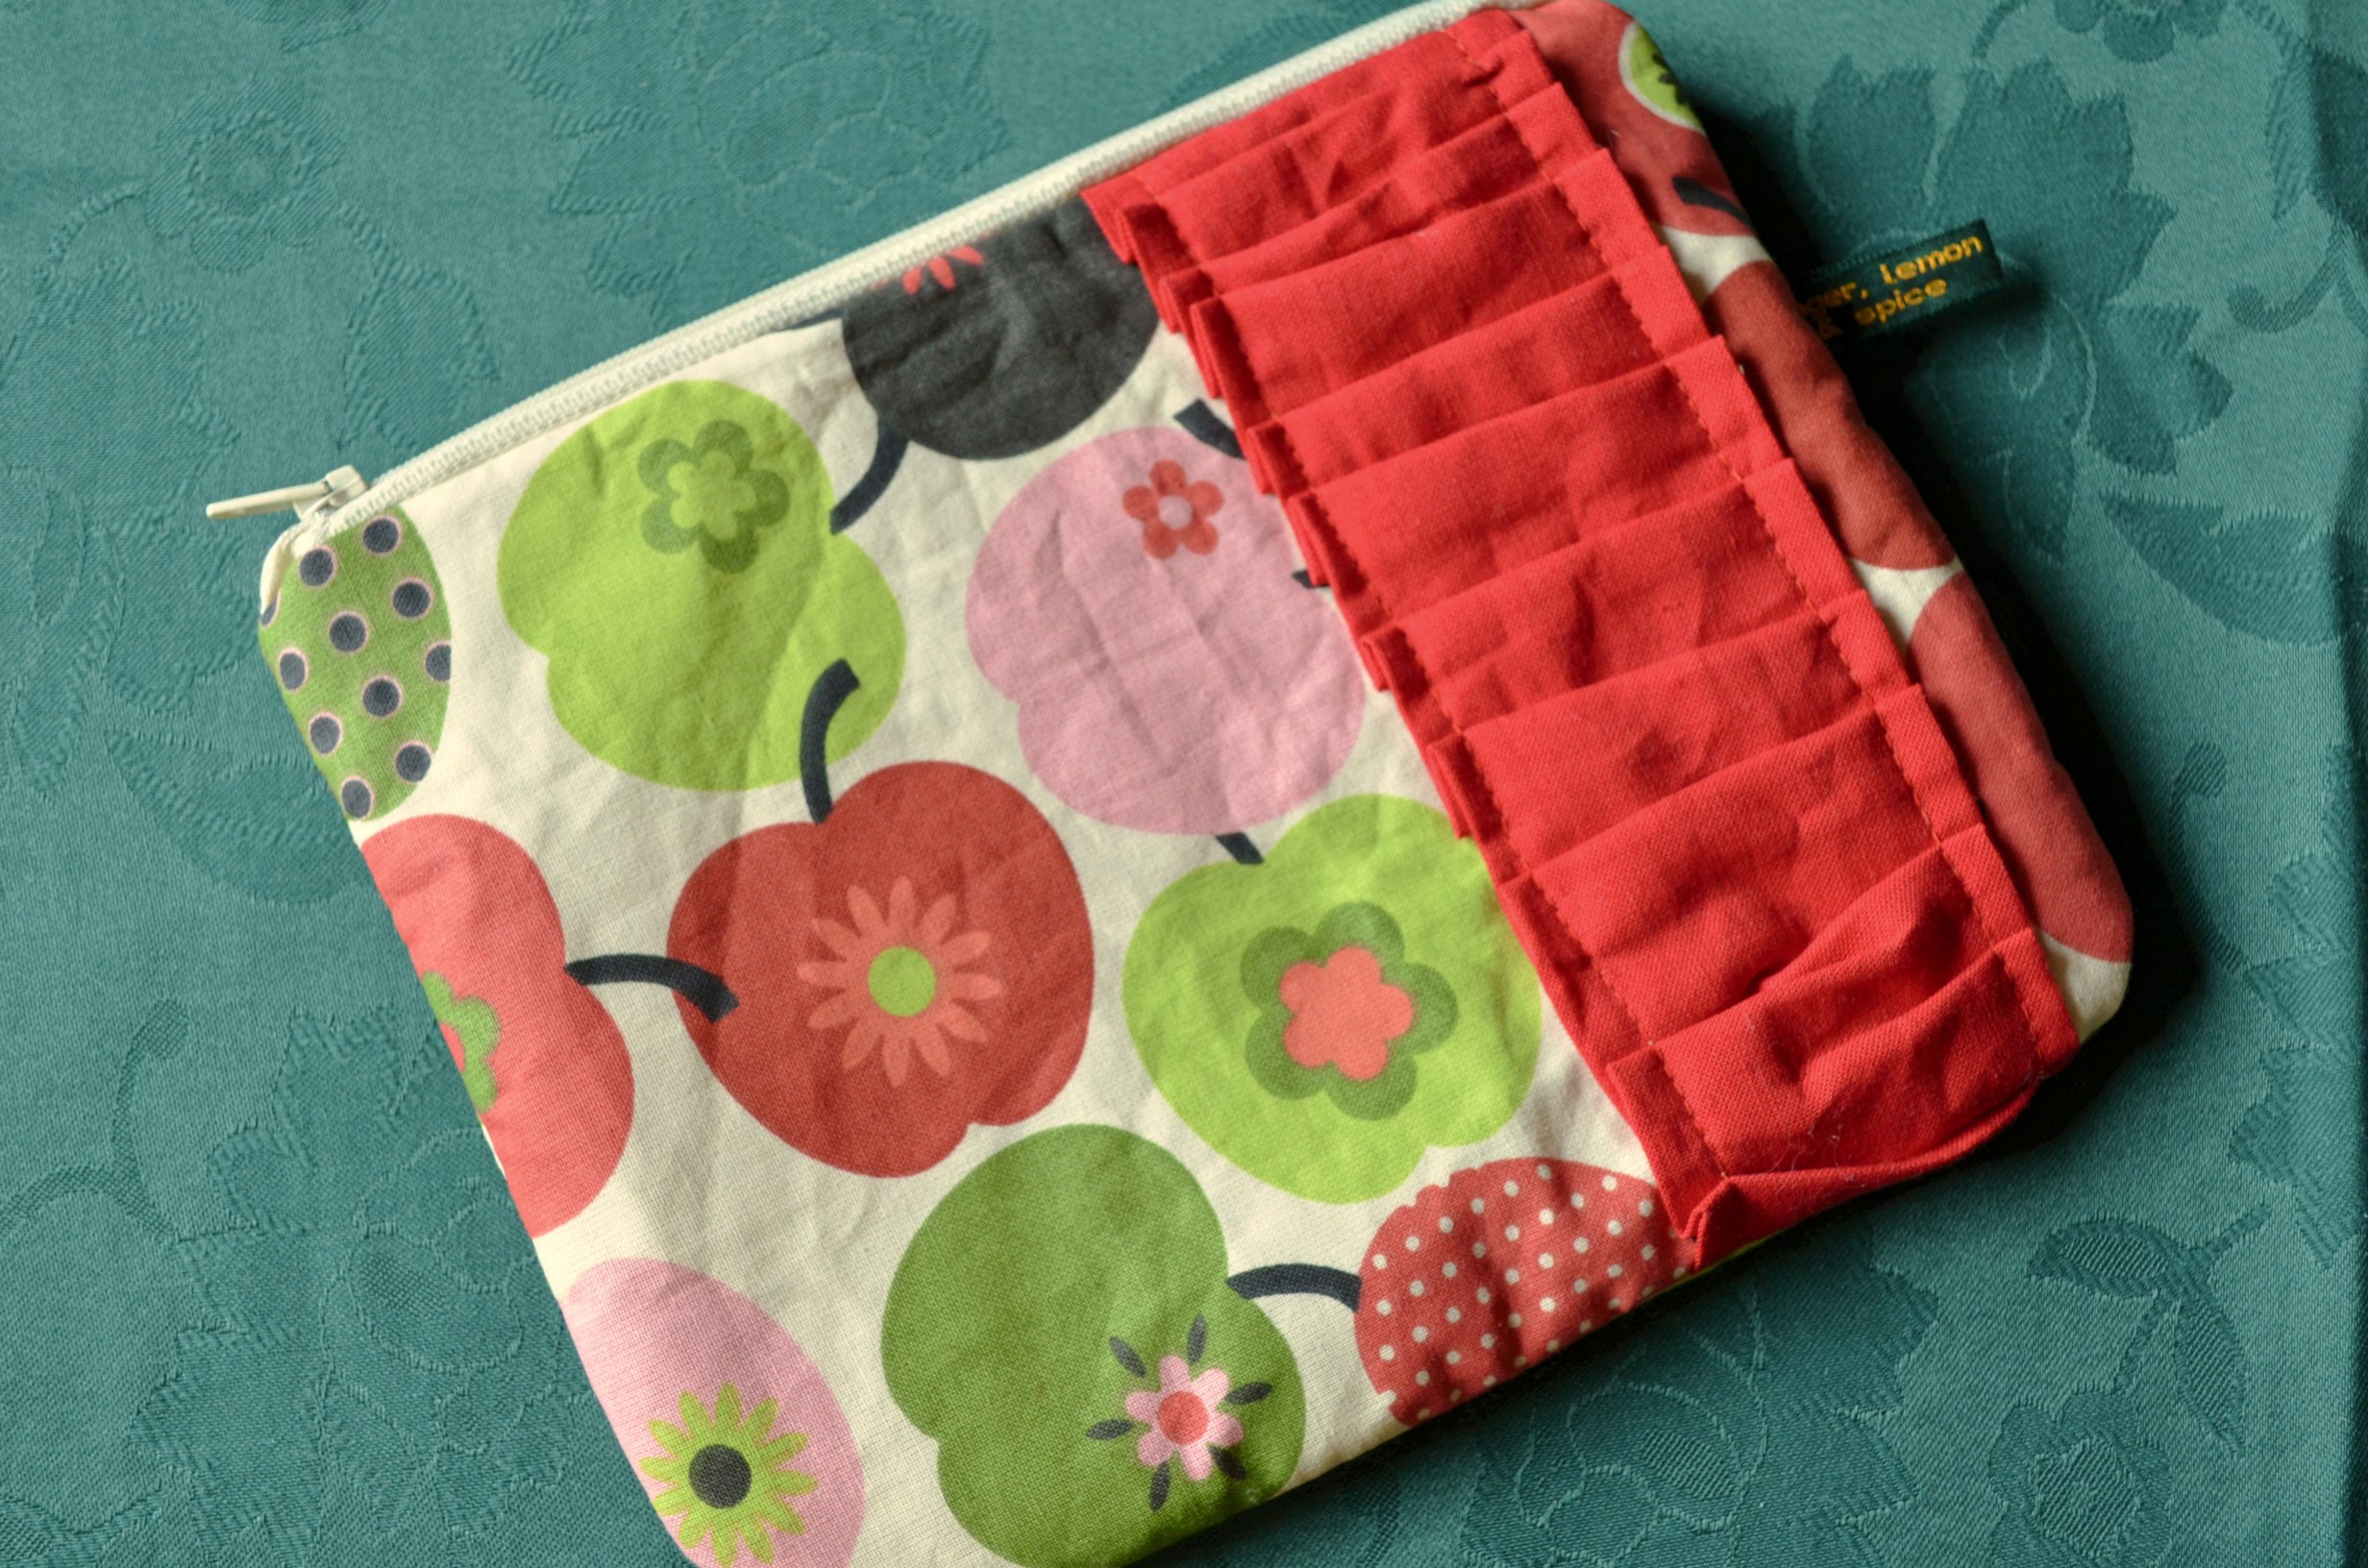
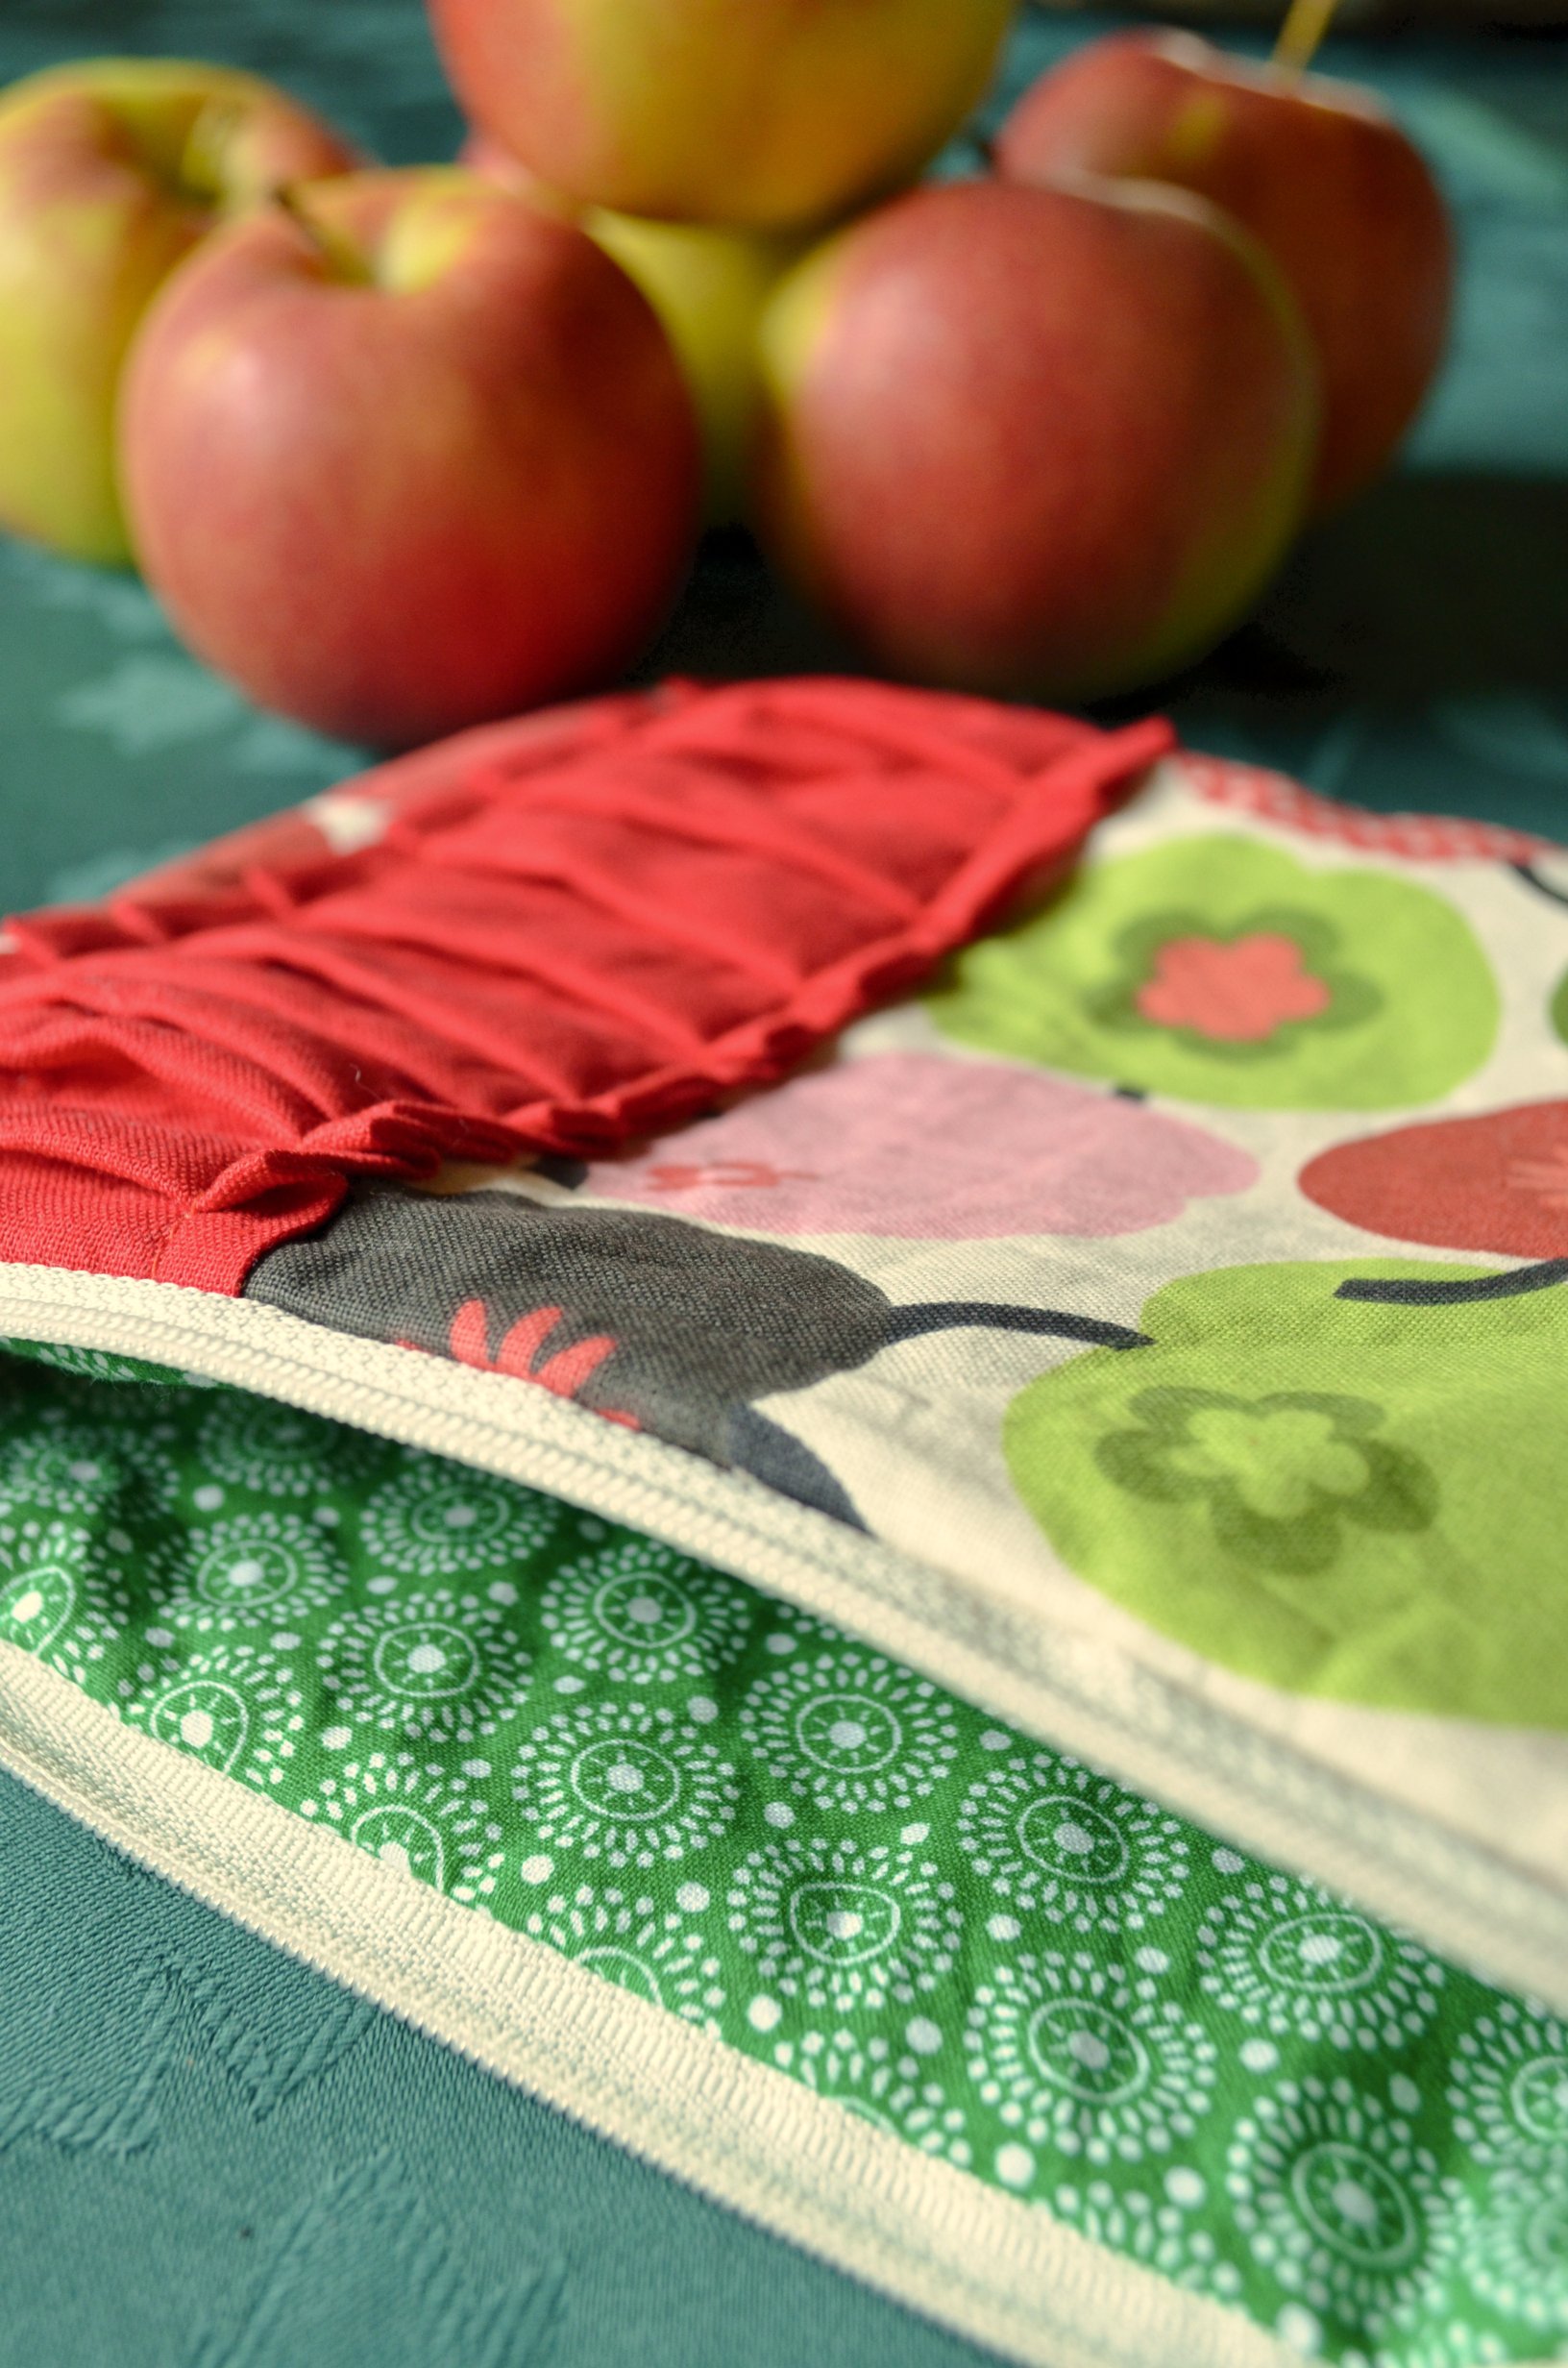
My very first giveaway is over and very soon  this cute and roomy Apple Pouch will be sent to a new owner!

Who is it you ask?

I used random.org to draw the lucky winner: Congratulations to Ariane from arifra83!! 

Apple Pouch Giveaway by gingerlemonandspice

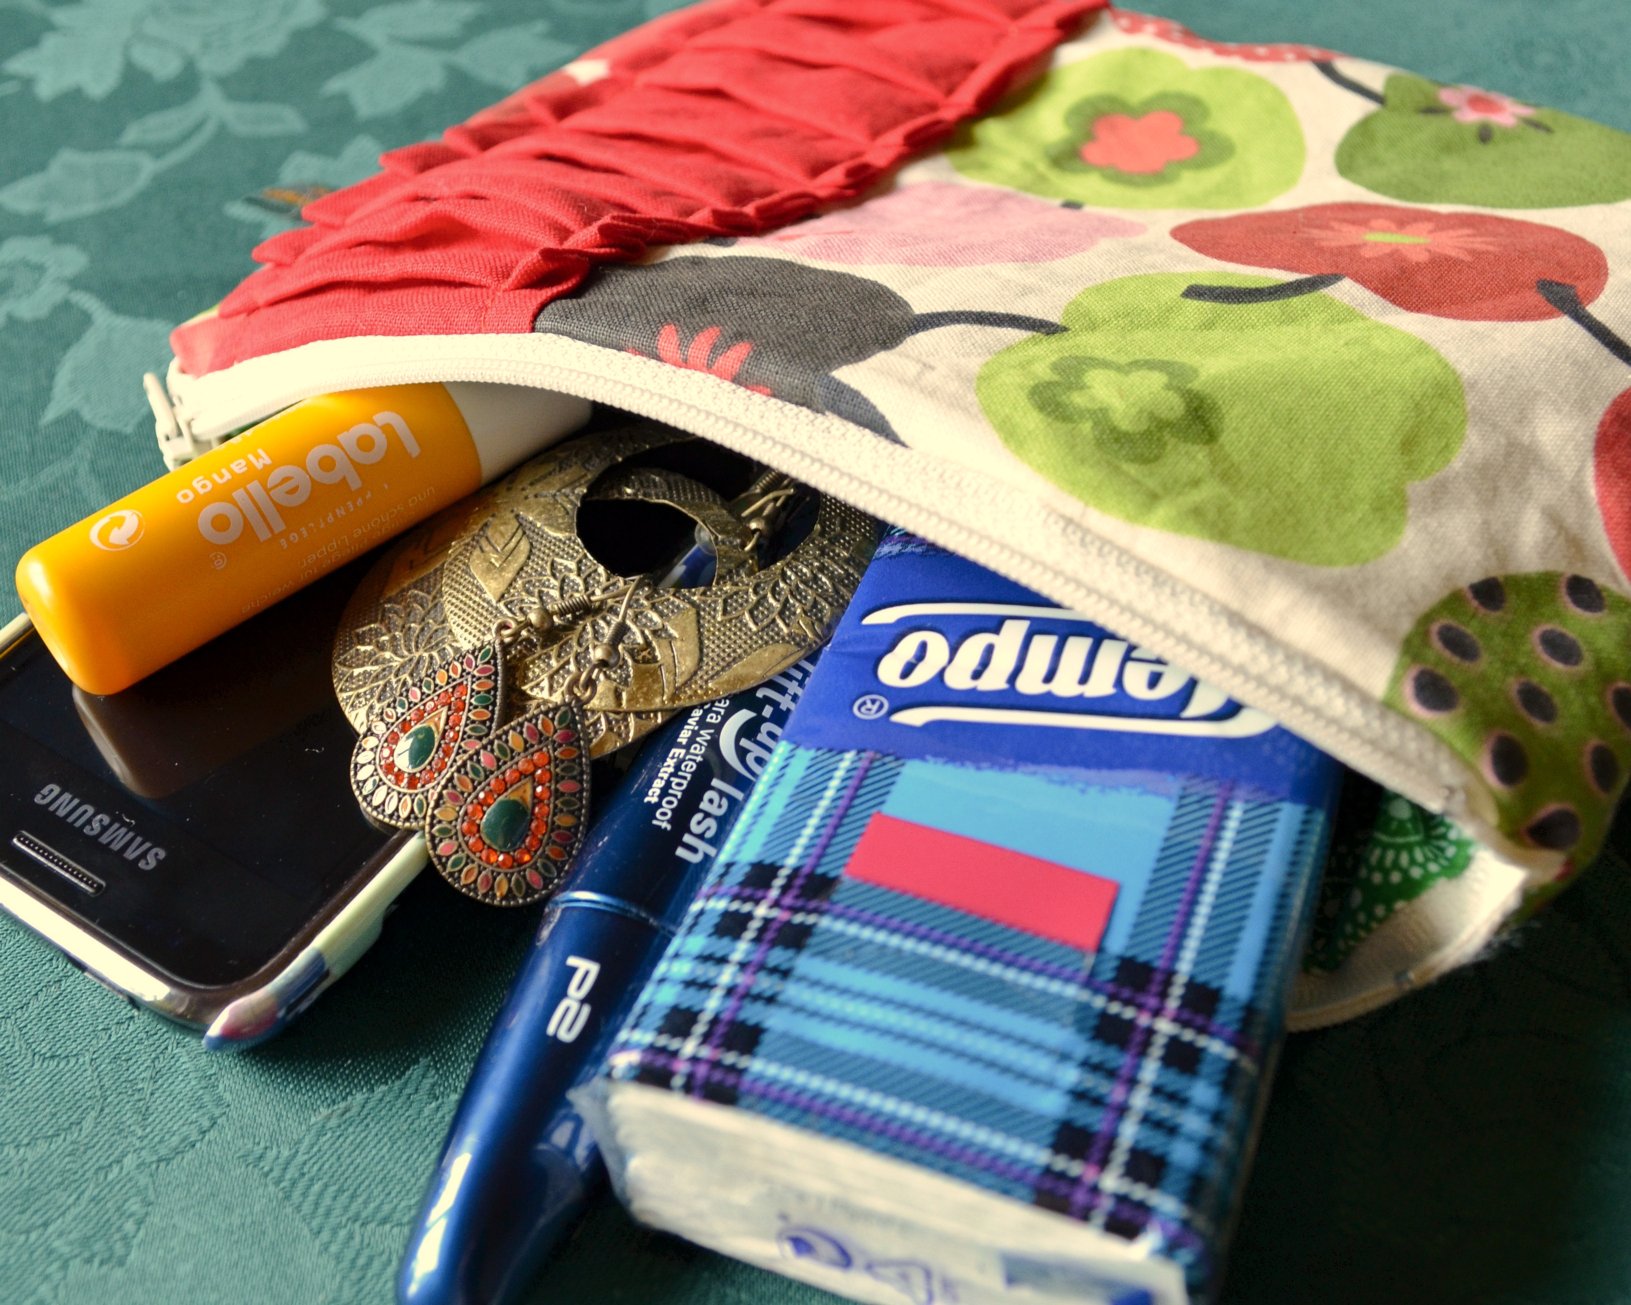
She said she would use this pursie to store all the small things a woman needs during a day  🙂


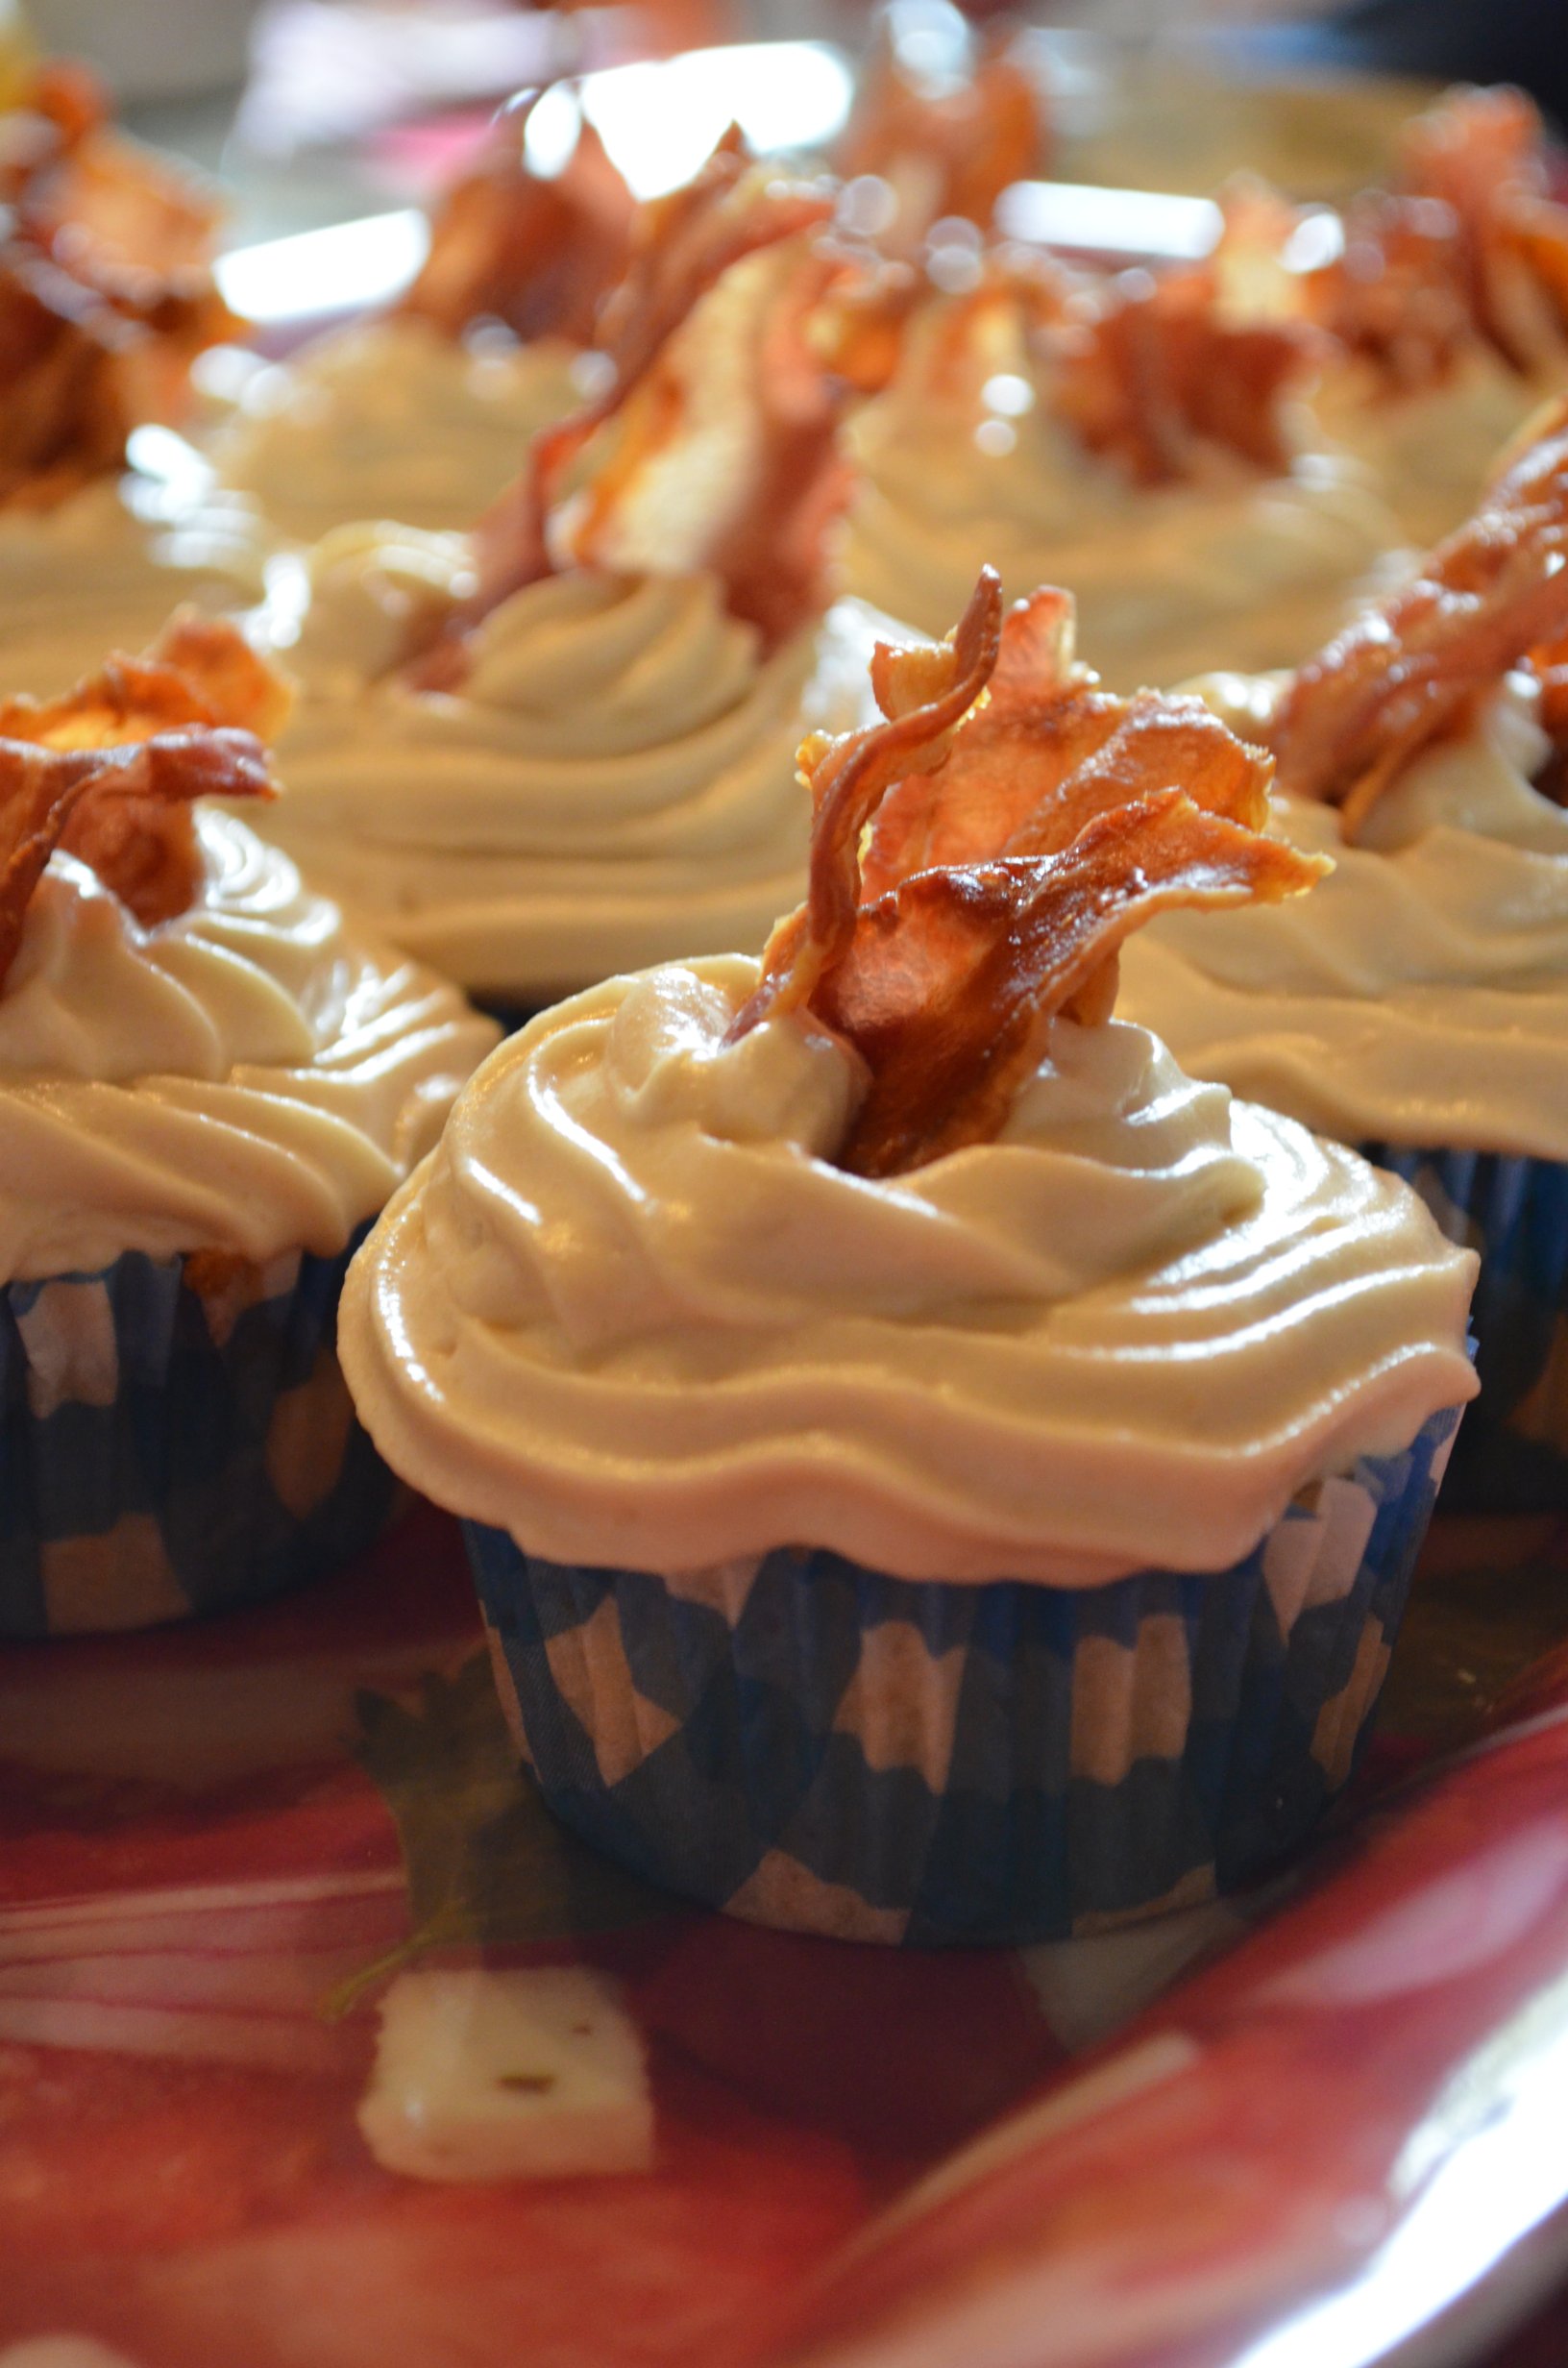
But all of you that weren’t so lucky – don’t be sad!! There will be another giveaway sometime for sure! And for now you can take a teensy bit of your time and make those tender and delicious Mini Pavlovas. They aren’t difficult to make but look  and taste so decadent and sophisticated! A very special treat for you or your loved ones. Or make them for your mother on mother’s day?

Donal Skehan's Mini Pavlovas with Raspberries, Chocolate and Lemon Curd by ginger, lemon & spice


Mini Pavlovas

adapted from Donal Skehan
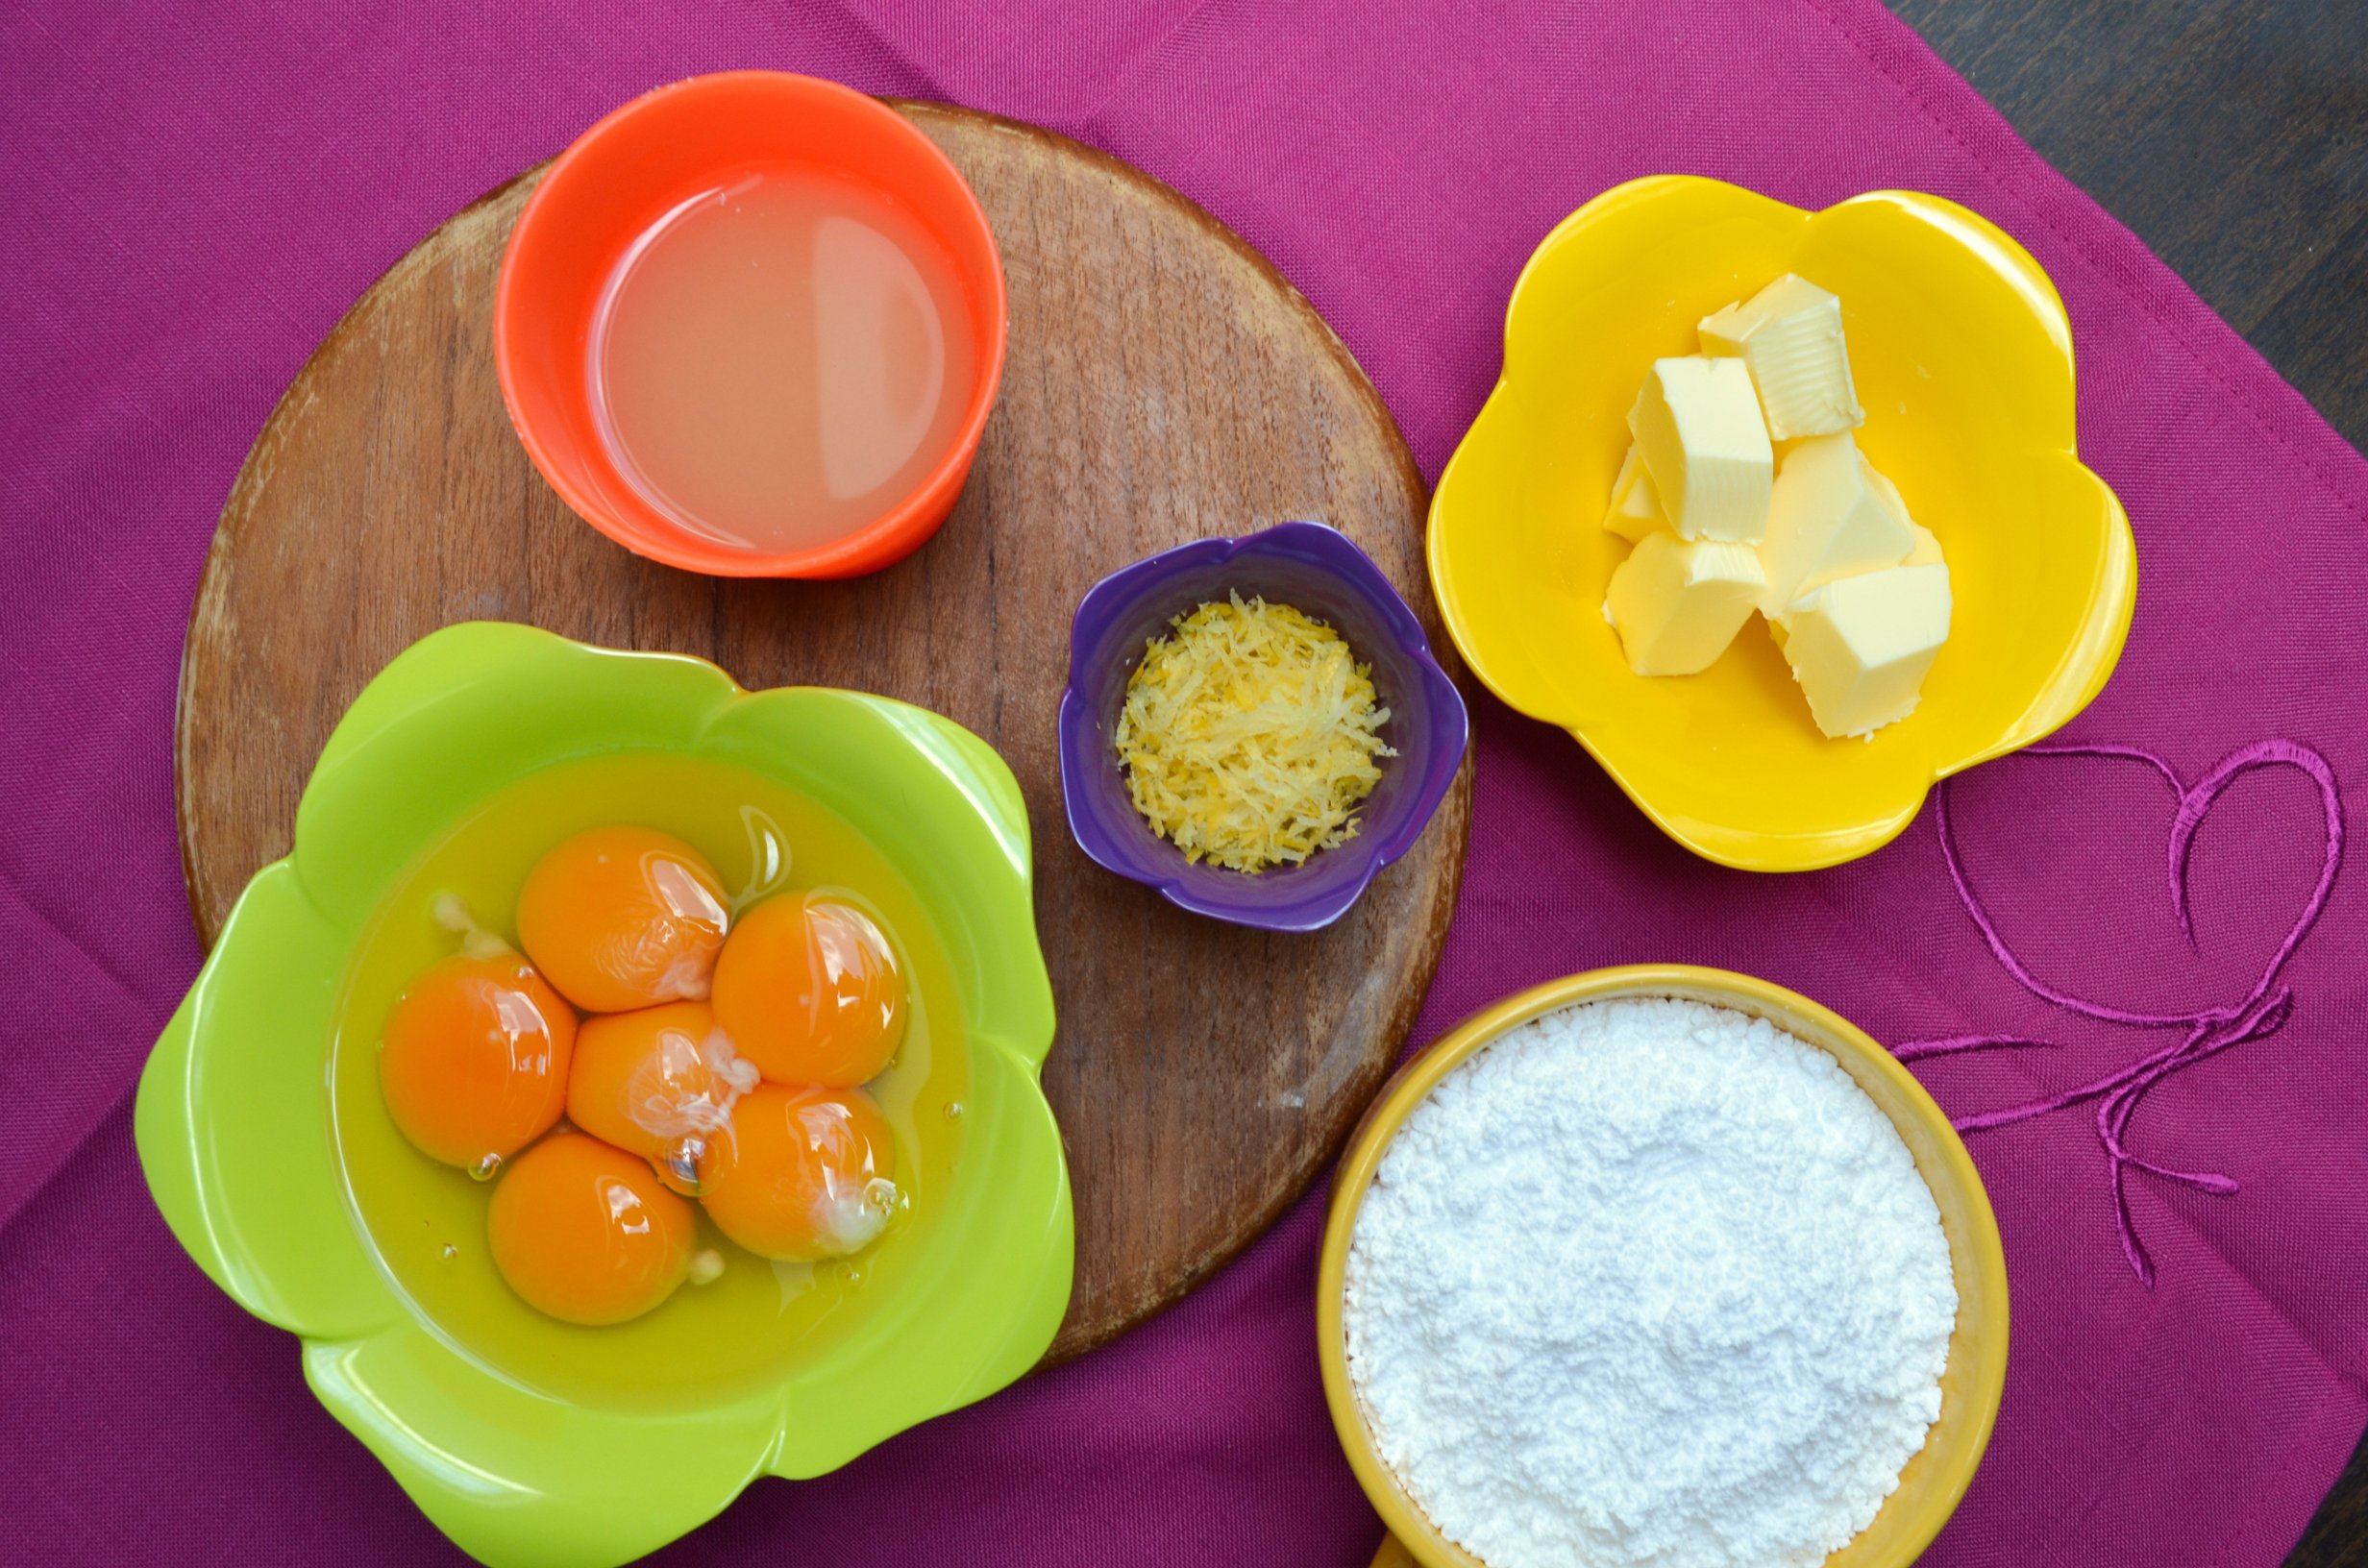
Donal Skehan's Mini Pavlovas with Raspberries, Chocolate and Lemon Curd by ginger, lemon & spice

Donal Skehan's Mini Pavlovas with Raspberries, Chocolate and Lemon Curd by ginger, lemon & spice


Ingredients:

Meringue:

250g powdered sugar

4 egg whites (maybe left from making Creamy Lemon Curd?)

2 teaspoons corn flour

1 teaspoon white vine vinegar (I used white balsamico)


Filling:

500g cream, whipped (if you like with some cinnamon)

250g raspberries and/or optional lemon curd (I had bananas with the lemon curd version)

Chocolate shavings*

Donal Skehan's Mini Pavlovas with Raspberries, Chocolate and Lemon Curd by ginger, lemon & spice


Directions:

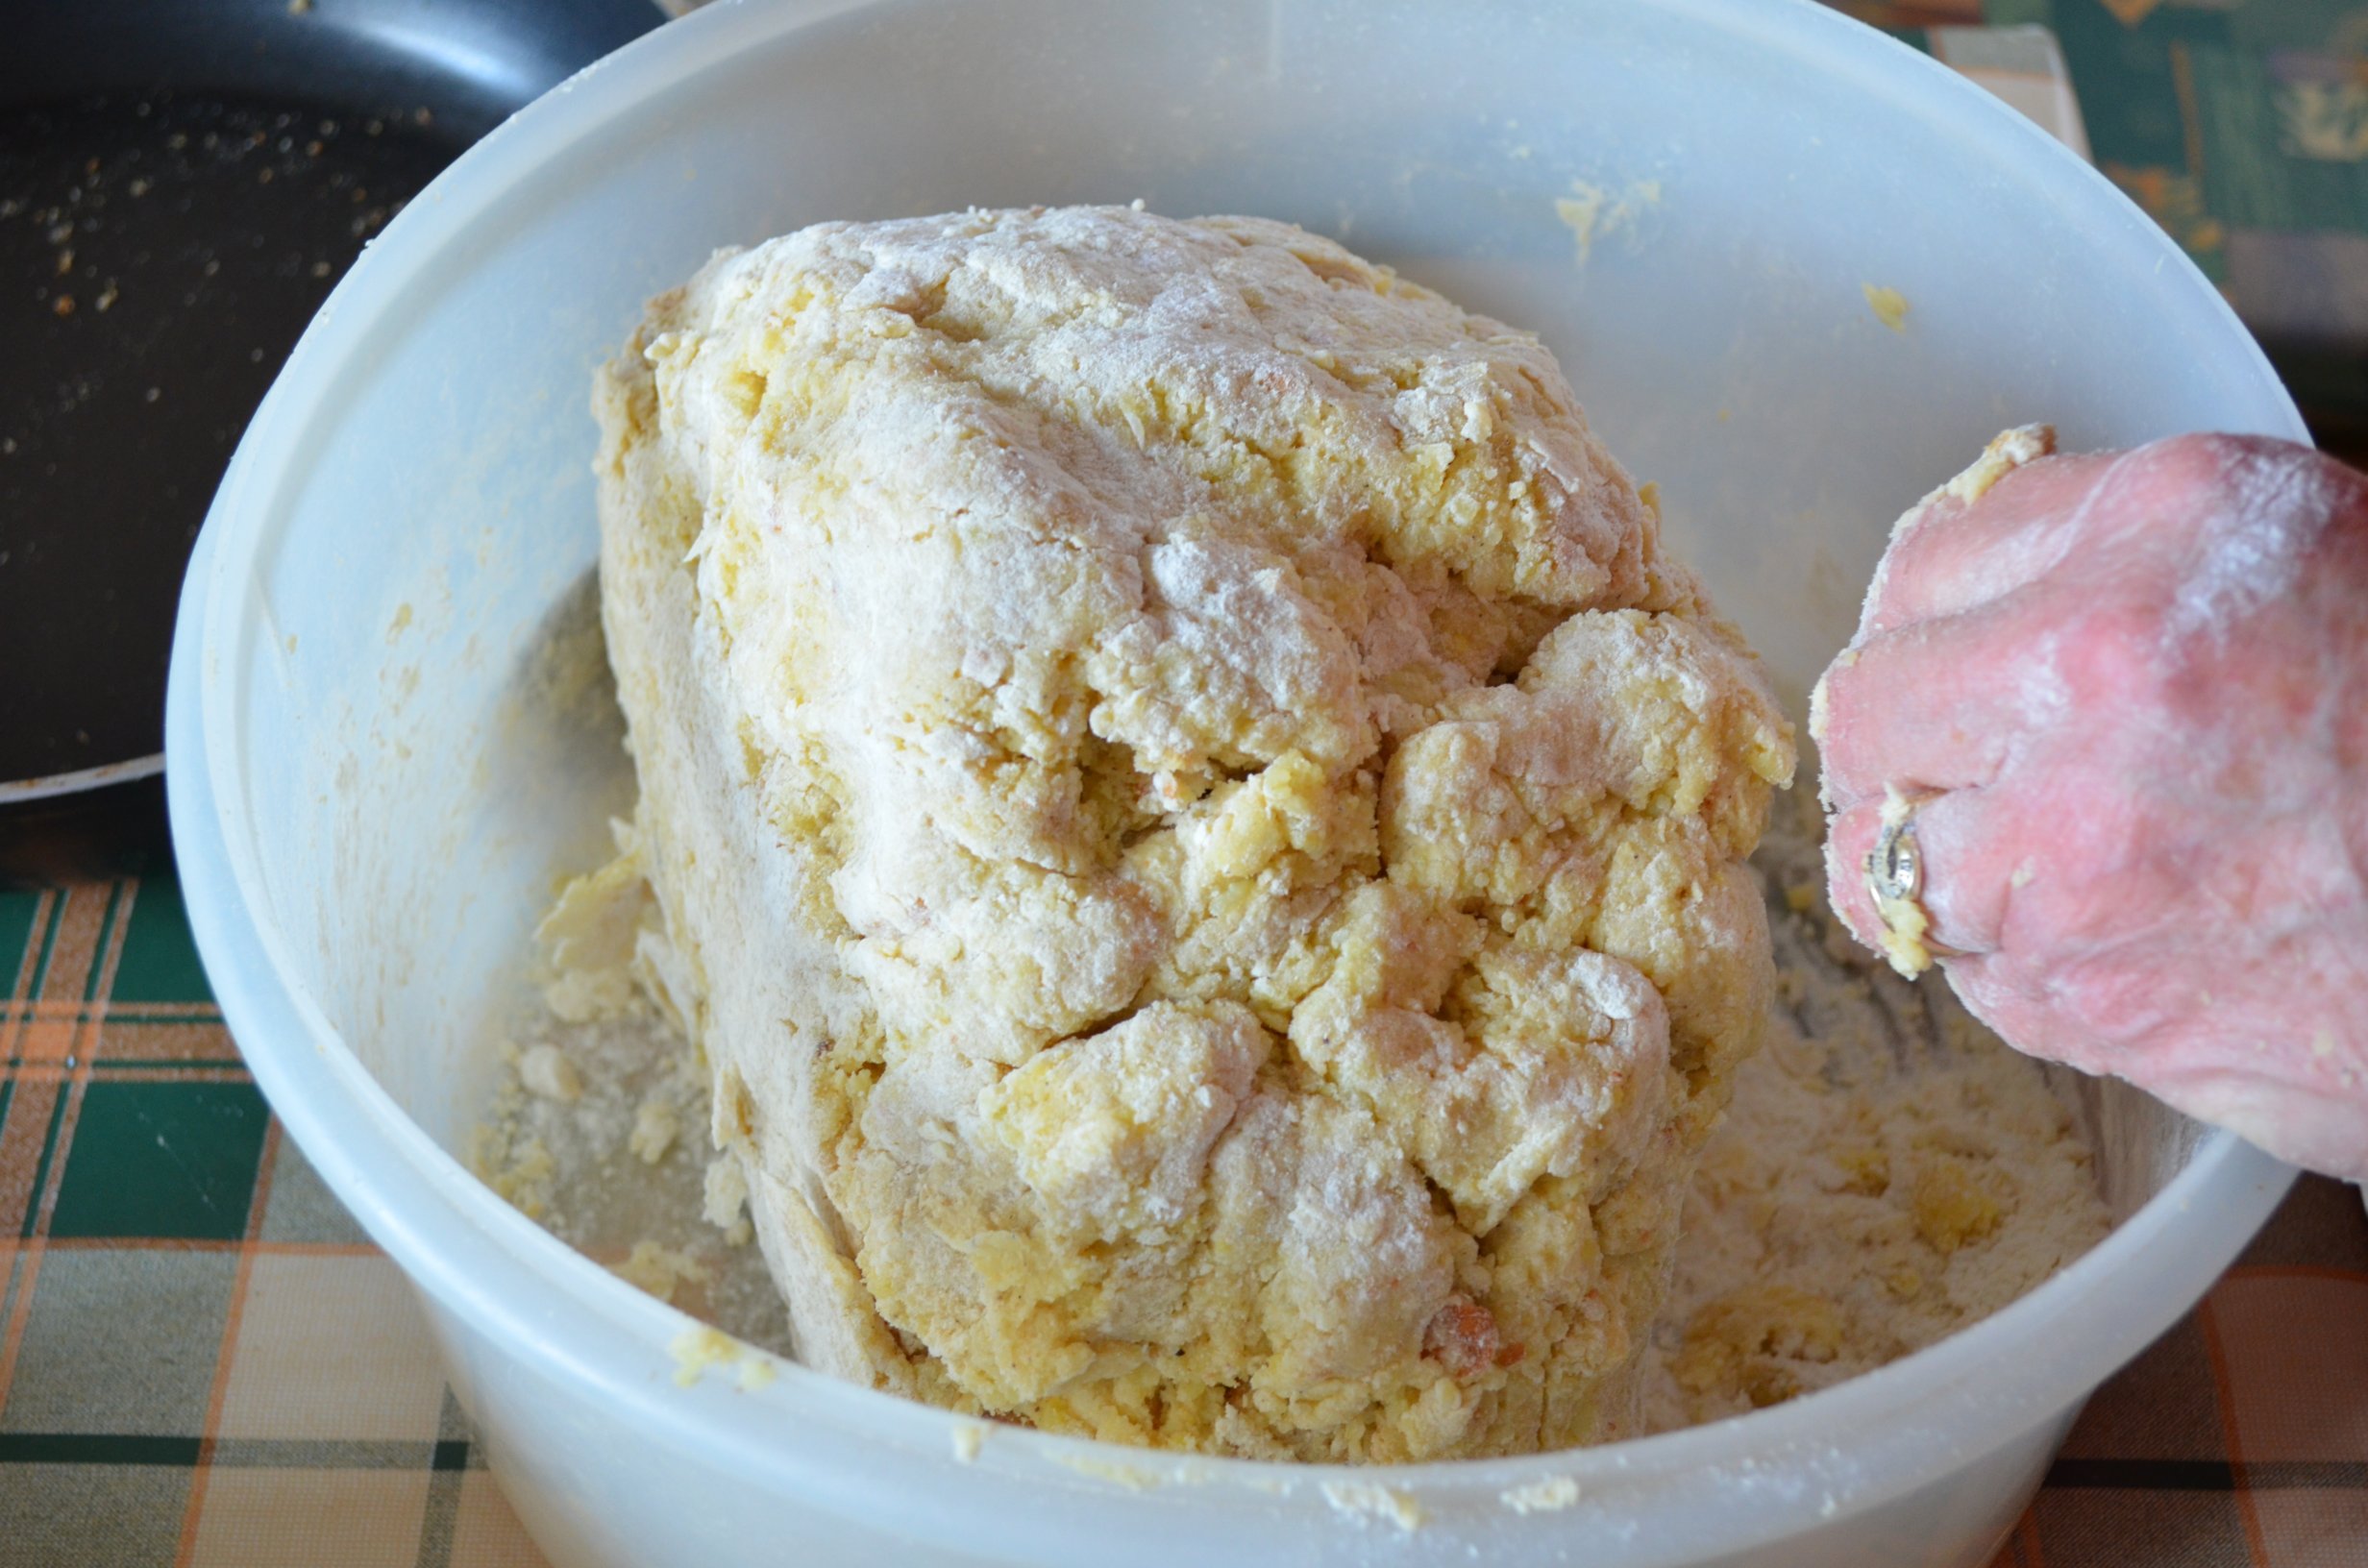
1. Preheat your oven to 150°C and put baking parchment on two or three baking trays. Then place the sugar and the egg whites in a bowl and mix until white and stiff. This takes at least 10 minutes! Lucky you if you have a stand mixer, if not take some patience and use your electric hand mixer 🙂 The mixture is ready if you can form peaks and they stay stiff! Fold in corn flour and vinegar gently with a rubber spatula.

2. Take about one tablespoon of the mixture, put it on a baking tray and flatten out a little. This is your first mini disc! Repeat until all the batter is used up. You should have about 14-16 discs. I made mine a little on the very flat site, I guess you could leave them a little thicker and use only 2 discs to make the staples later!

3. Bake them for 45 minutes and then open the door of the oven a little and let them cool down completely. Meanwhile prepar the filling!

4. Assamble the Mini Pavlovas by stacking a meringue disc, a tablespoon of cream and some raspberries and maybe some lemon curd and repeat. I made two different kinds – One with cinnamon cream and raspberries and one with plain cream, bananas and lemon curd. Sprinkle the chocolate shavings on top!

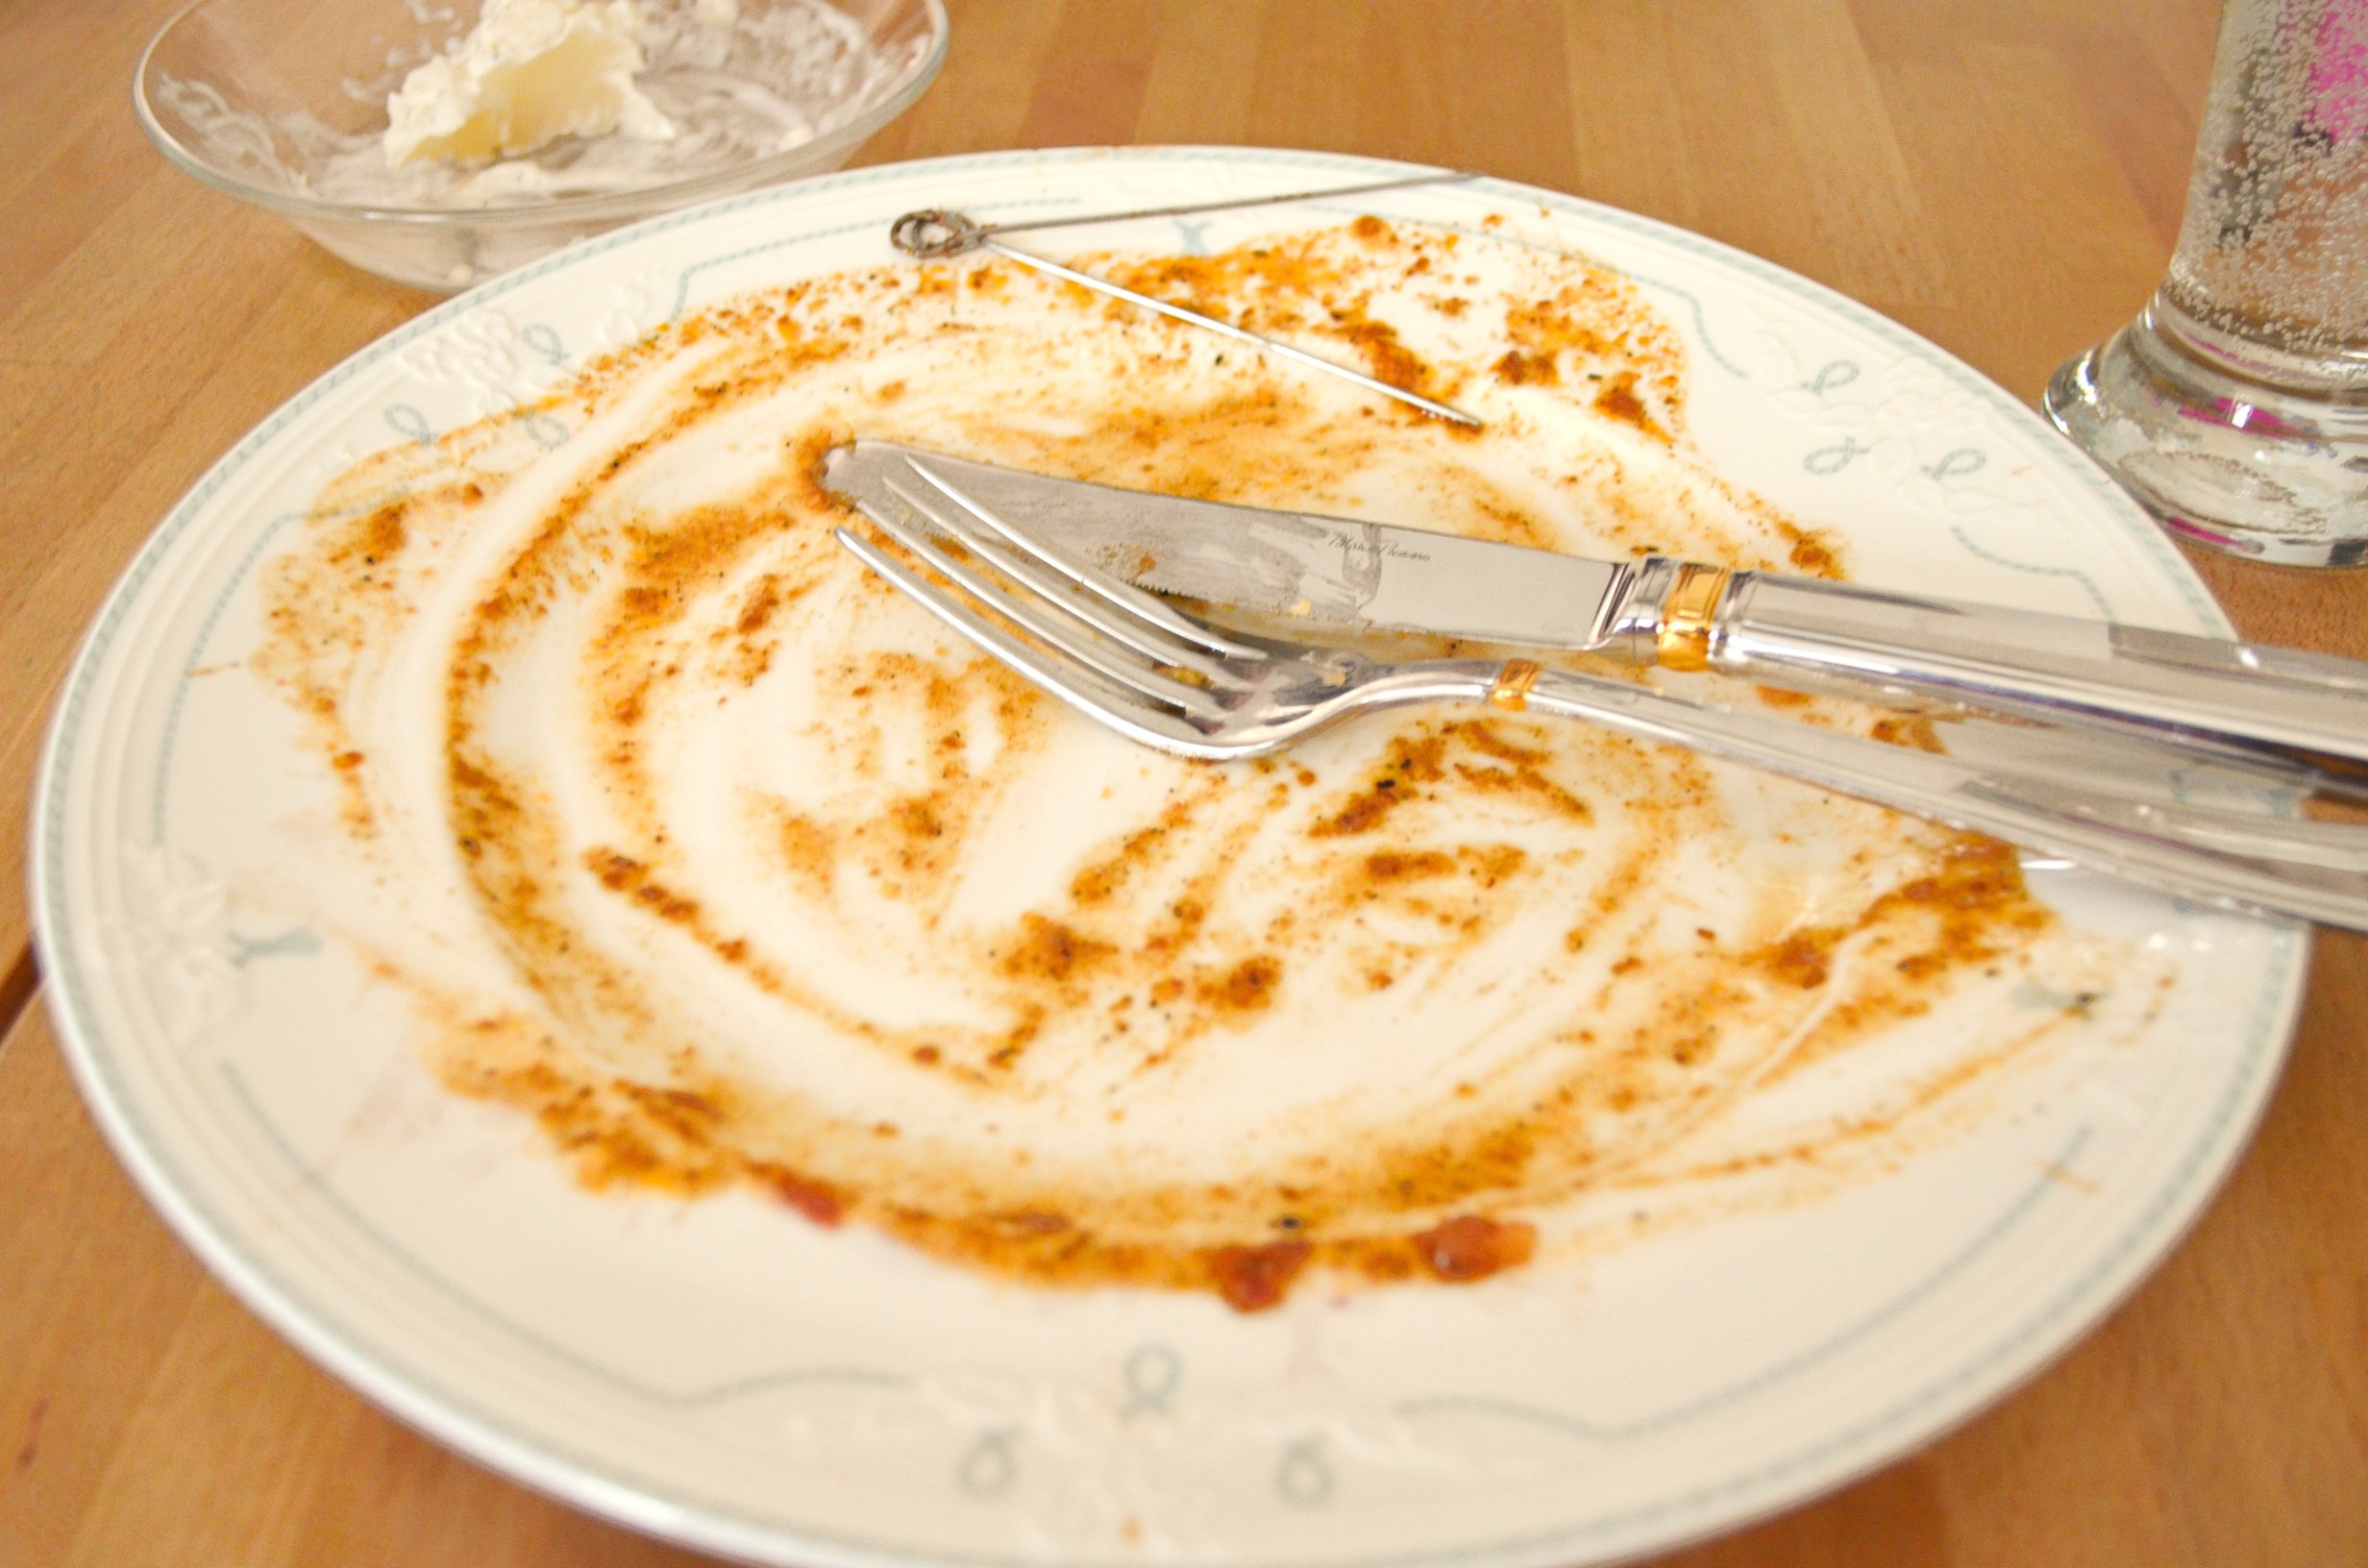
5. Enjoy immediately after snapping a picture or two 😉

Donal Skehan's Mini Pavlovas with Raspberries, Chocolate and Lemon Curd by ginger, lemon & spice

* How to make chocolate shavings:

Take one bar of dark chocolate and a very big knife. ‘Shave’ the chocolate from the bottom of the chocolate bar with the big knife. For some people it is easier to press the chocolate liying on a table with one short side to their belly and shave towards their body. It would be good to wear a clean apron if you try this 🙂

This is a video which shows kind of what I mean: http://www.youtube.com/watch?v=K6NjcsdvgwM

Have fun trying this yourself!

Donal Skehan's Mini Pavlovas with Raspberries, Chocolate and Lemon Curd by ginger, lemon & spice

~ Kathrin

1000 Facebook Fans and a GIVEAWAY!!!

1000 Facebook Fans and a GIVEAWAY!!!

Hey there people!

I am soooo excited to tell you that I now have more than 1000, I mean ONE THOUSAND Facebook Fans!!! I am thrilled!! That is soooooo amazing!!!!

Each and every one of you makes me soooo happy and I am very grateful! I feel so honored that you read my page and blog and that you even ‘like’ it!!

It means the world to me!! 🙂

To give a little something back I decided to take this occasion to host a little giveaway for you!!

Apple Pouch Giveaway by gingerlemonandspice

By leaving a comment on this post you can enter to win this cute and roomy Apple Zipped Pouch! It is handsewn with a lot of love 🙂 You can use it to organize smaller things you might loose in your handbag otherwise, or you can use it as a small handbag or as a make-up bag,… I guess you can think of a lot of other things you can use it for! 🙂

Sorry for the crinkles on the upper pic… You can hardly see any on the actual pouch – I don’t know why they are on the pic.

Apple Pouch Giveaway by gingerlemonandspice

What to do to get into the fortune pot: Leave a comment on this post telling me what you would use this cute pouch for from now until next monday (29th April 2013) 12.p.m. MEZ!

That’s all 🙂 Everybody is allowed to enter and has one entry! That means it doesn’t matter if you’re from the U.S., Germany, Europe or Asia.

If the winner is not claiming his prize until 48h after the announcment another winner will be chosen.

So let’s have some fun!!

Apple Pouch Giveaway by gingerlemonandspice

Take care

~Kathrin

Ratz-Fatz-Streuselkuchen – Birthday Cake No. 3

Ratz-Fatz-Streuselkuchen – Birthday Cake No. 3

Hello Everybody!

Ratz-Fatz Streuselkuchen. crumble/streusel cake from gingerlemonandspice

Finally you get to see the recipe for my 3rd birthday cake. It is kind of the signature cake of my godmother and I begged her for the recipe! 🙂 My other birthday cakes were Buttermilk Banana Bread and Cherry Chocolate Cake!

And now I am sharing it with you!! This cake really is a crowd pleaser! Everybody loves it – it is so simple and yet sooo delicious!!

Ratz-Fatz Streuselkuchen. crumble/streusel cake from gingerlemonandspice

You can get streusel cake at nearly every bakery in Germany and this one just looks like it. You will get asked if you are a professional baker a lot of times 😉

But here is the secret: The cake is not actually very difficult to make! You might even have all those ingredients in your pantry already. Just make it yourself!


Ratz-Fatz Streuselkuchen / Streusel Cake / Crumble Cake

Ratz-Fatz Streuselkuchen. crumble/streusel cake from gingerlemonandspiceRatz-Fatz Streuselkuchen. crumble/streusel cake from gingerlemonandspice


cake base:

4 eggs

200g (a little less than 1 cup) sugar

200g (1 3/4 cup) flour

1 teaspoon baking powder


streusel:

250g (1 1/8 cup) butter, softened

250g (1 1/8 cup) sugar

400g (3 1/3 cups) flour

1 package vanilla sugar or 1 teaspoon extract


for the finish:

200g (7 oz) cream

powdered sugar


Directions:

1. Preheat oven to 180° C (350°F). Line one baking sheet with baking paper.

2. First prepar the cake base: Beat eggs and sugar with a hand mixer until foamy. Add flour and baking powder and mix until incorporated. Pour onto the baking sheet and smooth out with a pastry spatula.

3. Now prepare the streusel. You need dough hooks on your hand mixer now or you could use your hands! Put butter, sugar, flour and vanilla into a bowl and mix. This takes about 5 minutes until everything is evenly distributed. Put the mixer away and press the streusel to small lumps together and put on top of the cake base. Try to spread evenly.

4. Bake this cake for approx. 20-25 minutes! You can use a knife to lift up the cake at the corners to see if its done from the bottom. Take it out of the oven and immediately pour the cream evenly on top of the cake. Let the cake rest for at least half an hour. The cream will soak in!

5. Coat with powdered sugar with the help of a small sieve and a teaspoon. Dig in!! 🙂

Ratz-Fatz Streuselkuchen. crumble/streusel cake from gingerlemonandspice

~Kathrin

Creamy Lemon Curd

Creamy Lemon Curd
Creamy Lemon Curd

Hey people!

Creamy Lemon Curd by gingerlemonandspice

I am totally in a lemony, citrusy mode. I just HAD to buy those organic lemons in the store!! I didn’t really have a plan what to do with them, and I had a lot of ideas. I thought of a lemon loaf, lemon rosemary palmiers, meringue with lemon and raspberry, lemon pasta,… Well I guess I had a lot of ideas. When you should be learning and concentrating on stuff your mind is very happy to escape to things like that!

But in the end – you might have guessed it – Lemon Curd it was!!

Creamy Lemon Curd by gingerlemonandspice

I have never done lemon curd before, but I got a jar from a friend as a gift for my birthday once. I really liked the sour and sweet taste of it and it went quickly, just like that, on bread with cream cheese. But there are sooo many more thing you could do with lemon curd! I am thinking about trying those nice mini pavlova stacks from Donal Skehan and make a second version with lemon curd. But I am not sure yet – let’s see if there will be enough lemon curd left or if it will be gone as quickly as the one I got more than a year ago!!

This version of the curd is adapted from sweetapolitas Lemon Meringue Cake and it is very creamy and thick. It does not drop from your spoon, believe me, I have tested this 🙂 The pictures were taken when the curd still was a little warm. It is soo delicious, I can just eat it with a spoon and don’t need bread or cake or anything with it!!

After you gathered all your ingredients it is very easy and quick to make. Well, at least if your not taking about a thousand pictures during the procedure 😉

Creamy Lemon Curd by gingerlemonandspice

Creamy Lemon Curd

Creamy Lemon Curd by gingerlemonandspice

Creamy Lemon Curd by gingerlemonandspice


Ingredients:

4 organic lemons, you need zest and juice

2 whole eggs

4 egg yolks

200g (1 cup) sugar (I used powdered sugar, then it is 1 3/4 cup)

60g (4 tablespoons) butter


Directions:

1. Zest the lemons. You need 2 teaspoons of zest. You can dry the rest of the zest or use it in another recipe. Press juice out of the lemons. You need 160ml (2/3 cup) of juice!

2. Prepare a pot and a metal or ceramic bowl that fits on top. The Bowl should not be too small! Pour hot water into the pot but only as high so that the bowl does not touch the water. Take the bowl of and prepare the mixture

3. Beat eggs and sugar in the metall bowl with a hand mixer until very foamy. Add juice. Stir slowly as it will be very liquid now!

4. Now put the bowl back onto the pot and on low-medium heat and add the butter. Don’t go away, you have to whisk more or less constantly!

5.When the mixture changes consistency and gets thicker take the bowl of the heat and put the mixture through a fine sieve. Now add the zest and stir well. You can put the lemon curd into one bowl and cover with cling film so that it touches or you could do it like me and pour it into several small glass jars, clean the rim and close them immediately. The curd should stay fresh for one or even two weeks in the refrigerator, but I have not tried it myself. So no garantees 😉 Enjoy!

Creamy Lemon Curd by gingerlemonandspice

~ Kathrin


Cherry Chocolate Cake – Birthday Cake No. 2

Cherry Chocolate Cake – Birthday Cake No. 2

Hey there!

The week is finally over!! BIG SIGH OF RELIEF!!! It was such a long and hard week, having 4 exams to study for and not being even sure if I passed. But it’s over now!!!

I am feeling so much better already even if I still have another coloquial one next week.

Cherry Chocolate Cake by gingerlemonandspice

So I thought it is finally the time to share another one of my scrumptious birthday cakes! My birthday was already 1,5 months ago but I still hadn’t the time to share this recipe with you. The Caramel Maple Bacon Cupcakes had to come first 😉

Here I have the Cherry Chocolate Cake recipe for you!! The cake was loved very much too, it was the one who had the fewest pieces left! 😉

Read more about my birthday and the other cakes here: Buttermilk Banana Bread

Cherry Chocolate Cake by gingerlemonandspice


Cherry Chocolate Cake

recipe adapted from this book


Ingredients:

1 glas sour cherries (about 370g)

100g dark chocolate finely grated with a big knife ( just try to slice very thin slices of the chocolate, it will break into ‘grated’ pieces)

200g butter, softened (a little less then 1 cup)

175g (3/4 cup) sugar

1 package vanilla sugar (or 1 teaspoon extract)

1 pinch of salt

4 eggs

125g (1 cup) flour

1 teaspoon baking powder

100g grounded almonds (a little less then 1 cup)


Directions:

1. Put the cherries into a colander and drain well. If you want you can keep the sirup but it will not be used in the recipe. Preheat oven to 180°C (350°F).

Butter a springform pan well.

2. Beat butter and sugars with salt until foamy with a hand mixer. This may take a few minutes. Add eggs one by one, mix well in between.

3. Now add flour and baking powder. Stir the dry ingredients on top of the wet ones a little with a spoon to mix up. Then use your hand mixer to incorporate.

4. Finally add chocolate and almonds and mix.

5. Add a little bit of your batter into the springform pan and flatten with the back of a spoon. Put the cherries on top and take care that no one of the cherries touches the rim of the pan. Now add the rest of the batter on top (not all in one place – put big dollops all over the cake) and then spread it out and cover the cherries.

6. Bake the cake for 45 minutes. When wooden skewer comes out clean the cake is ready. Let it cool for 20 minutes and then remove the springform pan.

7. Sprinkle powdered sugar on top of the cake with the help of a small colander. Let cool completely and Enjoy!! 🙂

Cherry Chocolate Cake by gingerlemonandspice

~ Kathrin

Caramel Maple Bacon Cupcakes

Caramel Maple Bacon Cupcakes

Hey people out there!!

Caramel Maple Bacon Cupcakes by gingerlemonandspice

Today I have something very special for you: CARAMEL MAPLE BACON CUPCAKES!!!

Yeah, they HAVE to be written in capital letters, they are just soooooo good!!!

When I first stumbled upon the recipe I thought immediatly of my brother. He is a very big fan of maple sirup – and all things meat of course! He enjoys preparing different meats on the grill and in the oven like low temperature grilled pulled beef or lamb or turkey… That is kind of his greatest hobby!

Caramel Maple Bacon Cupcakes by gingerlemonandspice

So last week was his birthday and I took the chance and made those delicious Caramel Maple Bacon Cupcakes for him. At first I was quite shocked that the recipe made 24 instead of 12 cupcakes – but it was too late by then. So I made all those 24 cupcakes and thought I would just see what happens.

Caramel Maple Bacon Cupcakes by gingerlemonandspice

Snapshot of my little cousin and my brother’s girlfriend making friendship bracelets at the party

And it was unbelievable!!  At first everybody was a bit skeptic by the combination of flavors, but then they all liked it very much! The next day I was told by one of the sleepover guests, a friend of my brothers, that he even ate 3 at the party and asked me for one more for breakfast 🙂 Best compliment ever!! 😀

Most of them were gone by the next day, I think there were like 5 or 6 left, but not for long. I am sorry for all the exclamation marks I use but I just feel sooo enthusiastic about those cupcakes!!

DSC_0021


Caramel Maple Bacon Cupcakes (makes 24)

Ingredientes:

Muffin:

225g (1 cup) butter, softened

225g (1 cup) sugar

4 large eggs

360g (3 cups) all-purpose wheat flour

1 tablespoon baking powder

1 teaspoon salt

1 cup milk

1 package vanilla sugar (or 1 teaspoon vanilla extract)


Caramel Maple Frosting (makes a lot – I even used the rest for the dessert we ate at our family easter lunch):

225g (1 cup) butter

340g (1 1/2 cups) brown sugar

1/2 cup evaporated milk (Kondensmilch)

1/4 teaspoon baking soda

400g cream

6 packages whipped cream stabilizer (Sahnesteif)

1/2 cup maple sirup


300g bacon slices


Directions:

1. Preheat oven to 170° C (350° F). Beat butter and sugar in a bowl with an electric mixer until creamy. Add the eggs, one by one, beating after each one until incorporated.

2. Add flour, baking powder and salt to the bowl and mix the dry mixture on top a bit with a spoon. Add the milk and vanilla to the bowl and begin to mix slowly with your electric mixer. If the slowest speed of the mixer is too high start mixing by making circles with the mixer without turning it on.

3. Put paper baking cups into 2 (12-cup) muffin tins, or do only 12 at first if you only have one tin like I did. After the first ones are baked, remove the muffins and bake the second ones. Spoon the batter into the cups until about two-thirds full. Bake for about 15 minutes or until wooden pick comes out clean. Put the Muffins on wire racks to cool completely

4. For the frosting melt the butter over medium heat in a pot on the stove. Choose one that is a bit bigger because the batter will rise  about double the size. Add brown sugar and stir constantly. Bring to a boil and cook for two minutes. Don’t forget stiring!! Then add the evaporated milk. When everything is incorporated add the baking soda, stir and cook for 1 minute. The batter will double in size! Then remove the pot from the heat, put a lid on top and let cool completely.

I did everything until this step on the day before my brother’s birthday so the frosting had time to cool overnight.

5. Transfer the caramel mixture to a big bowl. In another bowl beat the cream with the whipped cream stabilizer until very stiff but it’s not butter yet. Now take your electric mixer, add maple sirup to the caramel and beat the mixture for 5-10 minutes until the color changes and it looks whipped up. You don’t need to clean the stirrers when you change from the cream to the caramel. Then add the whipped cream and mix until just incorporated. The frosting should be thick enough now to hold together! If you have problems you could still add more whipped cream stabilizer.

6. Pipe the frosting onto the cupcakes and decorate with the bacon bits. The taste-testers later told me either they didn’t need the bacon at all or they would have wanted to have more bacon. So choose whatever you want 😉 In my opinion it could have had more bacon!

7. Enjoy! and if you want – share with some special friends!

Recipe adapted from MyRecipes.com

Caramel Maple Bacon Cupcakes by gingerlemonandspice

and just one last one more 🙂

Caramel Maple Bacon Cupcakes by gingerlemonandspice

~Kathrin

Rouladen und Knödel – A Traditional German Holiday Dish

Rouladen und Knödel – A Traditional German Holiday Dish

Happy Easter to all of you!!

I hope you are having a great time with your families?

Today I want to show you what we ate at our traditional family lunch on easter sunday. My two cousins and me helped my grandmother prepare the food the day before and on sunday morning. It was a lot of food to prepare but we really were a great team and were done quickly! And we had a lot of fun too, which in my book is even better 😉

We started with preparing the Rouladen. We had large beef cuts that were filled with mustard, onions, speck, pepper and salt by my cousins and I rolled them up and secured them with steel needles.

Rouladen und Klöße mit Rotkraut - Easter MenueRouladen und Klöße mit Rotkraut - Easter Menue


Here you can see the finished Rouladen:

Rouladen und Klöße mit Rotkraut - Easter Menue

During the time we made the Rouladen we cooked some potatoes which we peeled and pressed through a poatoe ricer next.

I had already cut some dowdy buns into squares which were roasted in a pan with butter. Those were ingredients we needed for the potatoe dumplings (Knödel) which we prepared in the morning of the next day.

You can see my grandmother cracking some eggs into the mixture and then mixing it with an amount of flour that I don’t know – she just adds it until it ‘feels right’ 🙂

Rouladen und Klöße mit Rotkraut - Easter Menue

There was seasoning involved, too: Salt and nutmeg. Usually she adds parsley too, but not this time!

Rouladen und Klöße mit Rotkraut - Easter MenueRouladen und Klöße mit Rotkraut - Easter Menue


After the dough had the right consistency we formed perfectly round balls to make the dumplings. I just loooove how they looked like!! The next picture is my favorite one 🙂

Rouladen und Klöße mit Rotkraut - Easter Menue

At that moment the Rouladen were already cooking in the oven for hours! My grandma roasted them just after her breakfast which is usually quite early in the morning. Then she made the sauce with roasted vegetables and stale german bread. I don’t have any pictures of this as I was still sleeping 😉 But by the time the Knödel were findished and we tasted the sauce they looked like this:

Rouladen und Klöße mit Rotkraut - Easter Menue

My mothers family lives very close together, actually in houses next to each other. So after preparing the food at my grandma’s house I brought everything I could to my aunt’s house where we ate together.

DSC_0149

The napkins were just sooo cute 🙂

We also had cauliflower salad, green salad and red cabbage.

Traditional German Holiday Dish- Rouladen & Knödel with red cabbageRouladen und Klöße mit Rotkraut - Easter Menue


The food was soooo delicious!! We have this everytime on christmas and on easter, but I was still amazed how scrumptious it was!!

Traditional German Holiday Dish- Rouladen & Knödel with red cabbage

And then it was all gone and we needed a little break before we could go on with the dessert.

Traditional German Holiday Dish- Rouladen & Knödel with red cabbage

The dessert was some layered goodness I spontanously created the day before with crushed cantuccini, some roasted coconut, a layer of caramel maple cream, raspberries and strawberries and a creme of banana and ‘Quark’ which my translater says is called curd cheese in english. It is something german I have never found in any of the countries I have been before!

I thought the dessert was really delicious, and as all of the glasses were emptied in silence I guess the rest of the family will agree 😉

Rouladen und Klöße mit Rotkraut - Easter Menue

So this was our traditional family meal. What did you have to eat?

Traditional German Holiday Dish- Rouladen & Knödel with red cabbage

I hope you liked the little show of pictures!

~ Kathrin