Author Archives: Kathrin

Around the World: Turkey – Sigara Böreği

Around the World: Turkey – Sigara Böreği

Hey there!!

So today is the first day of the Turkish Week on my blog taking part in the Around the World, Week by Week – Series!

Around the World, Week by Week: Turkey: Appetizer: Sigara Böreği by gingerlemonandspice

Why did I chose Turkey as the first country to be featured?

Well, I got the chance to visit this country for two months in the summer of last year. I went there through a partnership of my university in Germany with the Ege-University of Izmir for an internship in the milk technology departement. I didn’t expect much as the turkish people living in Germany often keep very much to themselves and their culture kind of stayed a mystery to me. But boy was I wrong!

süt tecnolojisi

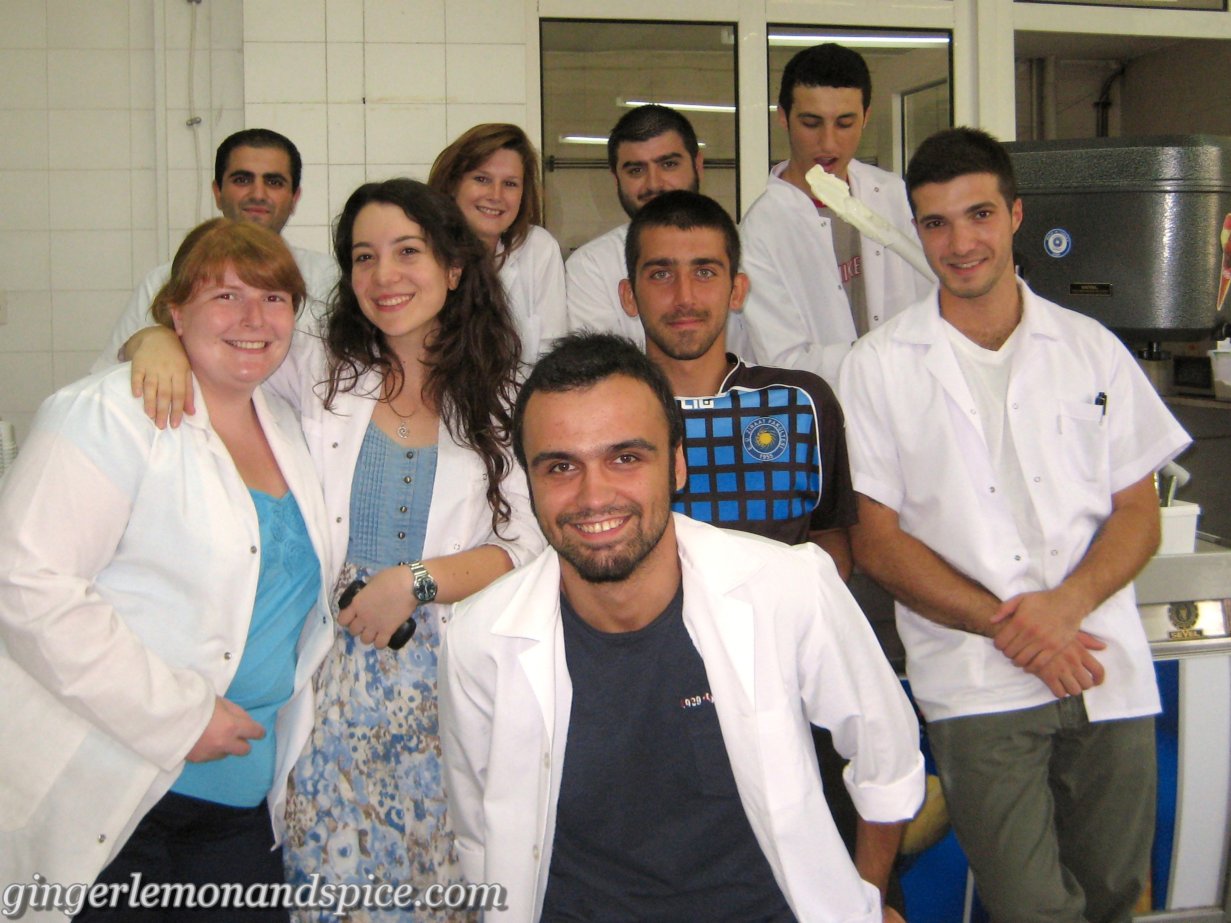
The people were so open and friendly – it was amazing!! Even if it was hard to communicate with some because they didn’t really speek English or German and my Turkish was well, let’s say, just not existing 😉 We got along so well using our hands to gesticulate and some google-translate for more difficult things!! The people were very hospitable and obliging and the boys real gentleman! I felt at home right away and made many great friends!!

Also I found a family there which adopted me, at least figuratively speeking 🙂 It is the family of my neighbour who died unfortunatly and very sudden two years ago. His wife went back to Turkey to stay with their son and daughter and their grandchildren who are already in their late teens. I last saw them all when I was little, they didn’t come to Germany often to visit because most of the time my neighbour and wife went to Turkey and spend some weeks each year there. So when he died everything was really quick. They gave up the house and moved back to Turkey in just like two weeks or something – a time in which I couldn’t come to my parents house to say goodbye. I had to stay and go to university. So when I found out they actually lived near Izmir and I could probably see them during my stay I got really excited!!

gingerlemonandspice

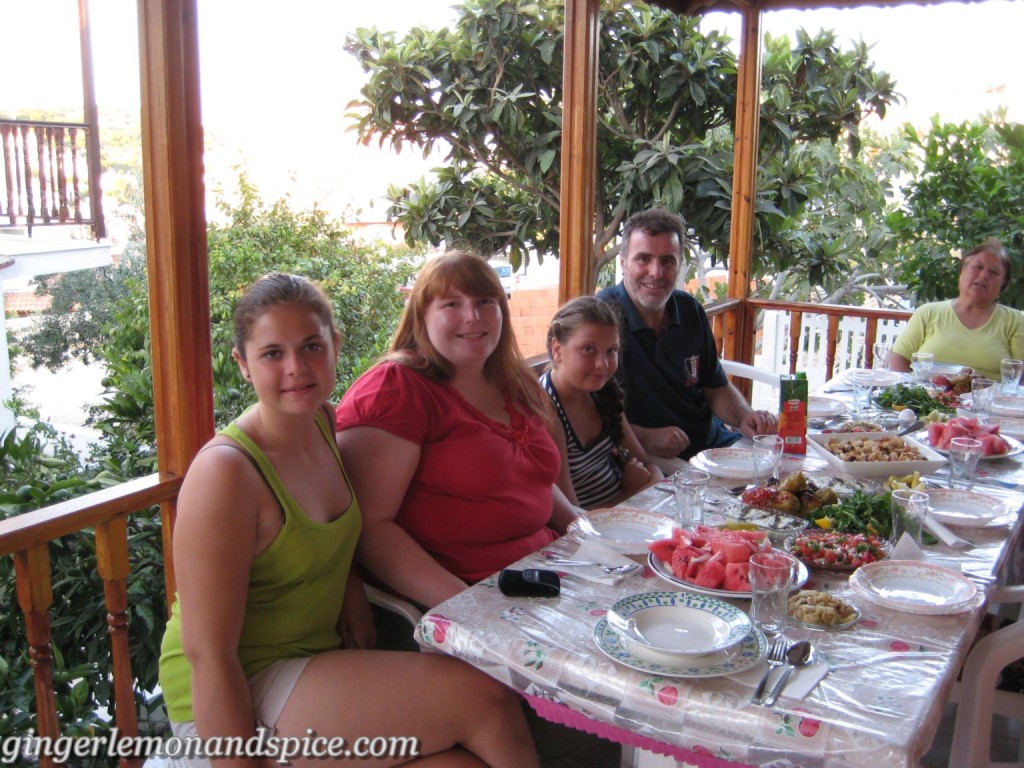
And then I finally met them and it was like coming home to your family. Everybody was kissing and hugging and I was instantly adopted as a family member! They called me their daughter, cousin and sister and it was how I felt too!! This sounds all very emotional – but it is how I felt!!

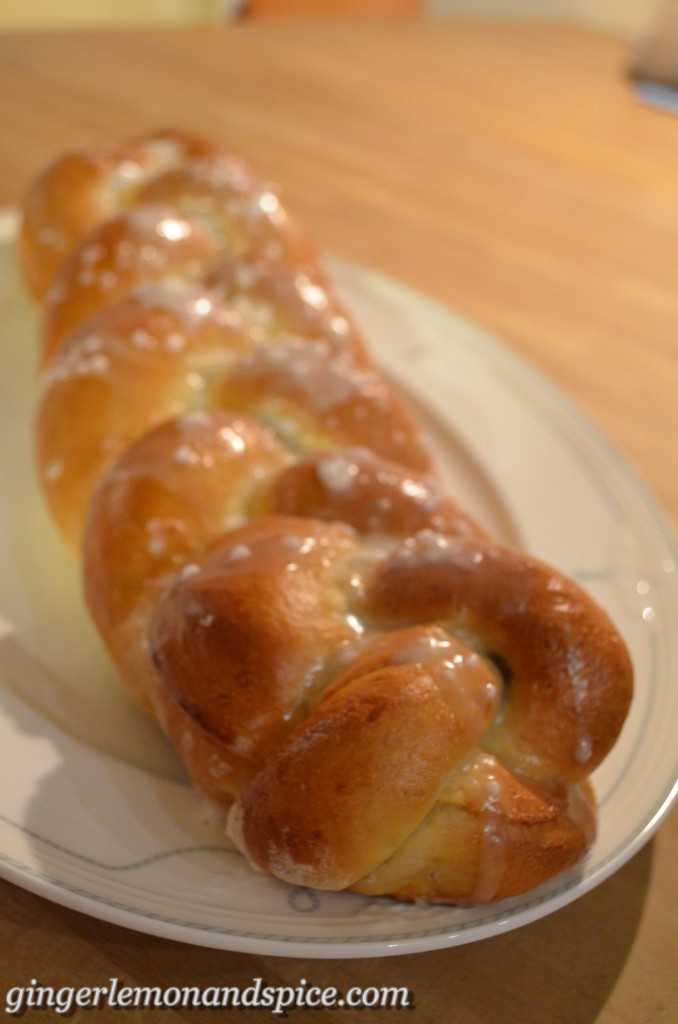
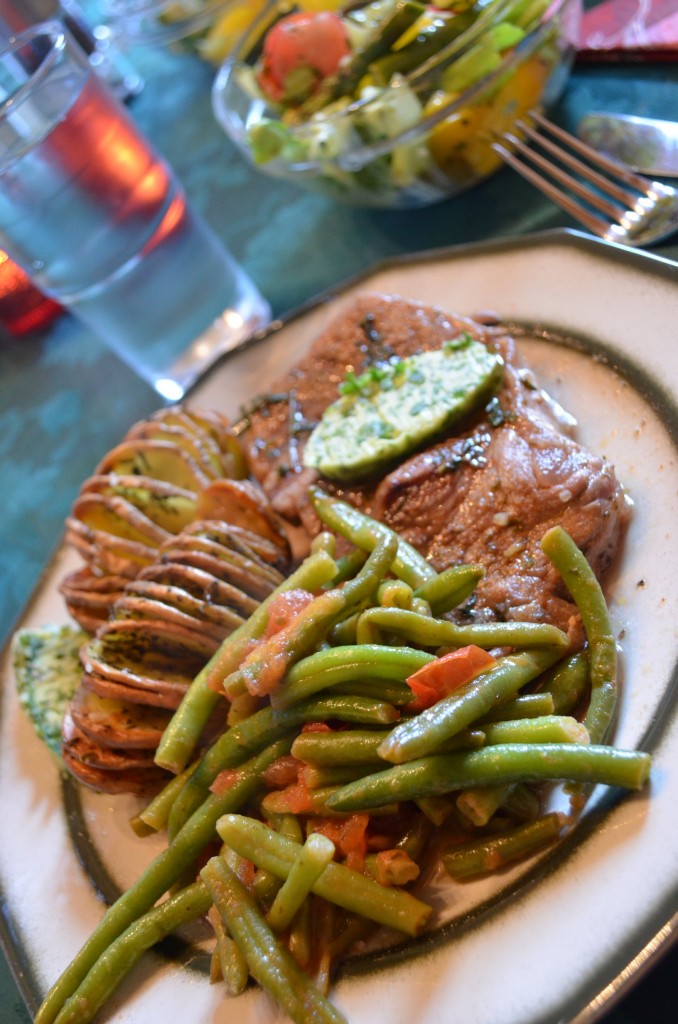
I stayed at their house, was invited to their cram-ful tables for breakfast and dinner, I  was cooking with them Turkish food and I even cooked a German dish for them at the last evening as a thank you. I guess I got some first-hand experience there 😉

gingerlemonandspice

It was awesome!! I miss them all very much!!


But now let’s go on to the food part! There has to be something to tell for the next days too 😉

Today is Monday, so we will have a little talk about appetizers in Turkish Cuisine. Small plates with different dishes to snack on have a long tradition in Turkey. They even have a special name for it: Meze! It is kind of like the Tapas of Turkey 🙂 You can get them in nearly every restaurant, and in the better ones you even get some for free. It can be things like a salad, bread, a joghurt dip or different spreads – it’s all possible.

Around the World, Week by Week: Turkey: Appetizer: Sigara Böreği by gingerlemonandspice

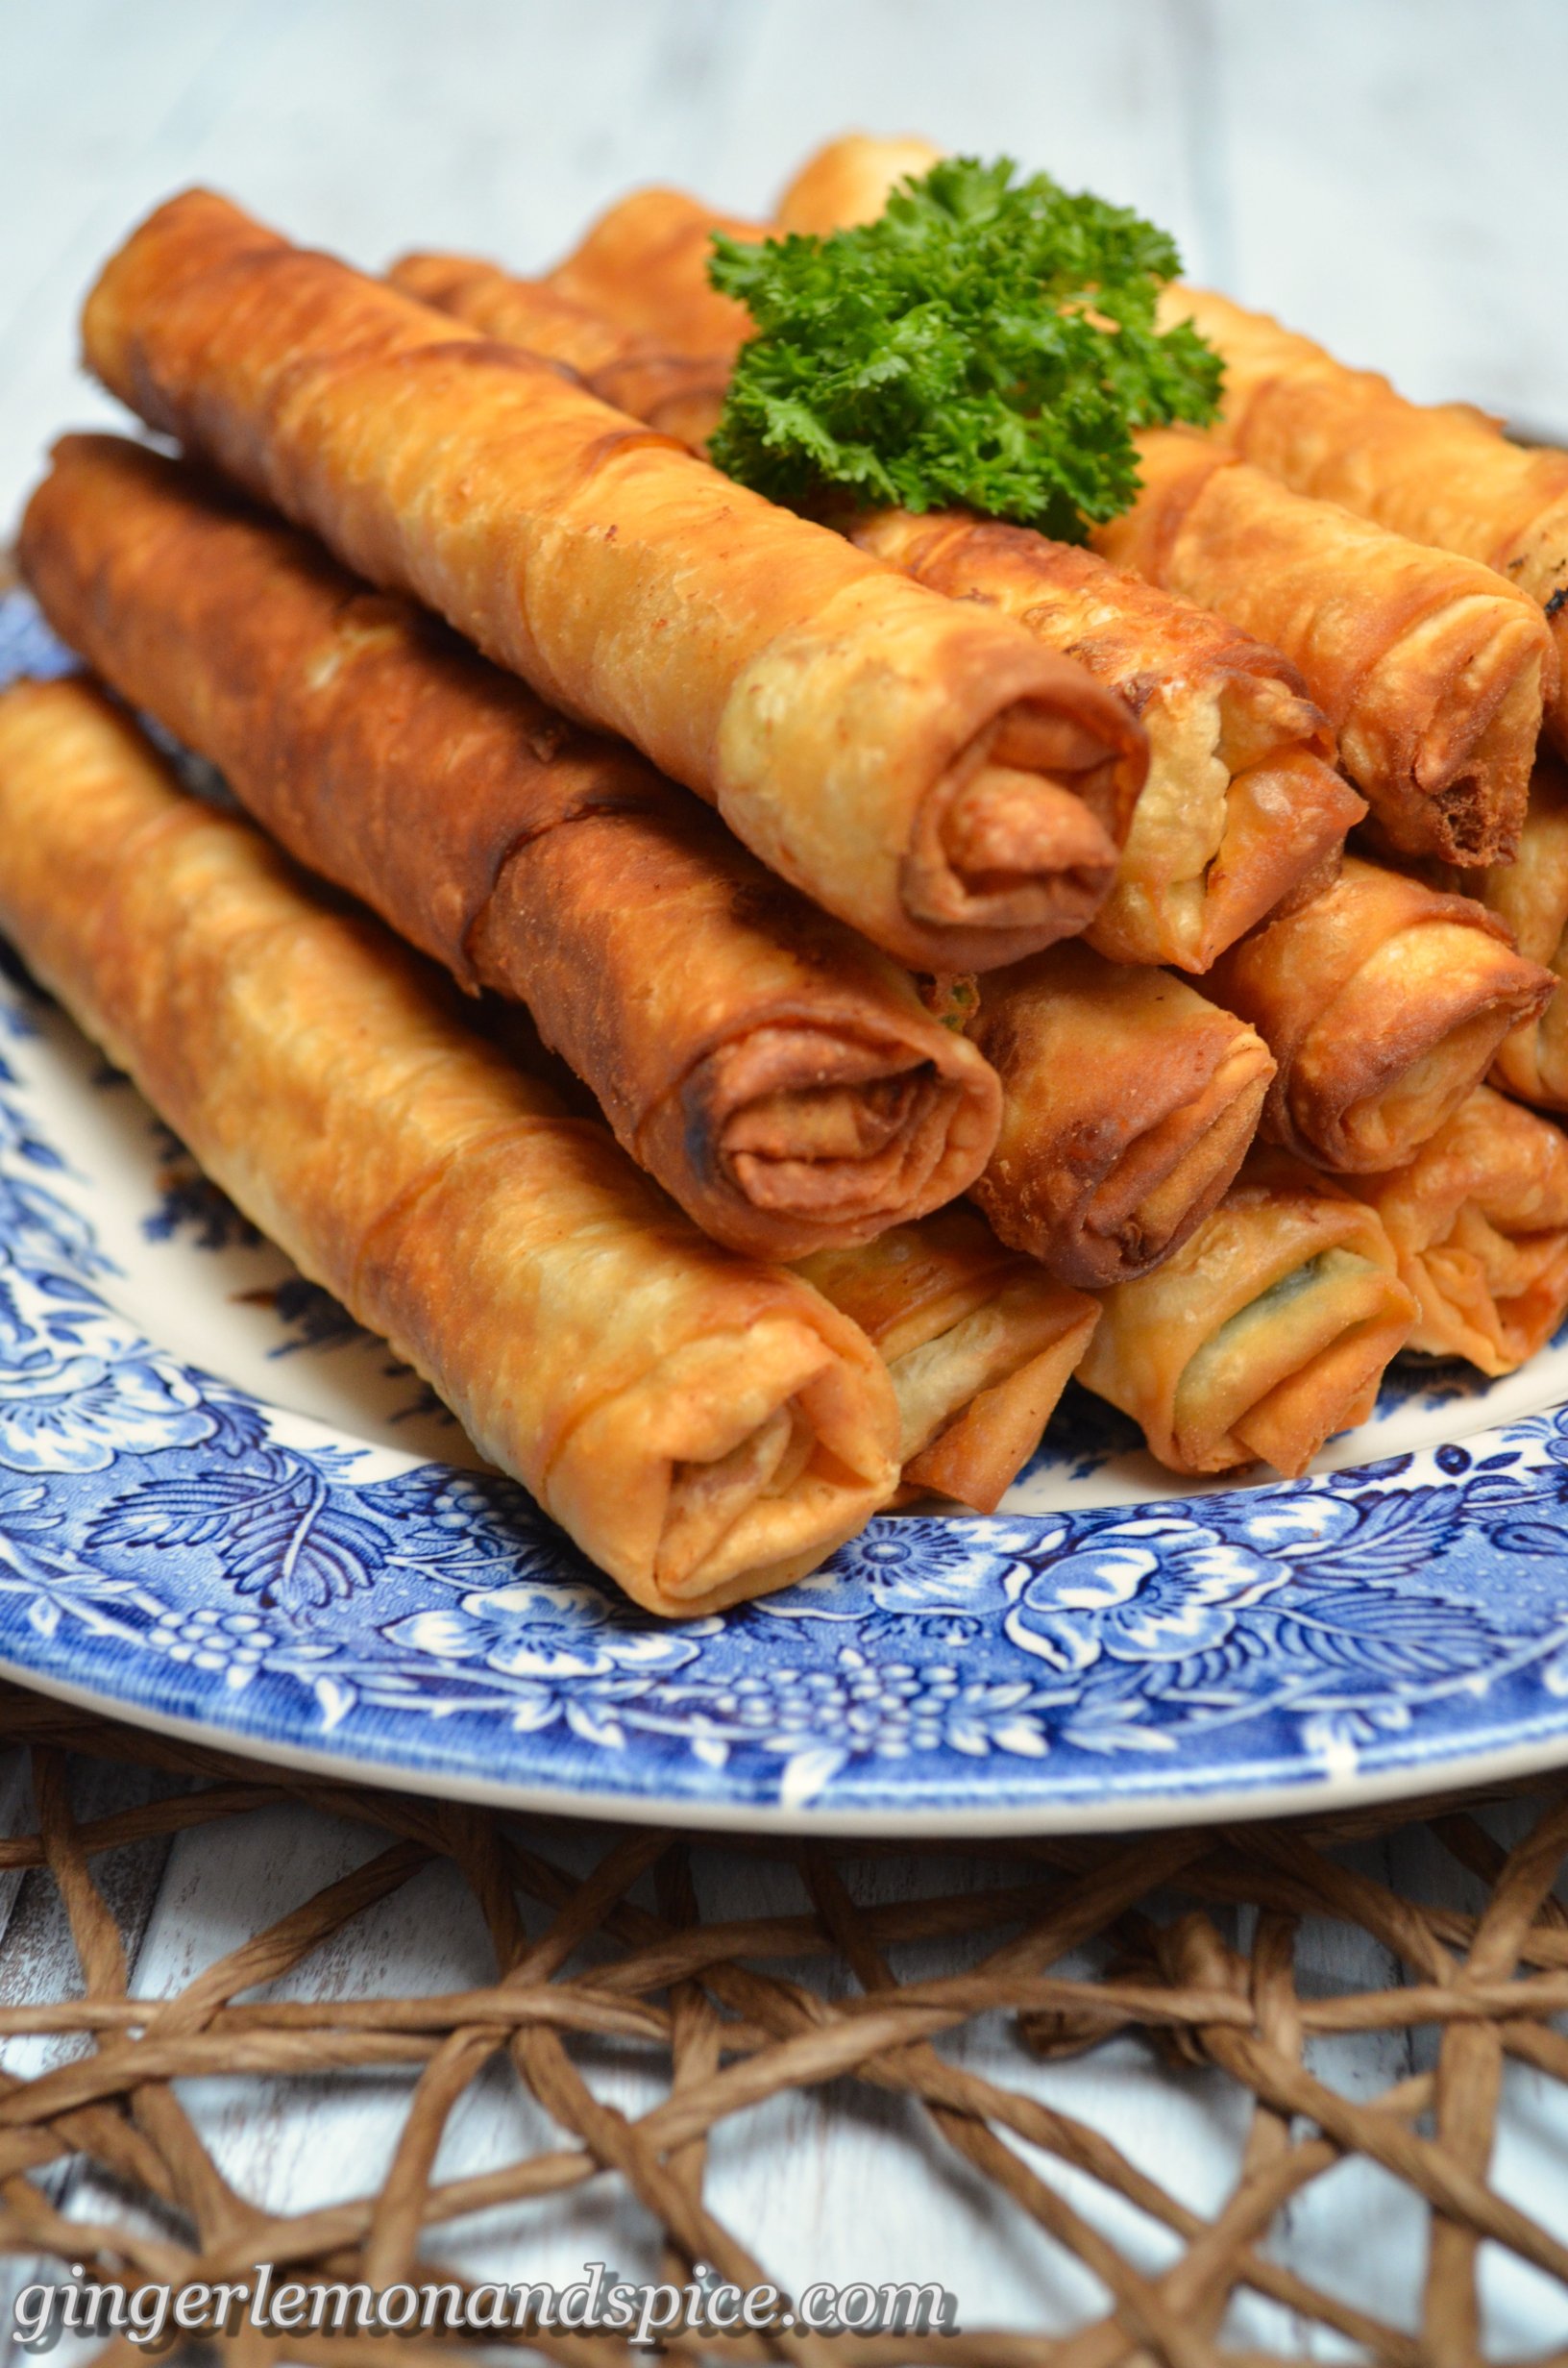
What I have here for you is Sigara Böreği, a savoury snack in the form of thin rolls. They taste a little bit salty and very crispy – once you start eating you can never stop 😉 They are really delicious and probably gone faster than anything else on a buffet!!

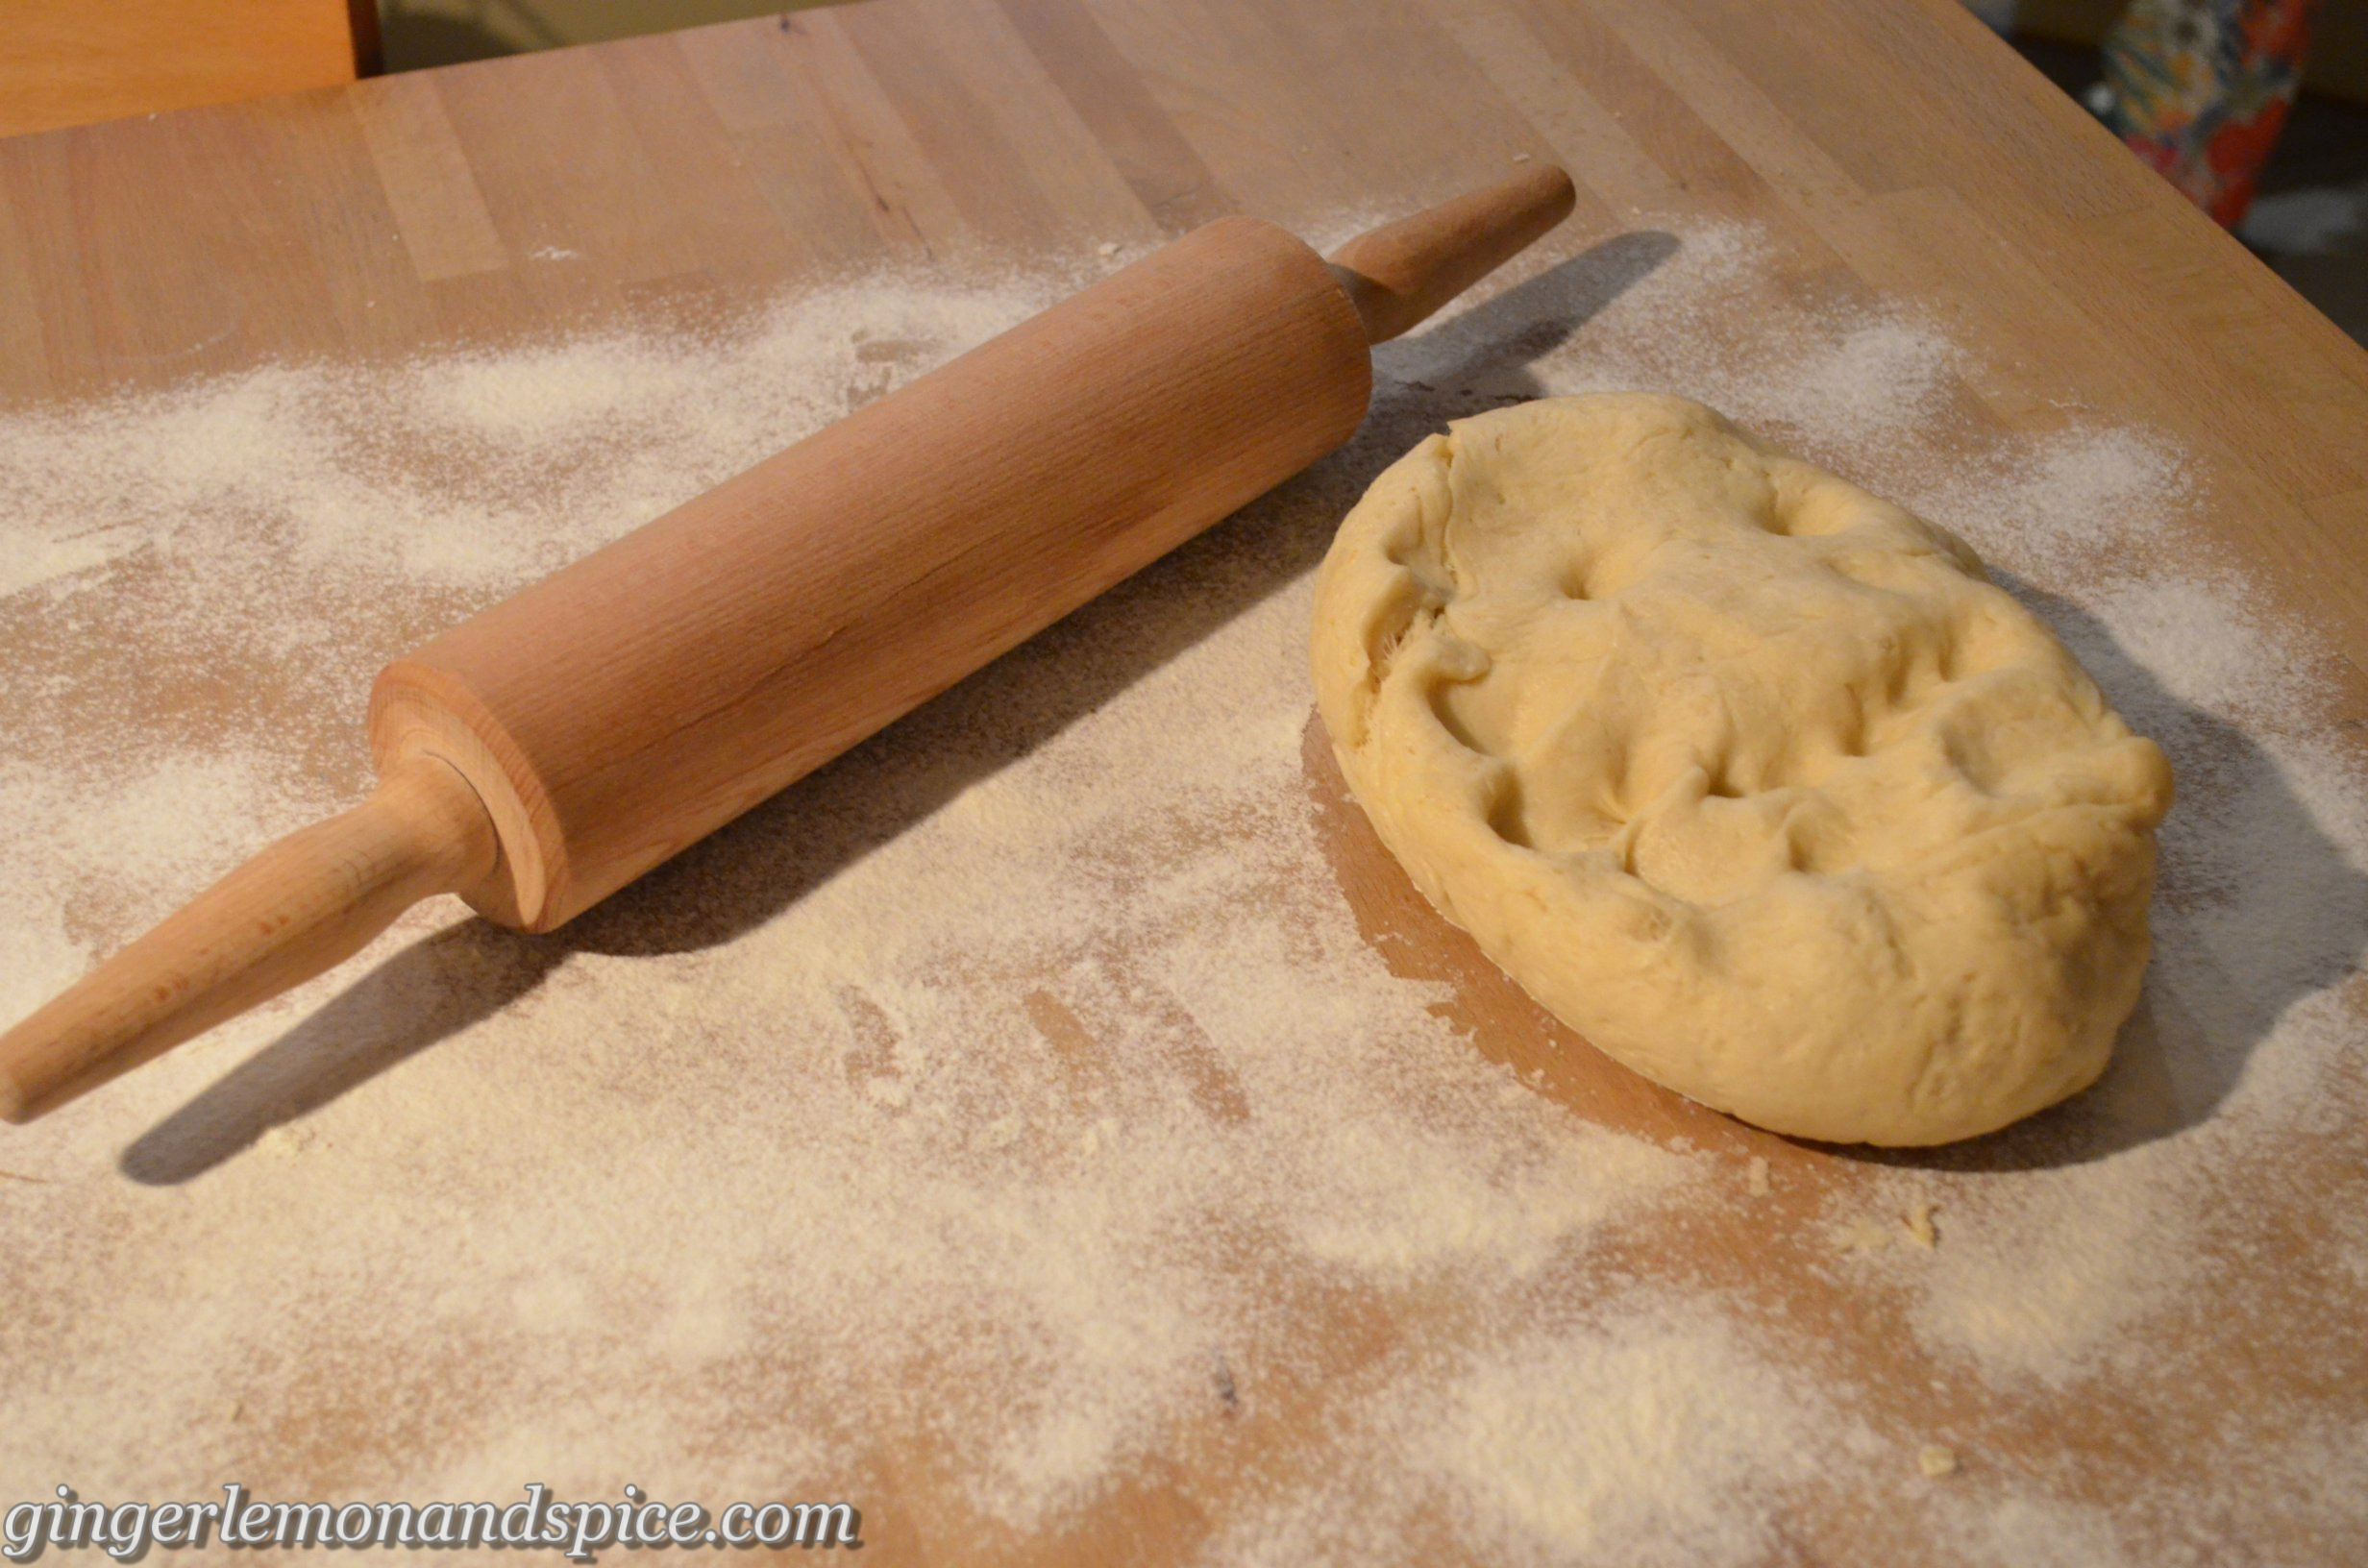
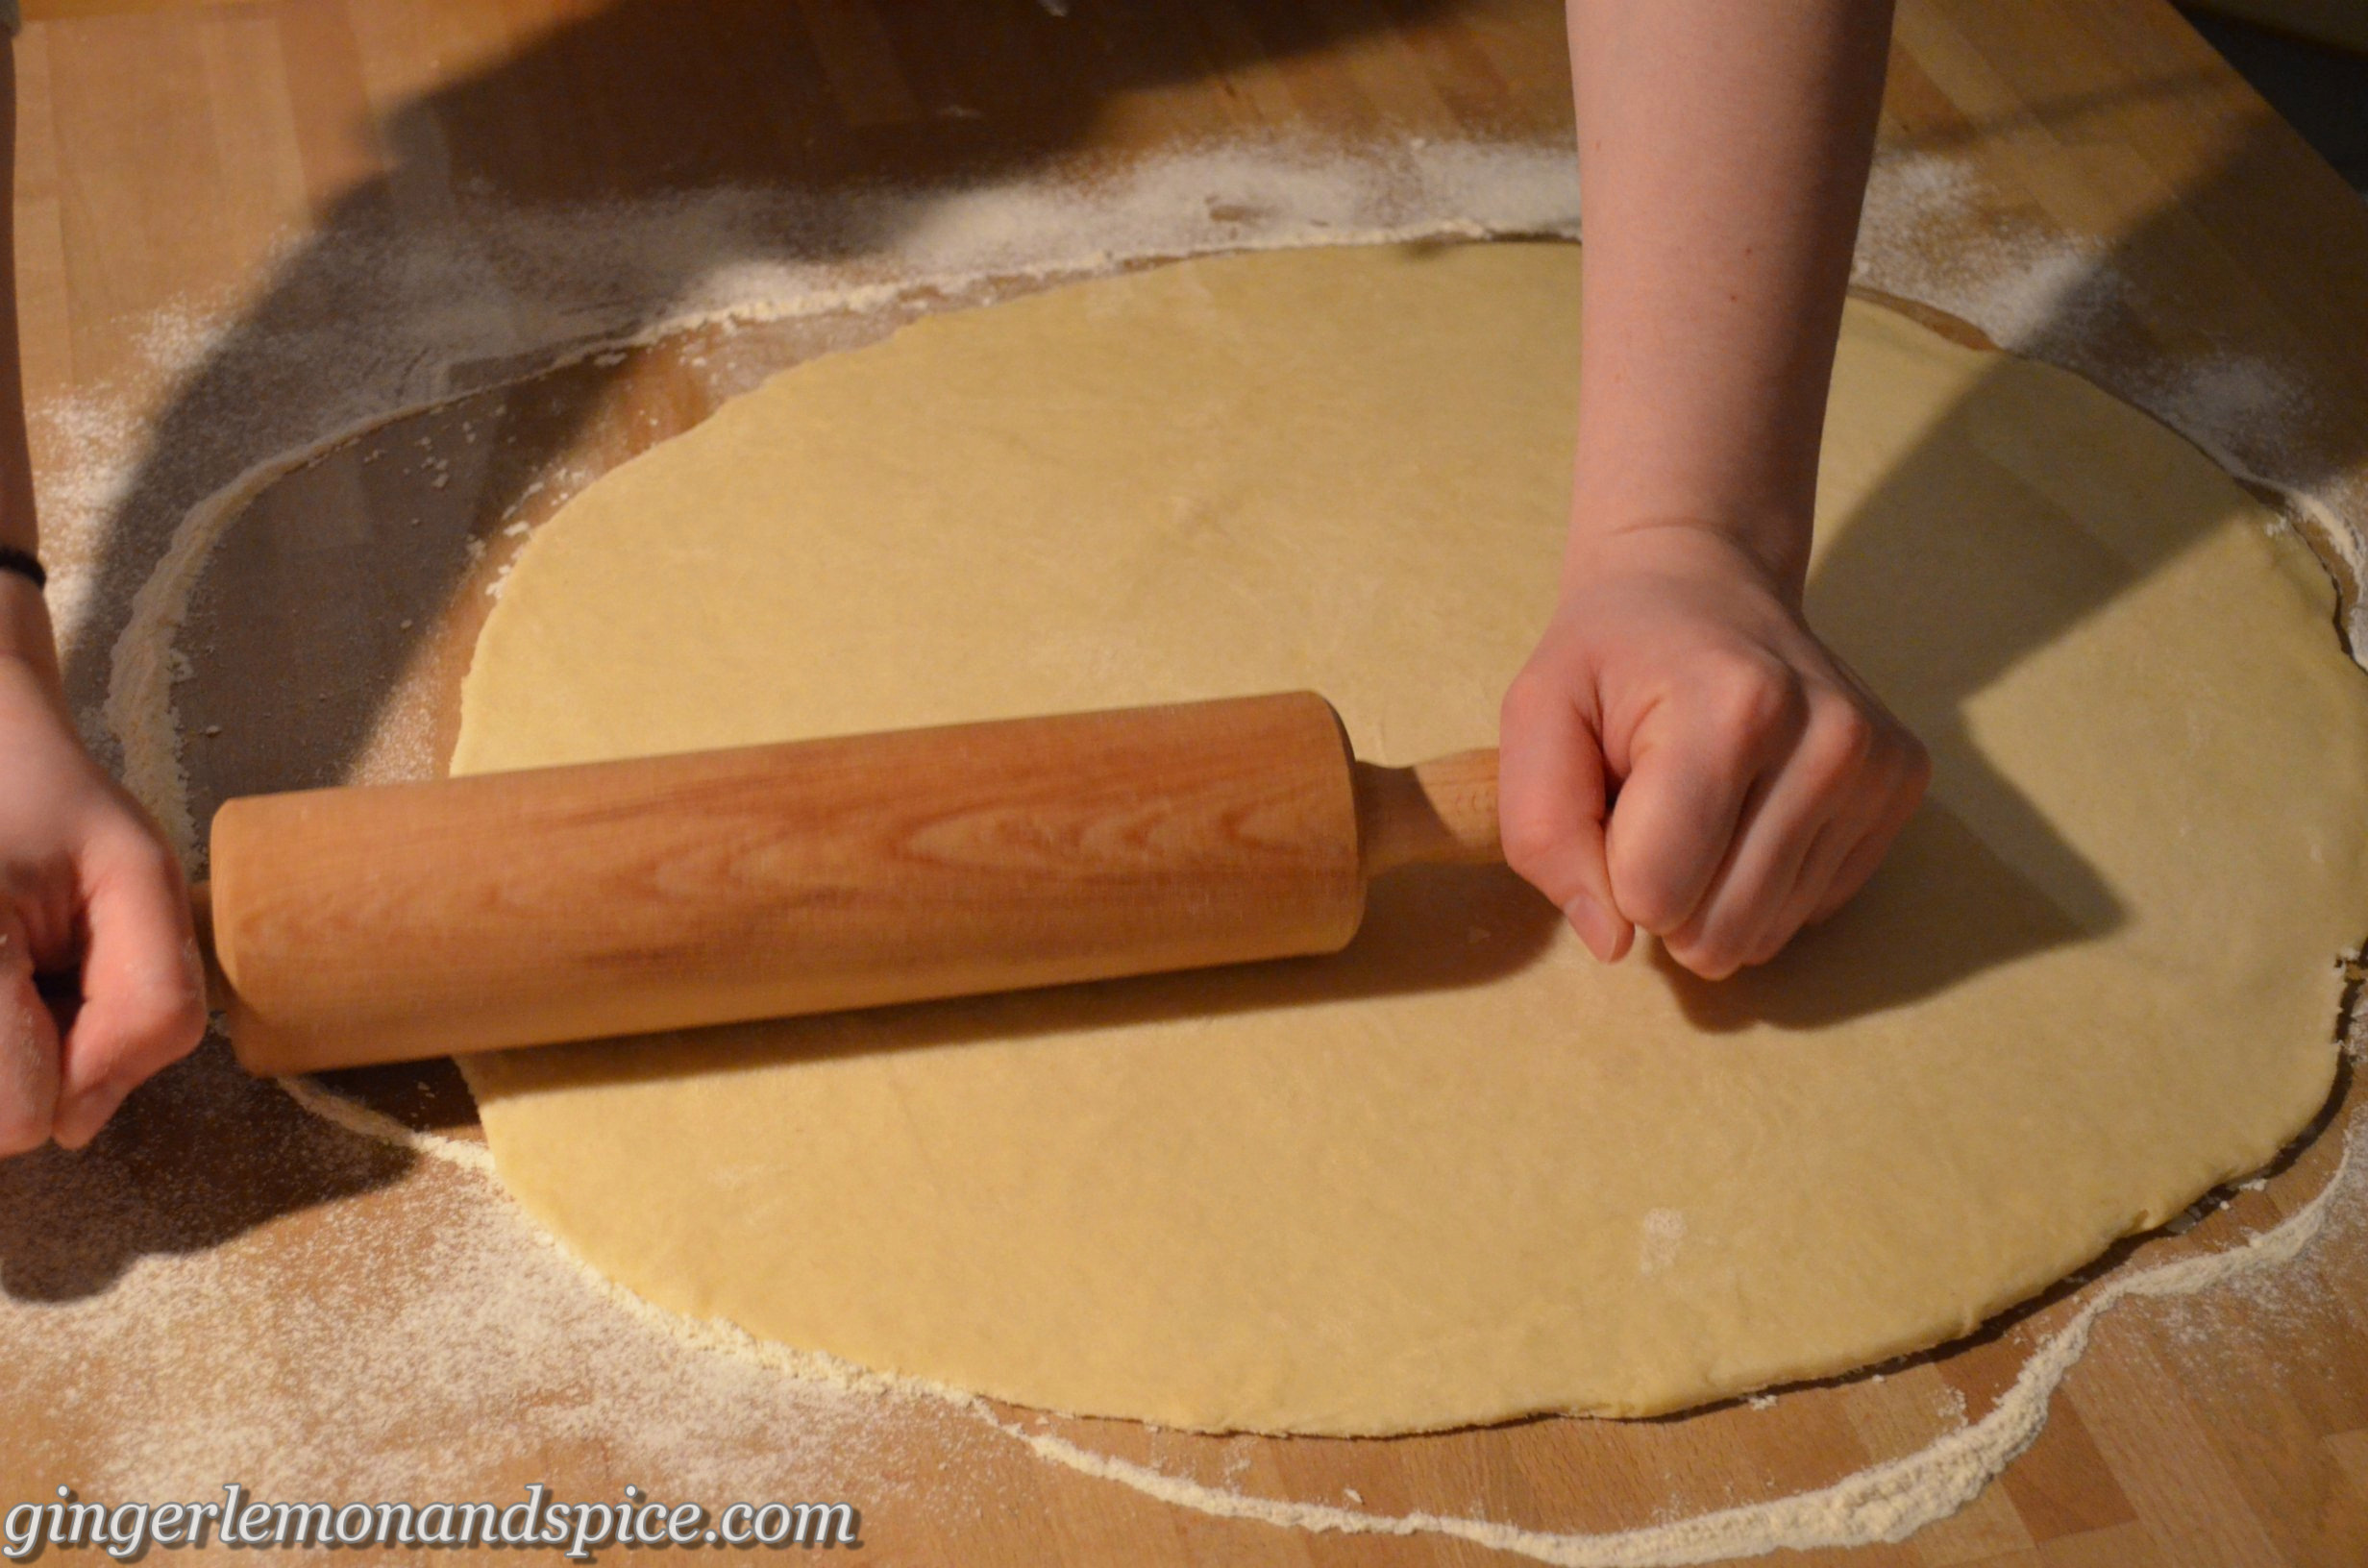
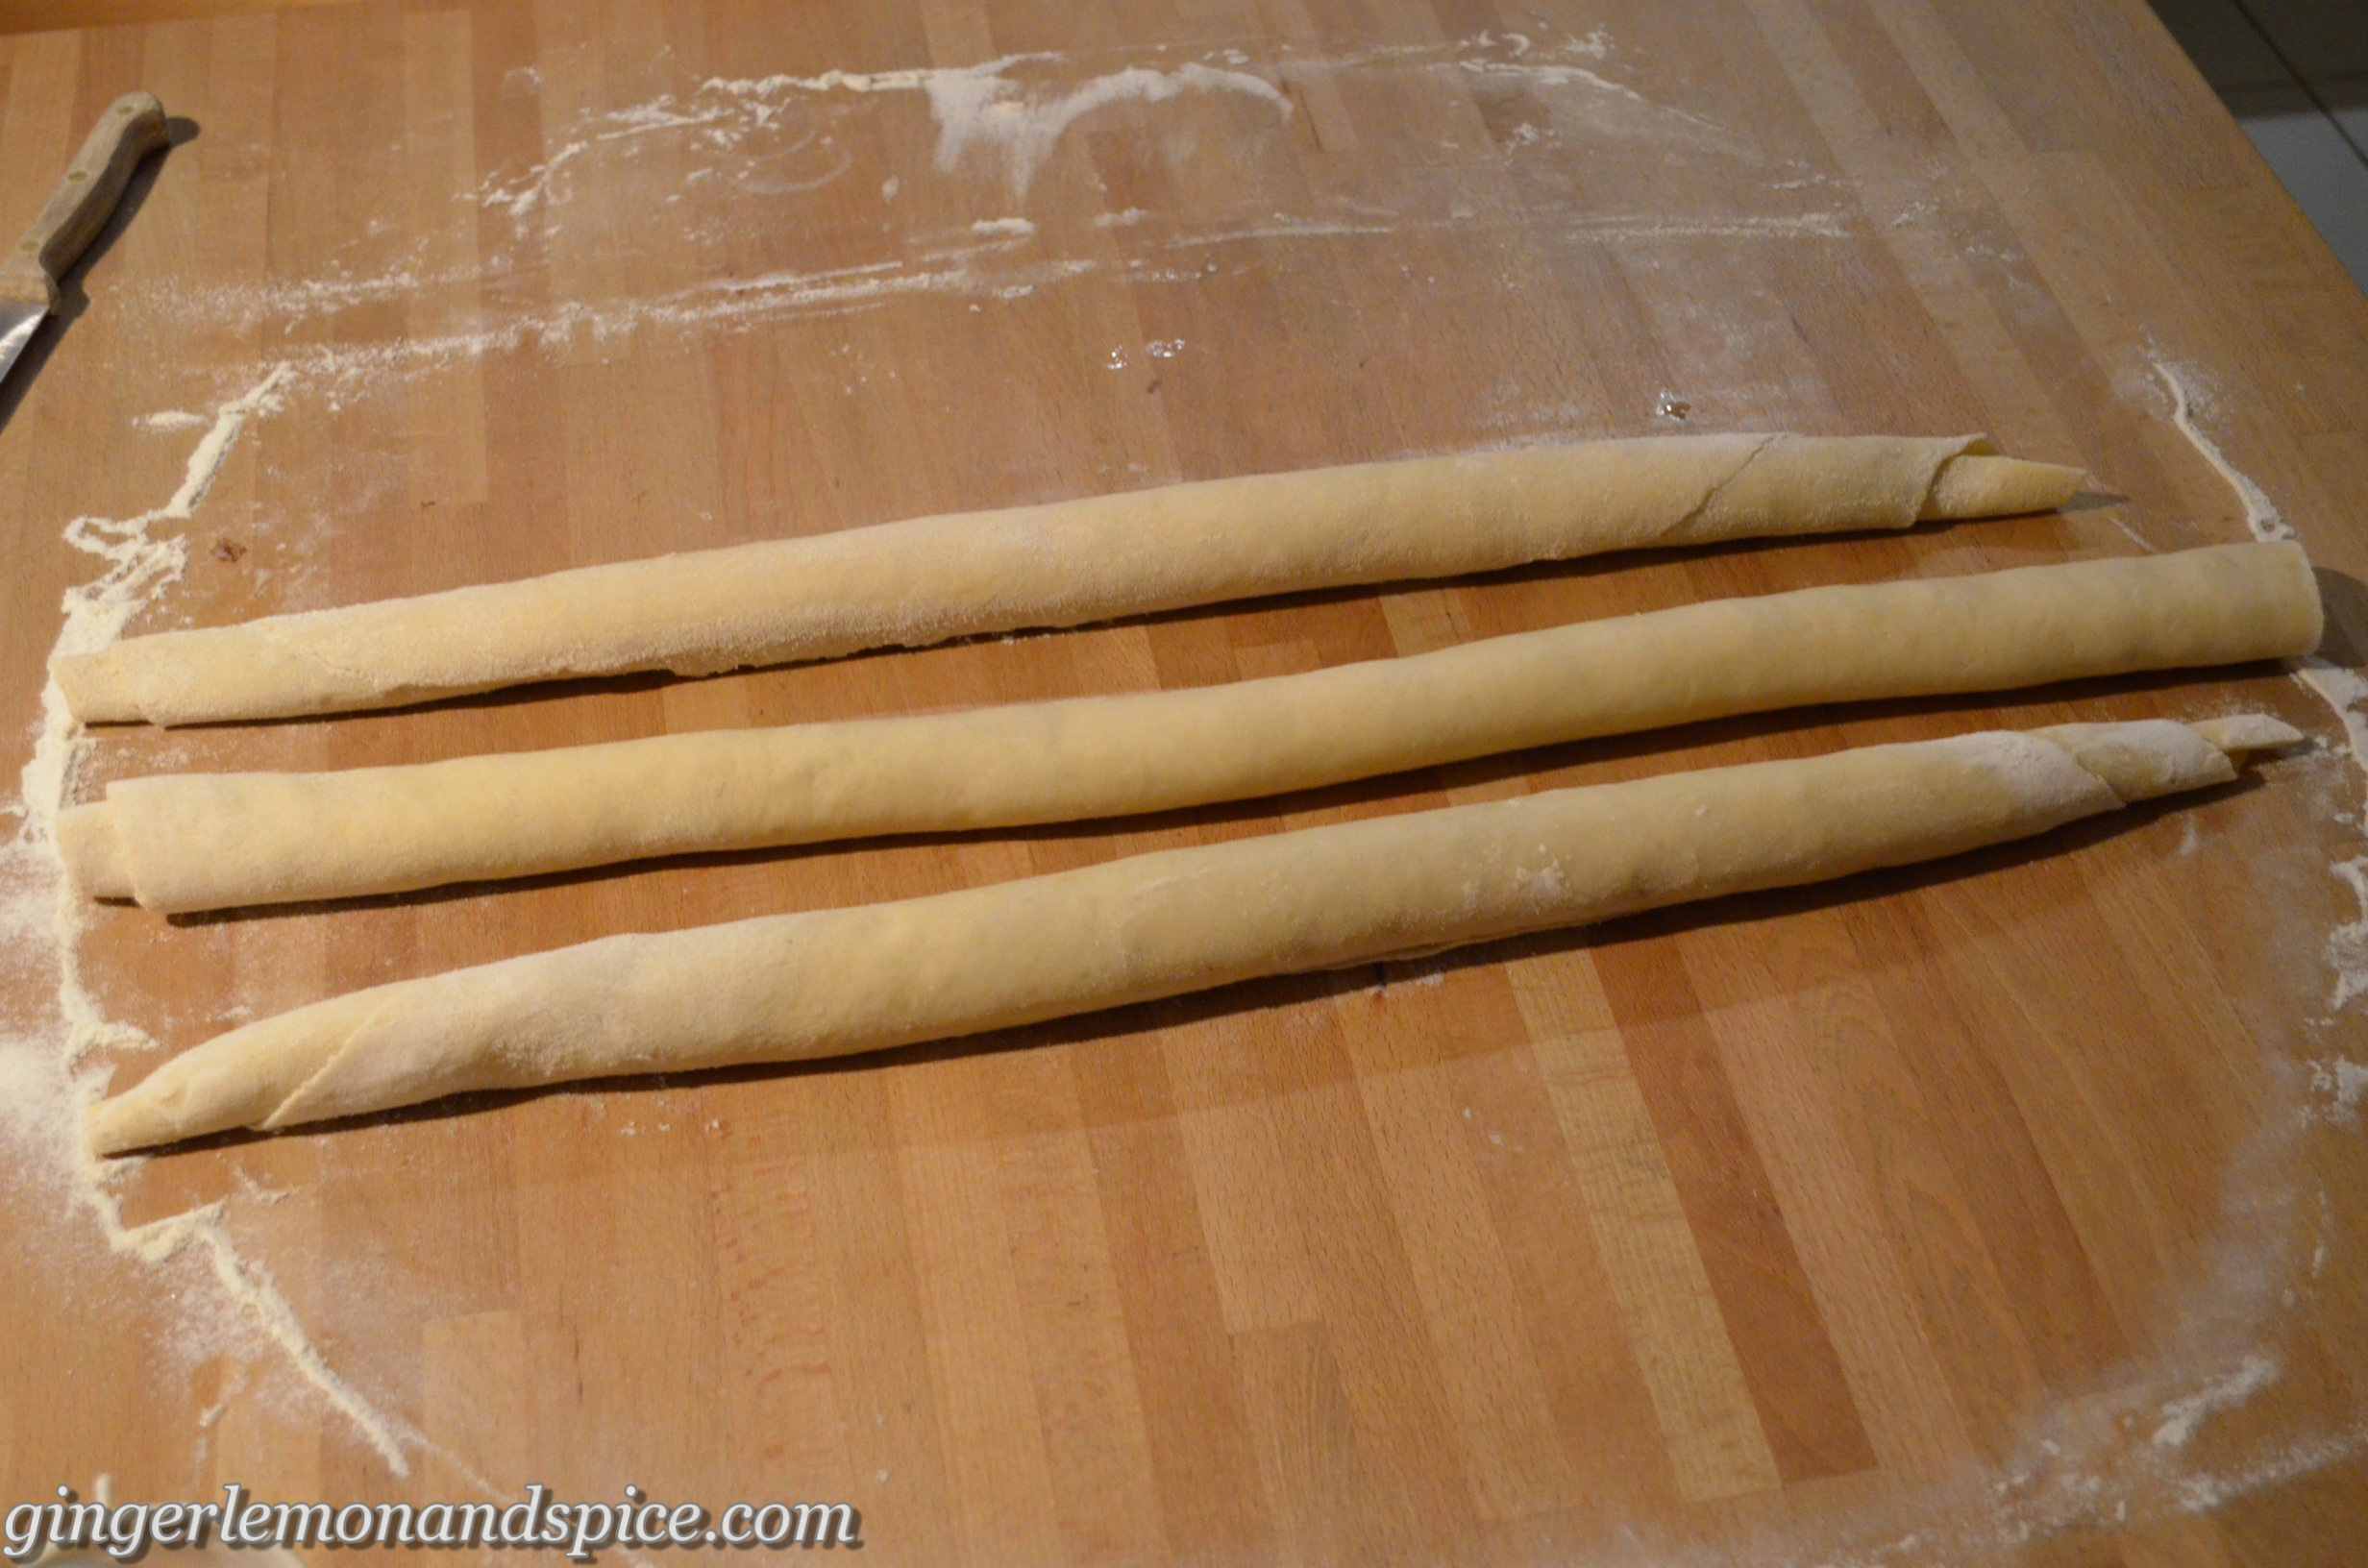
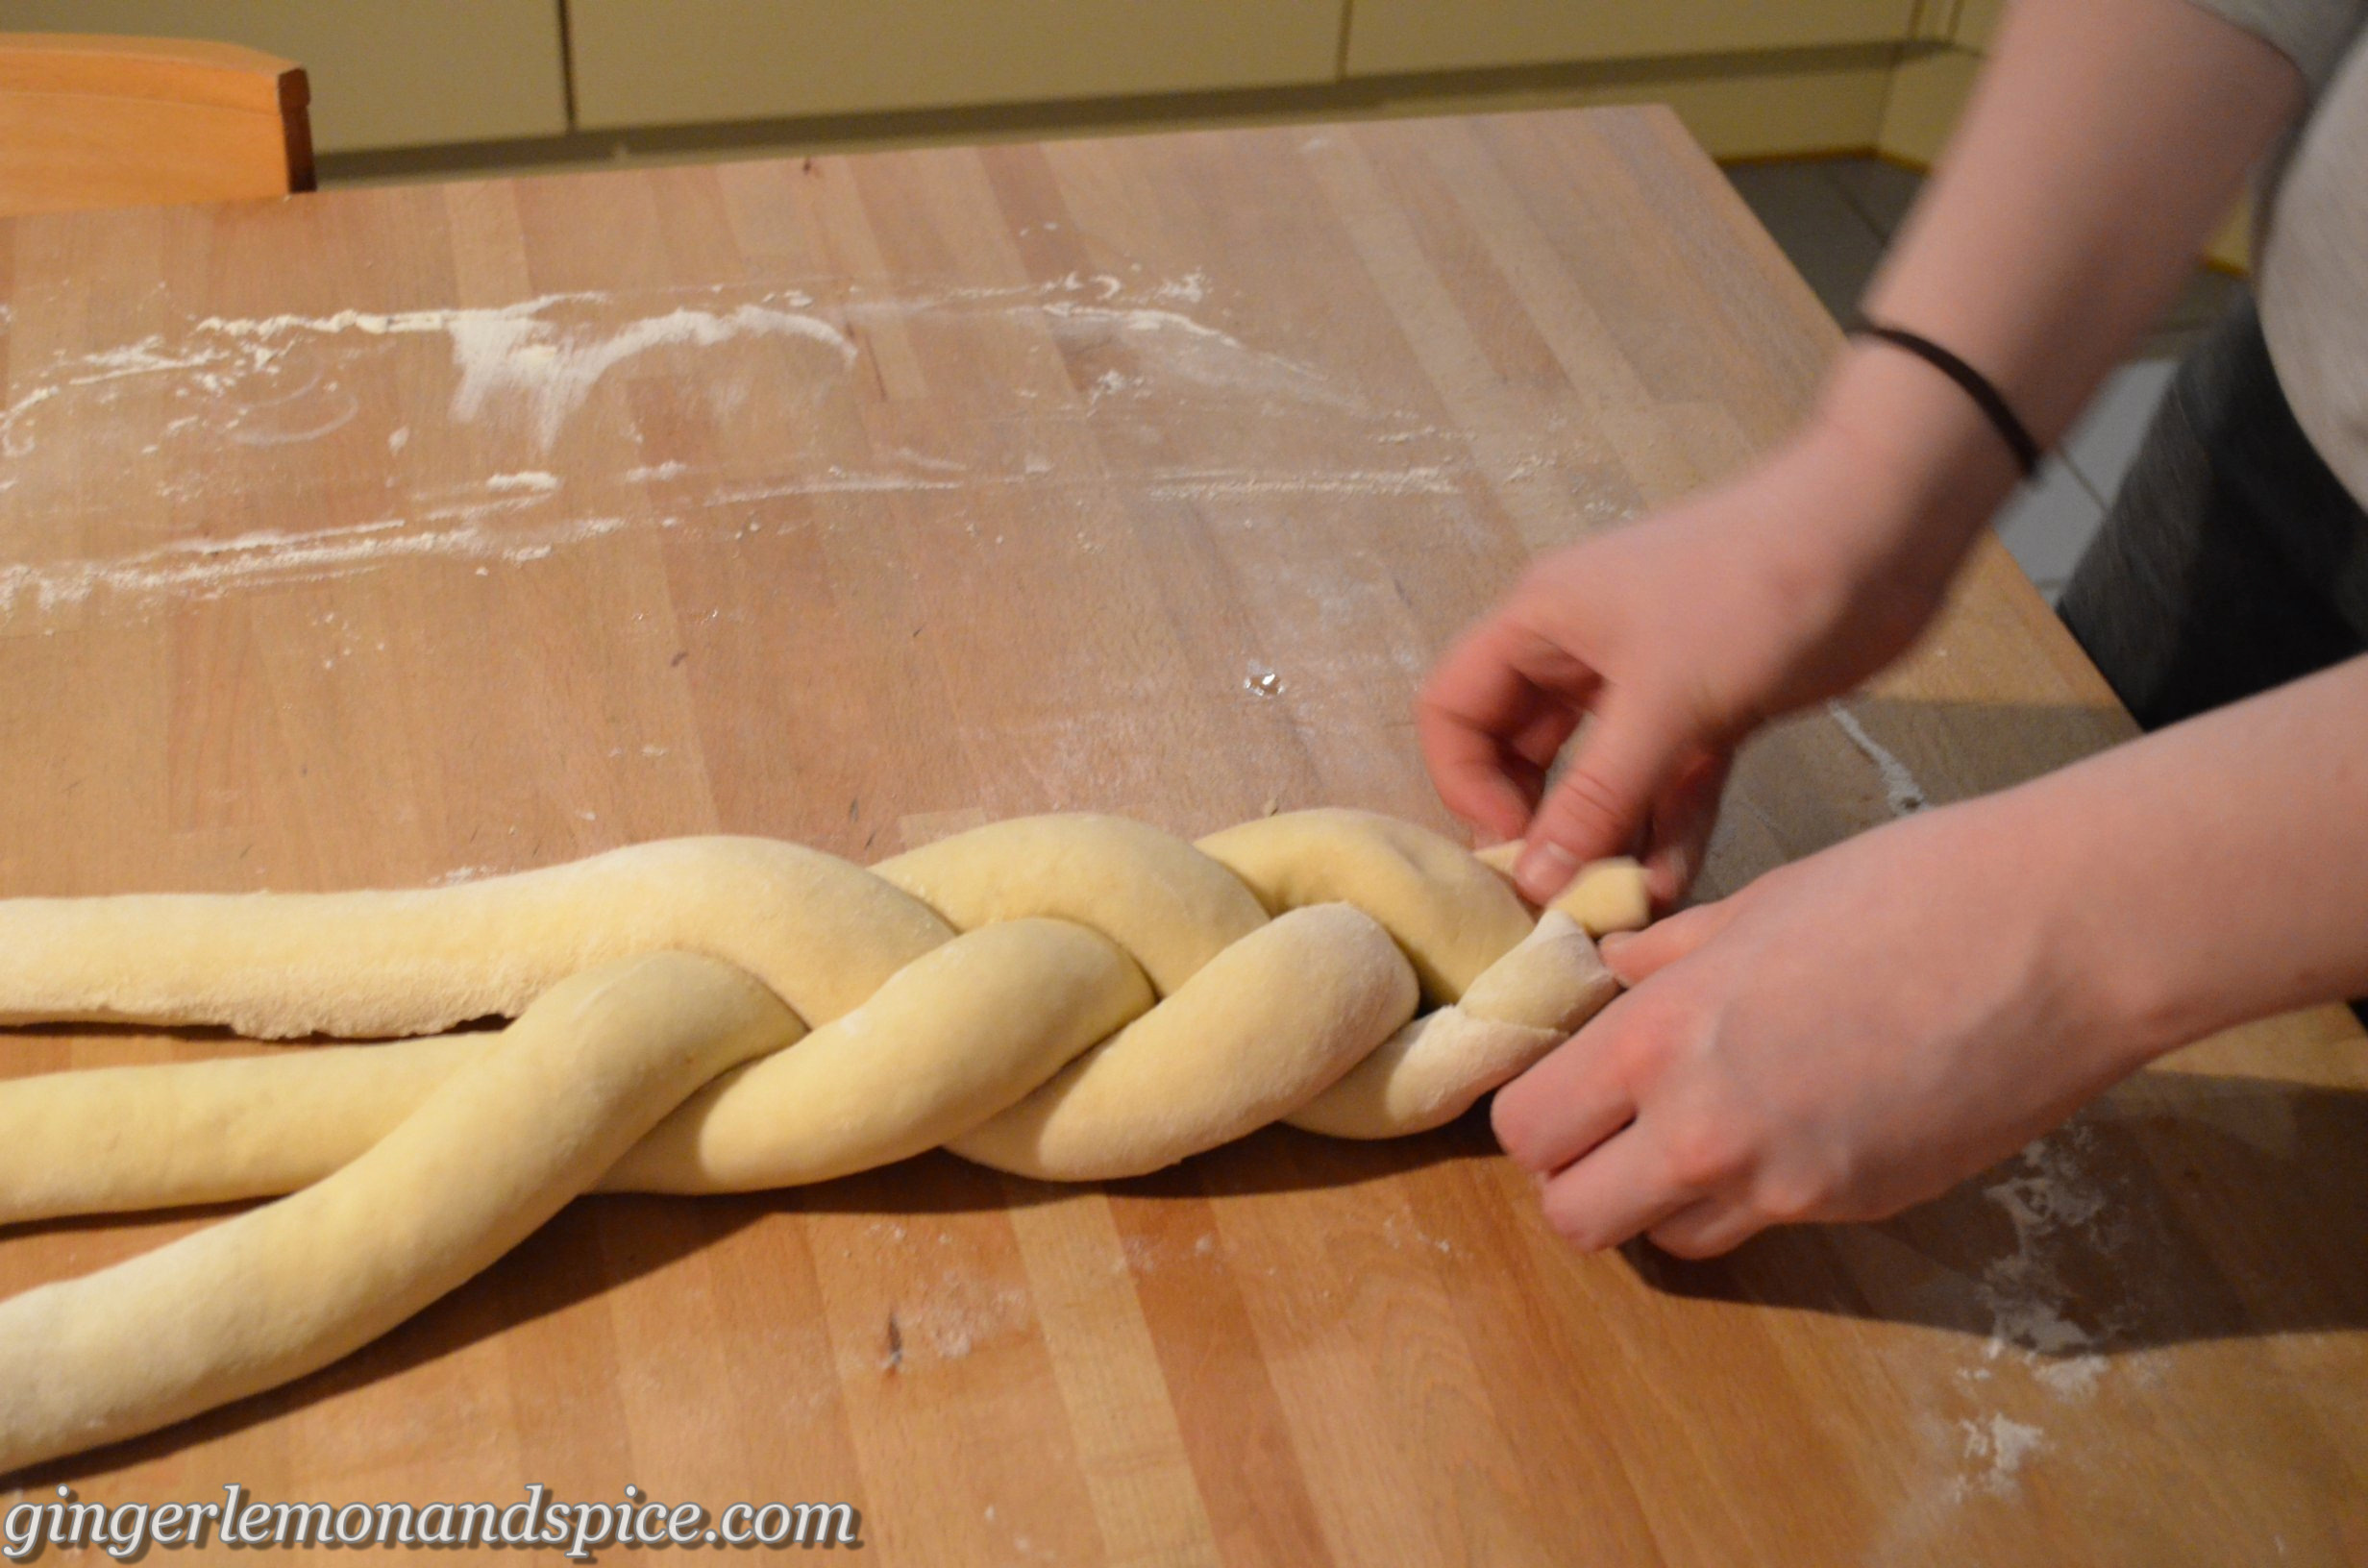
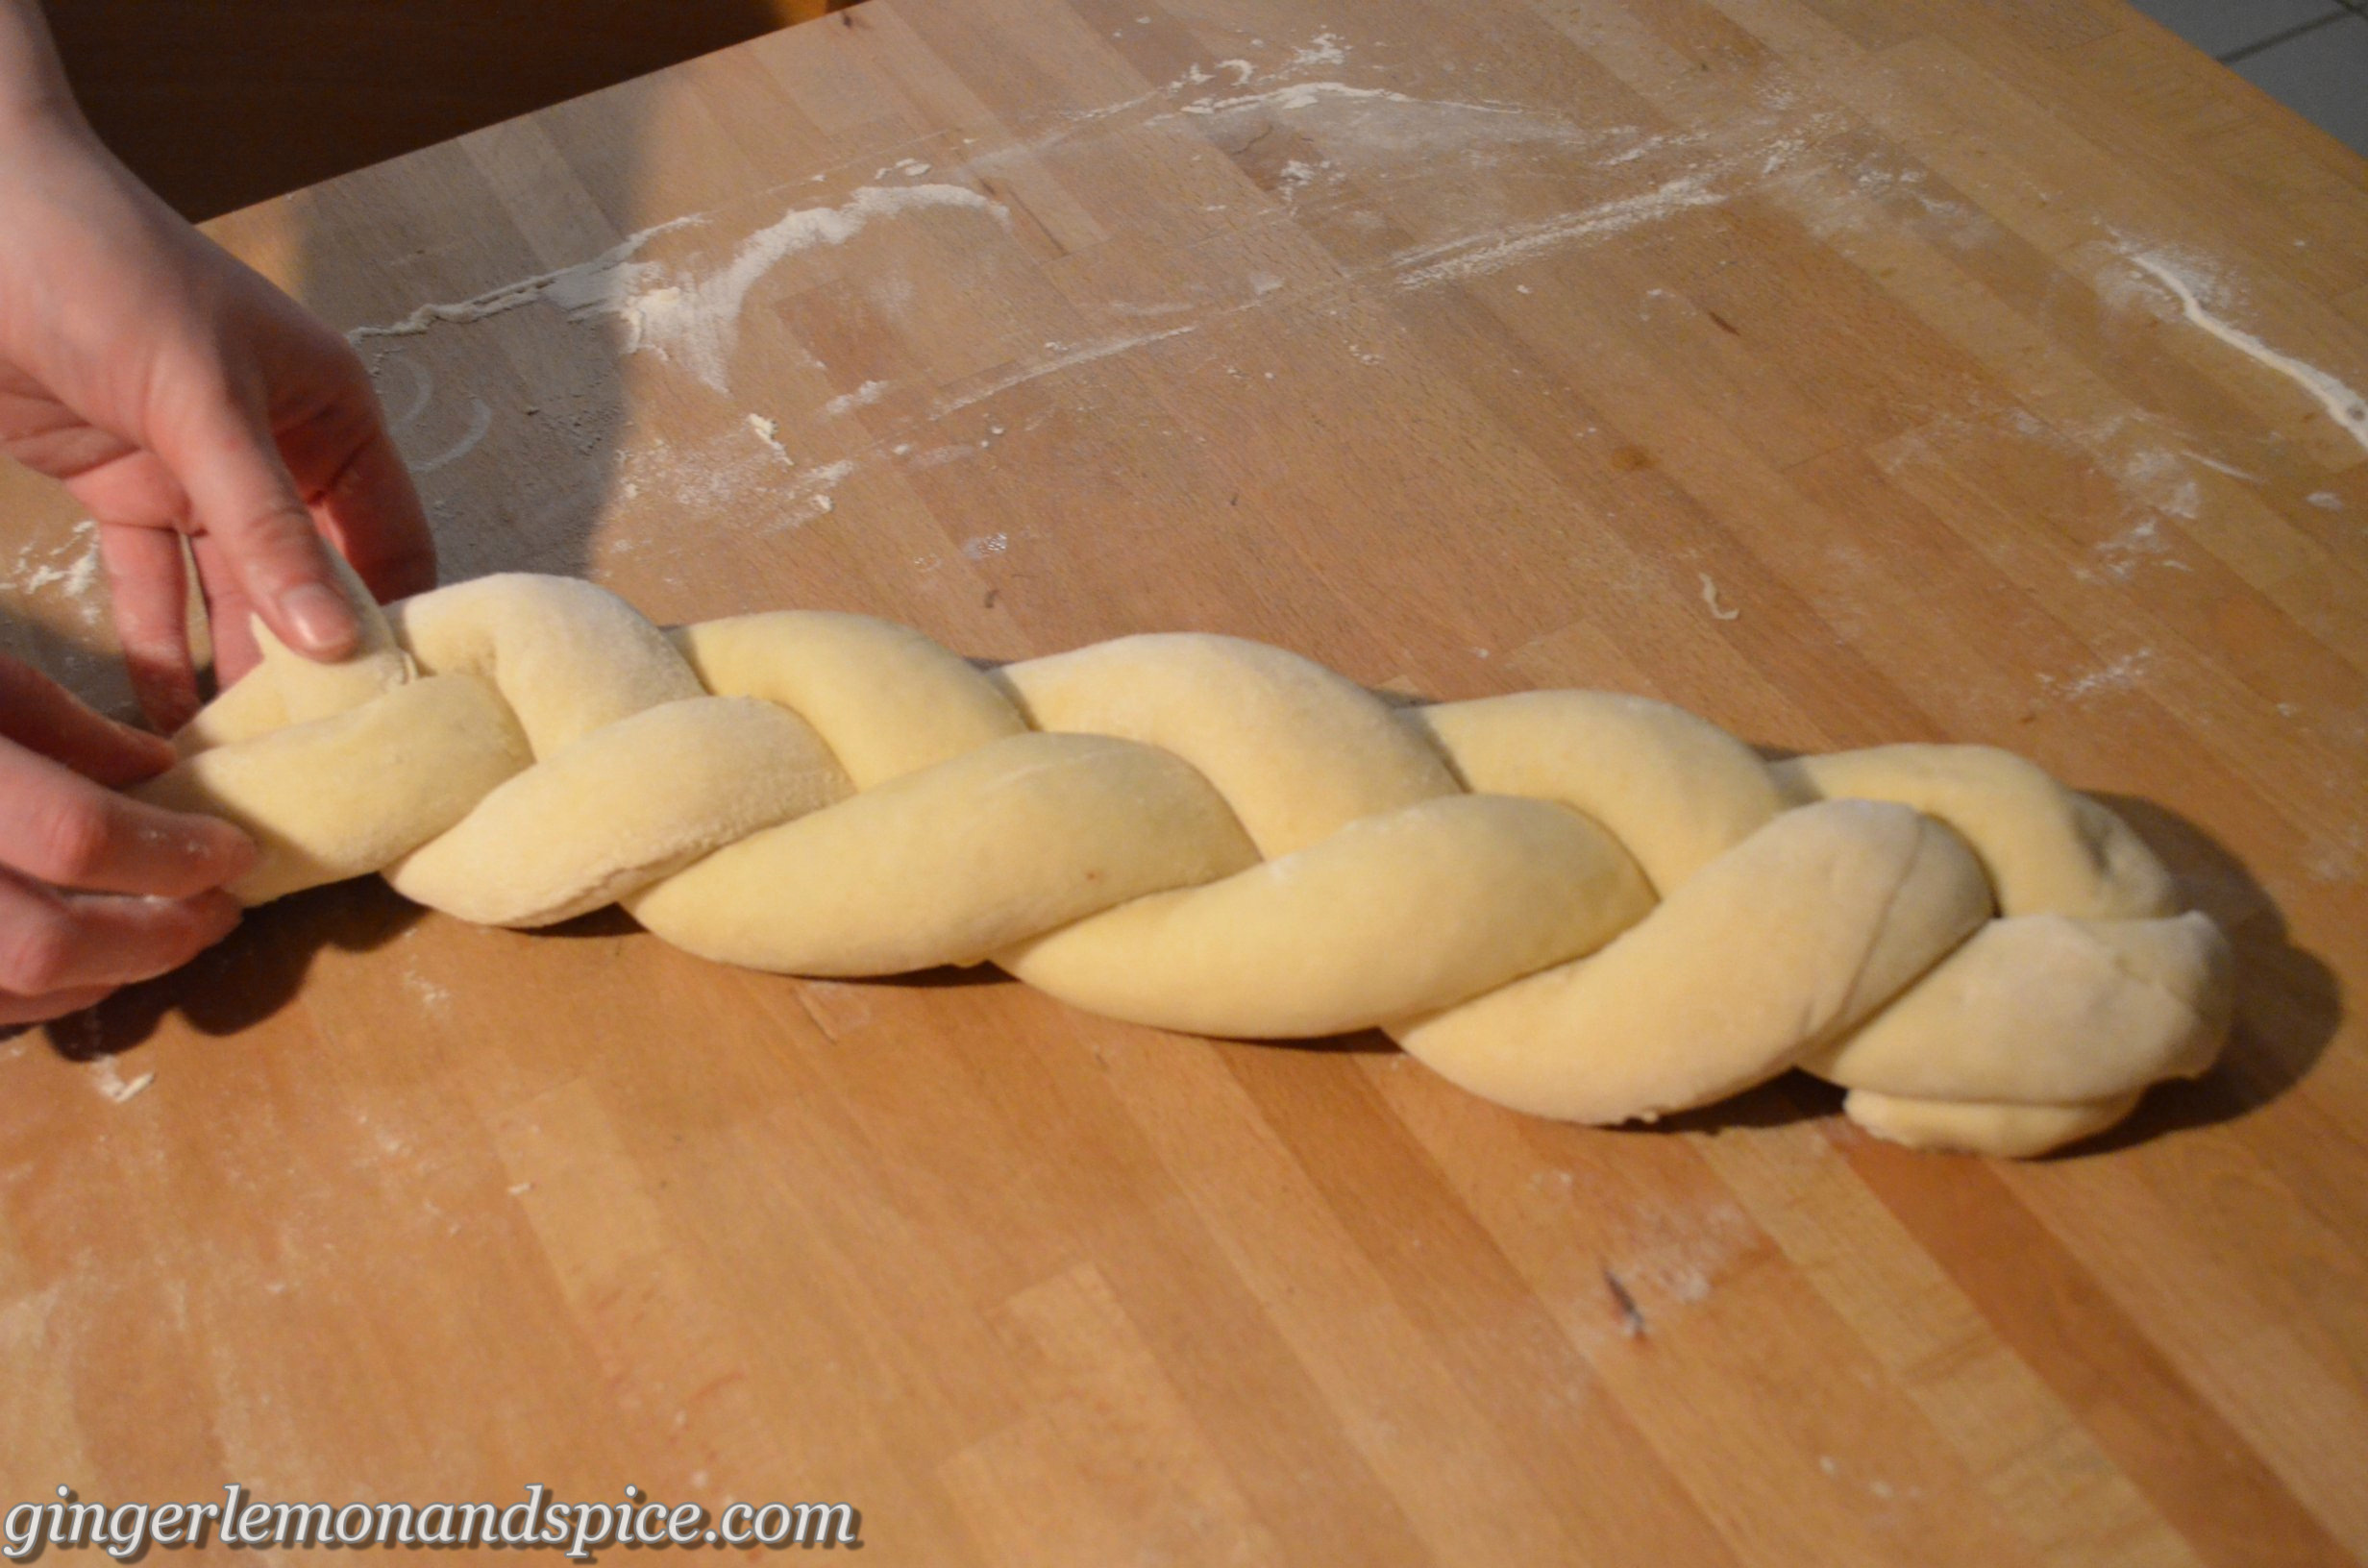
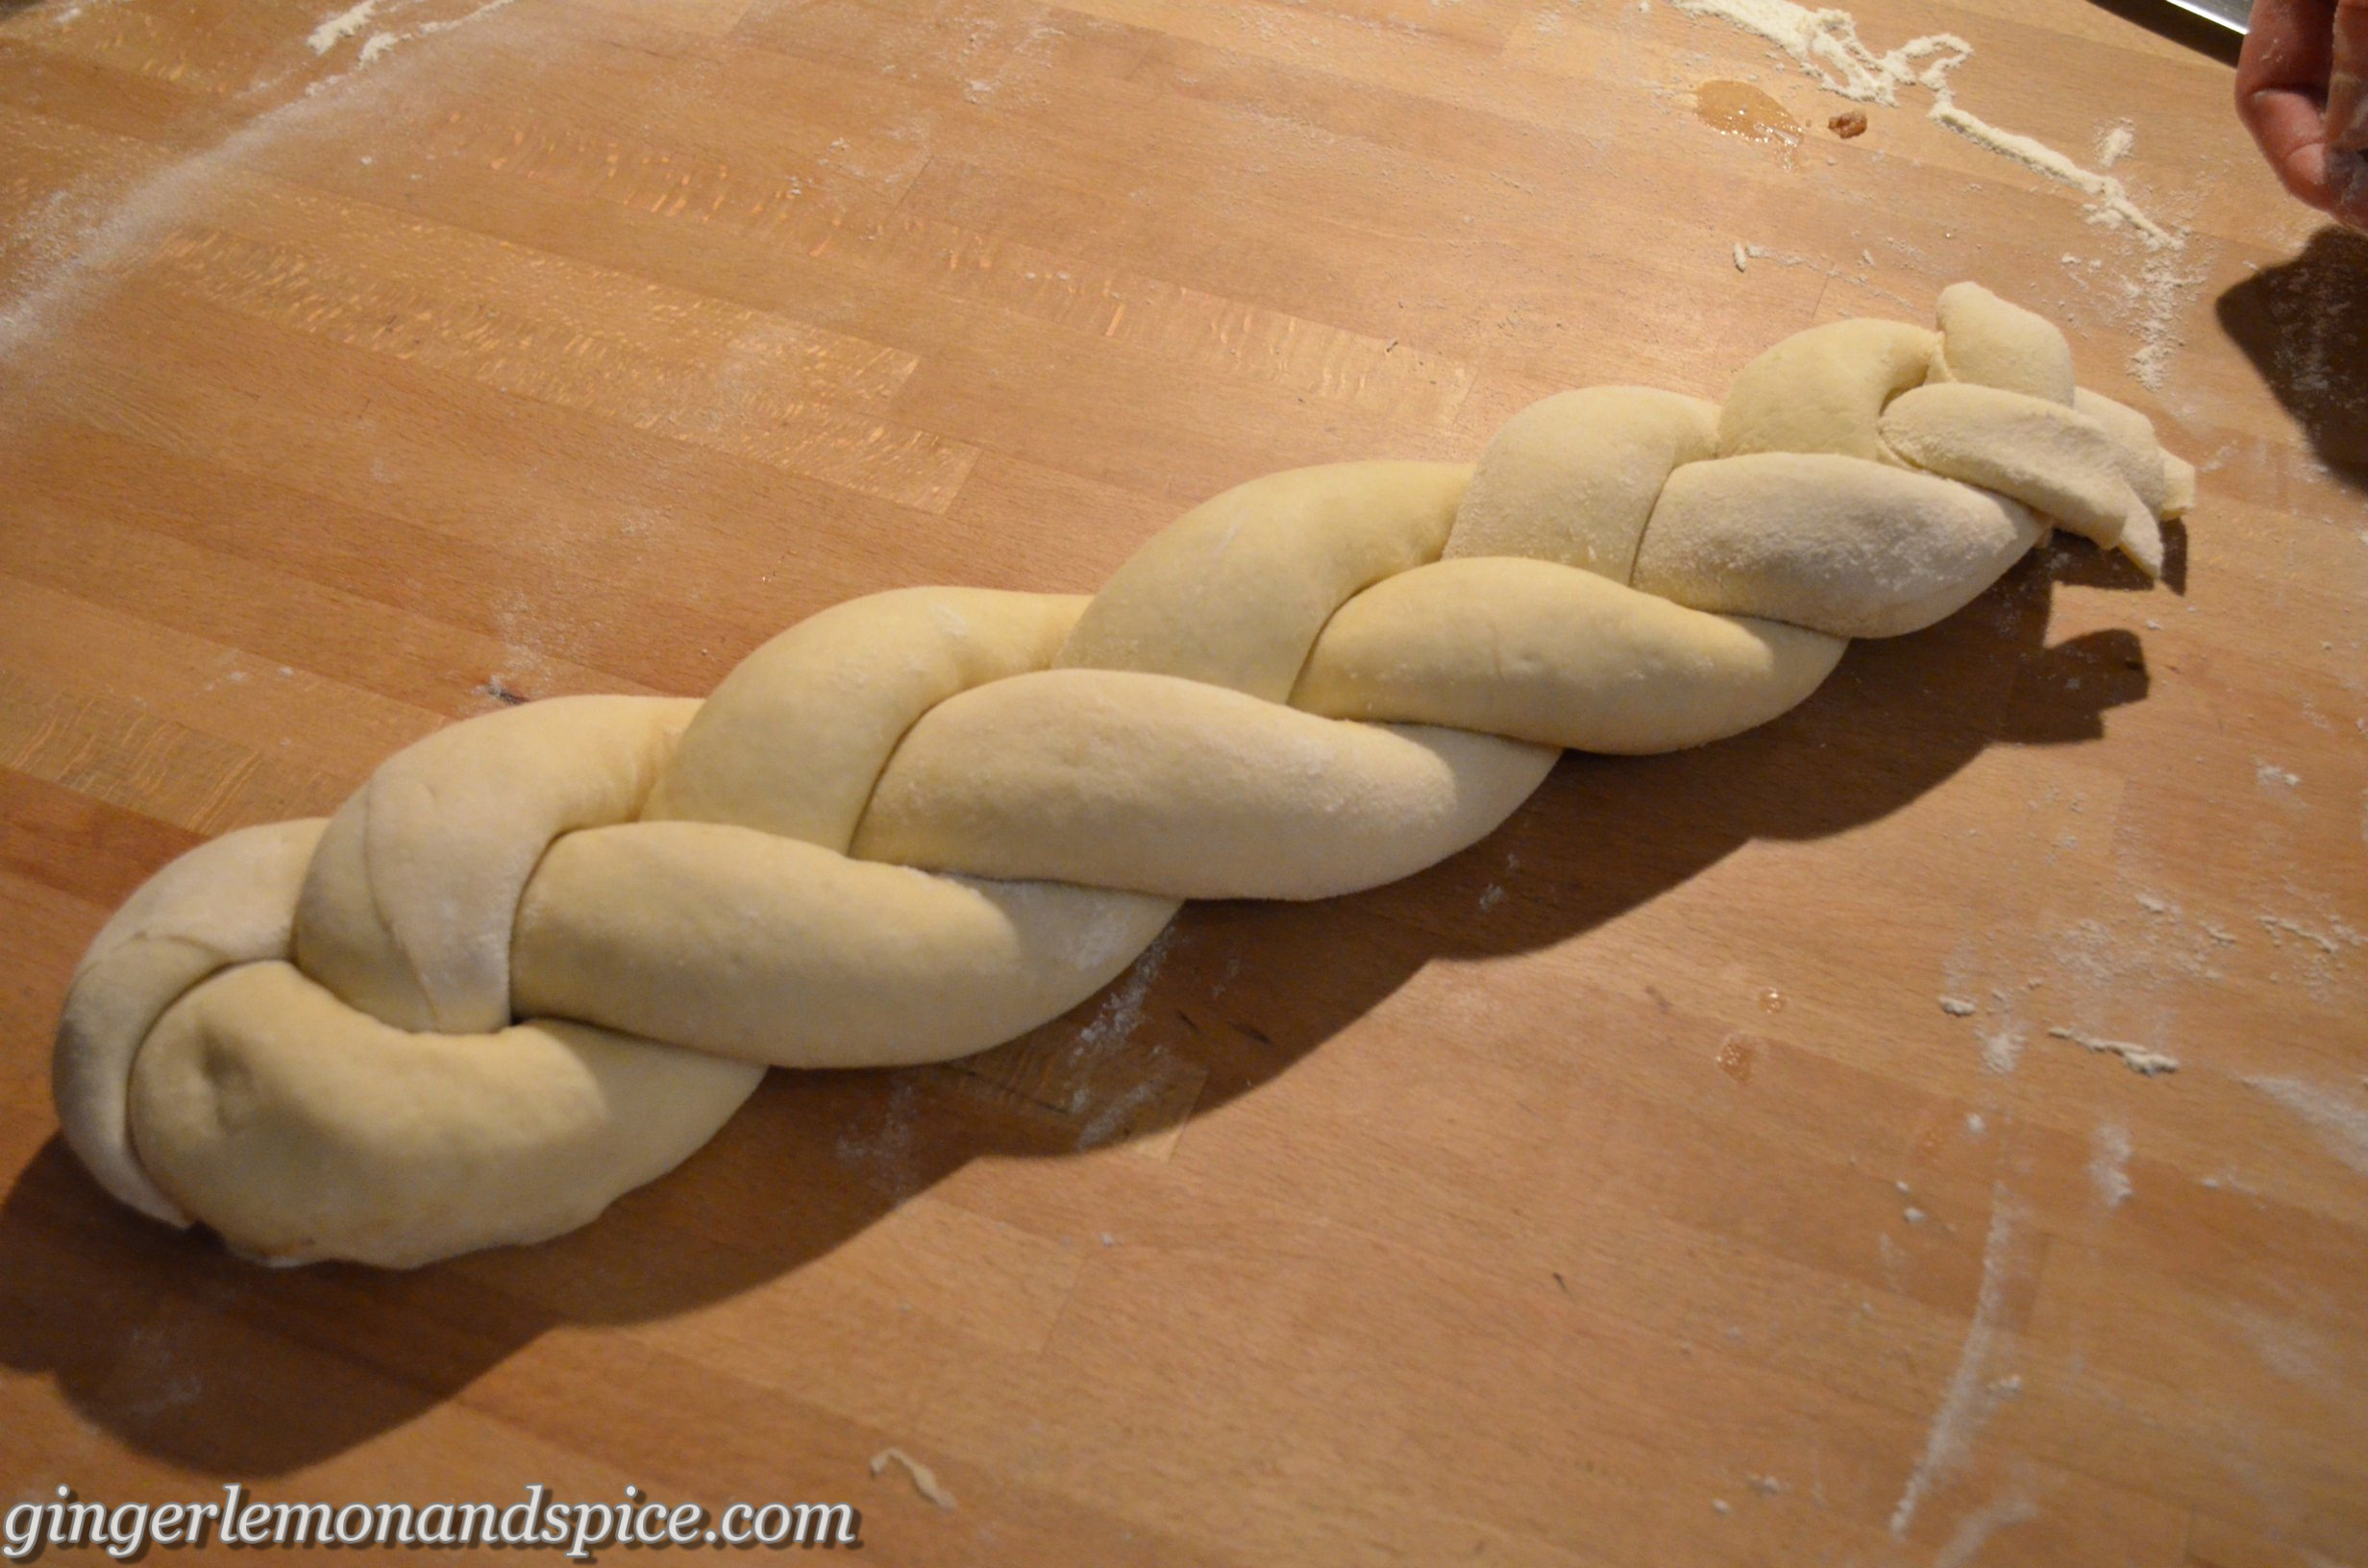
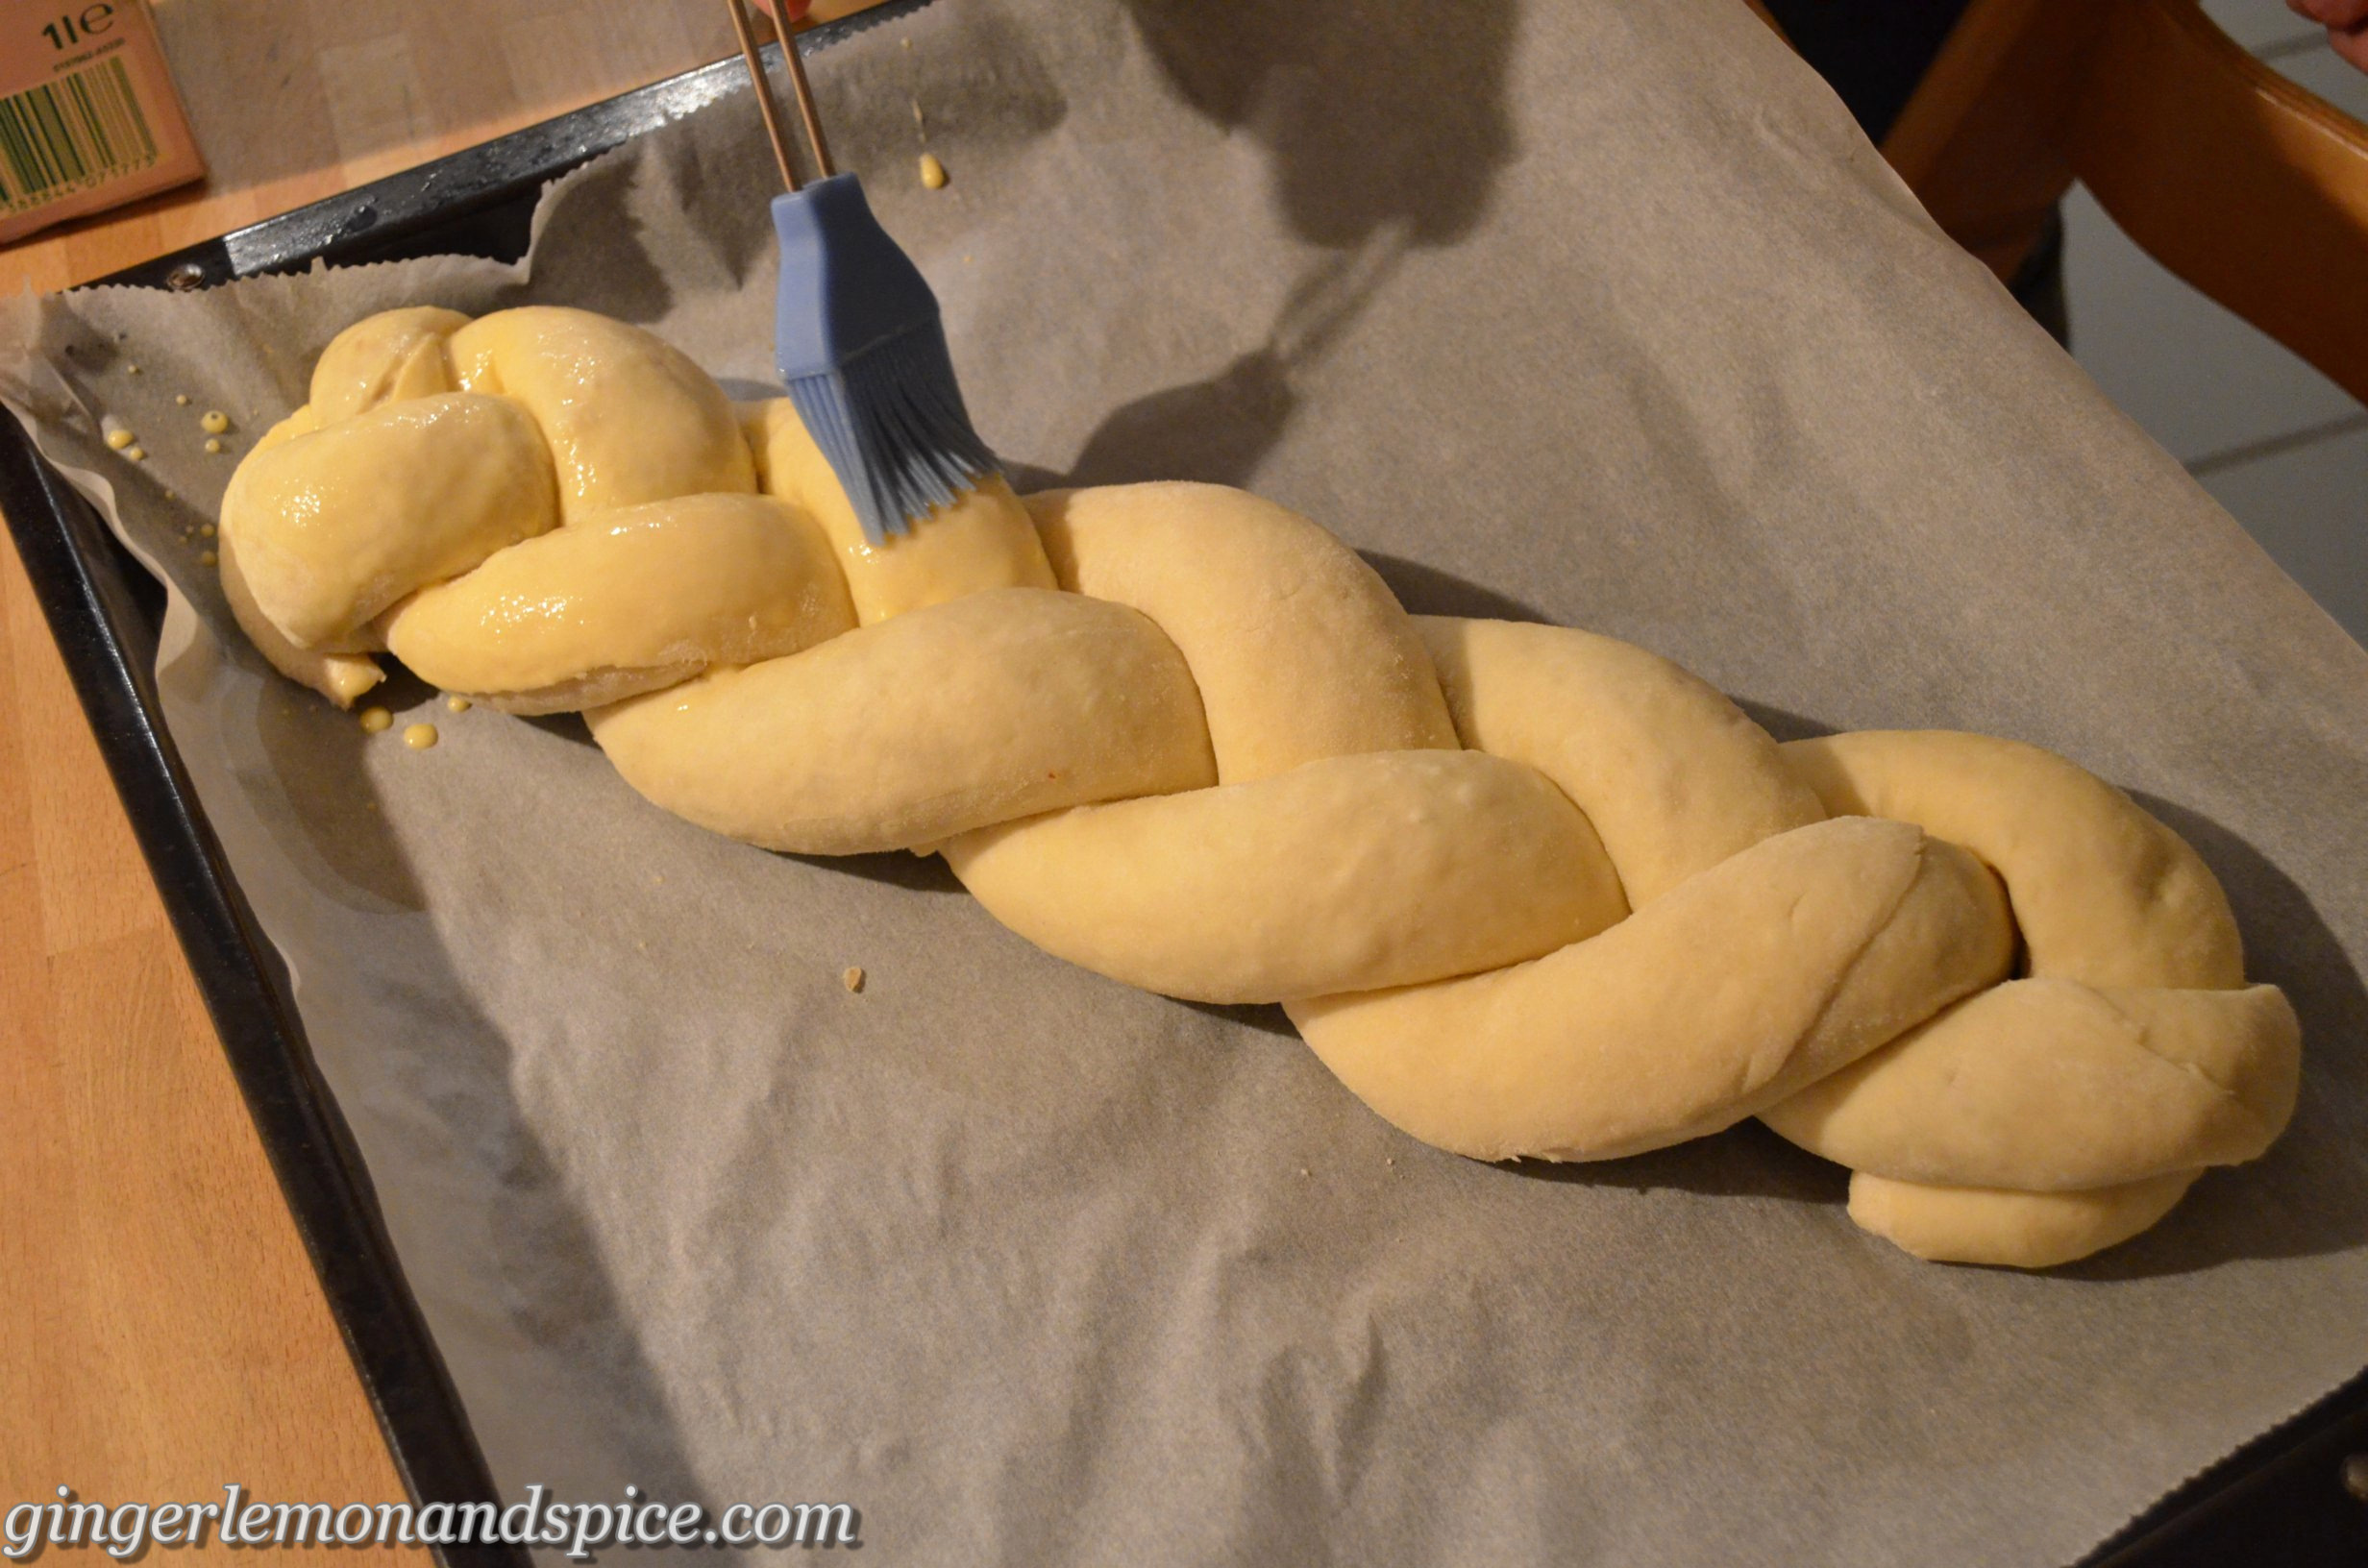
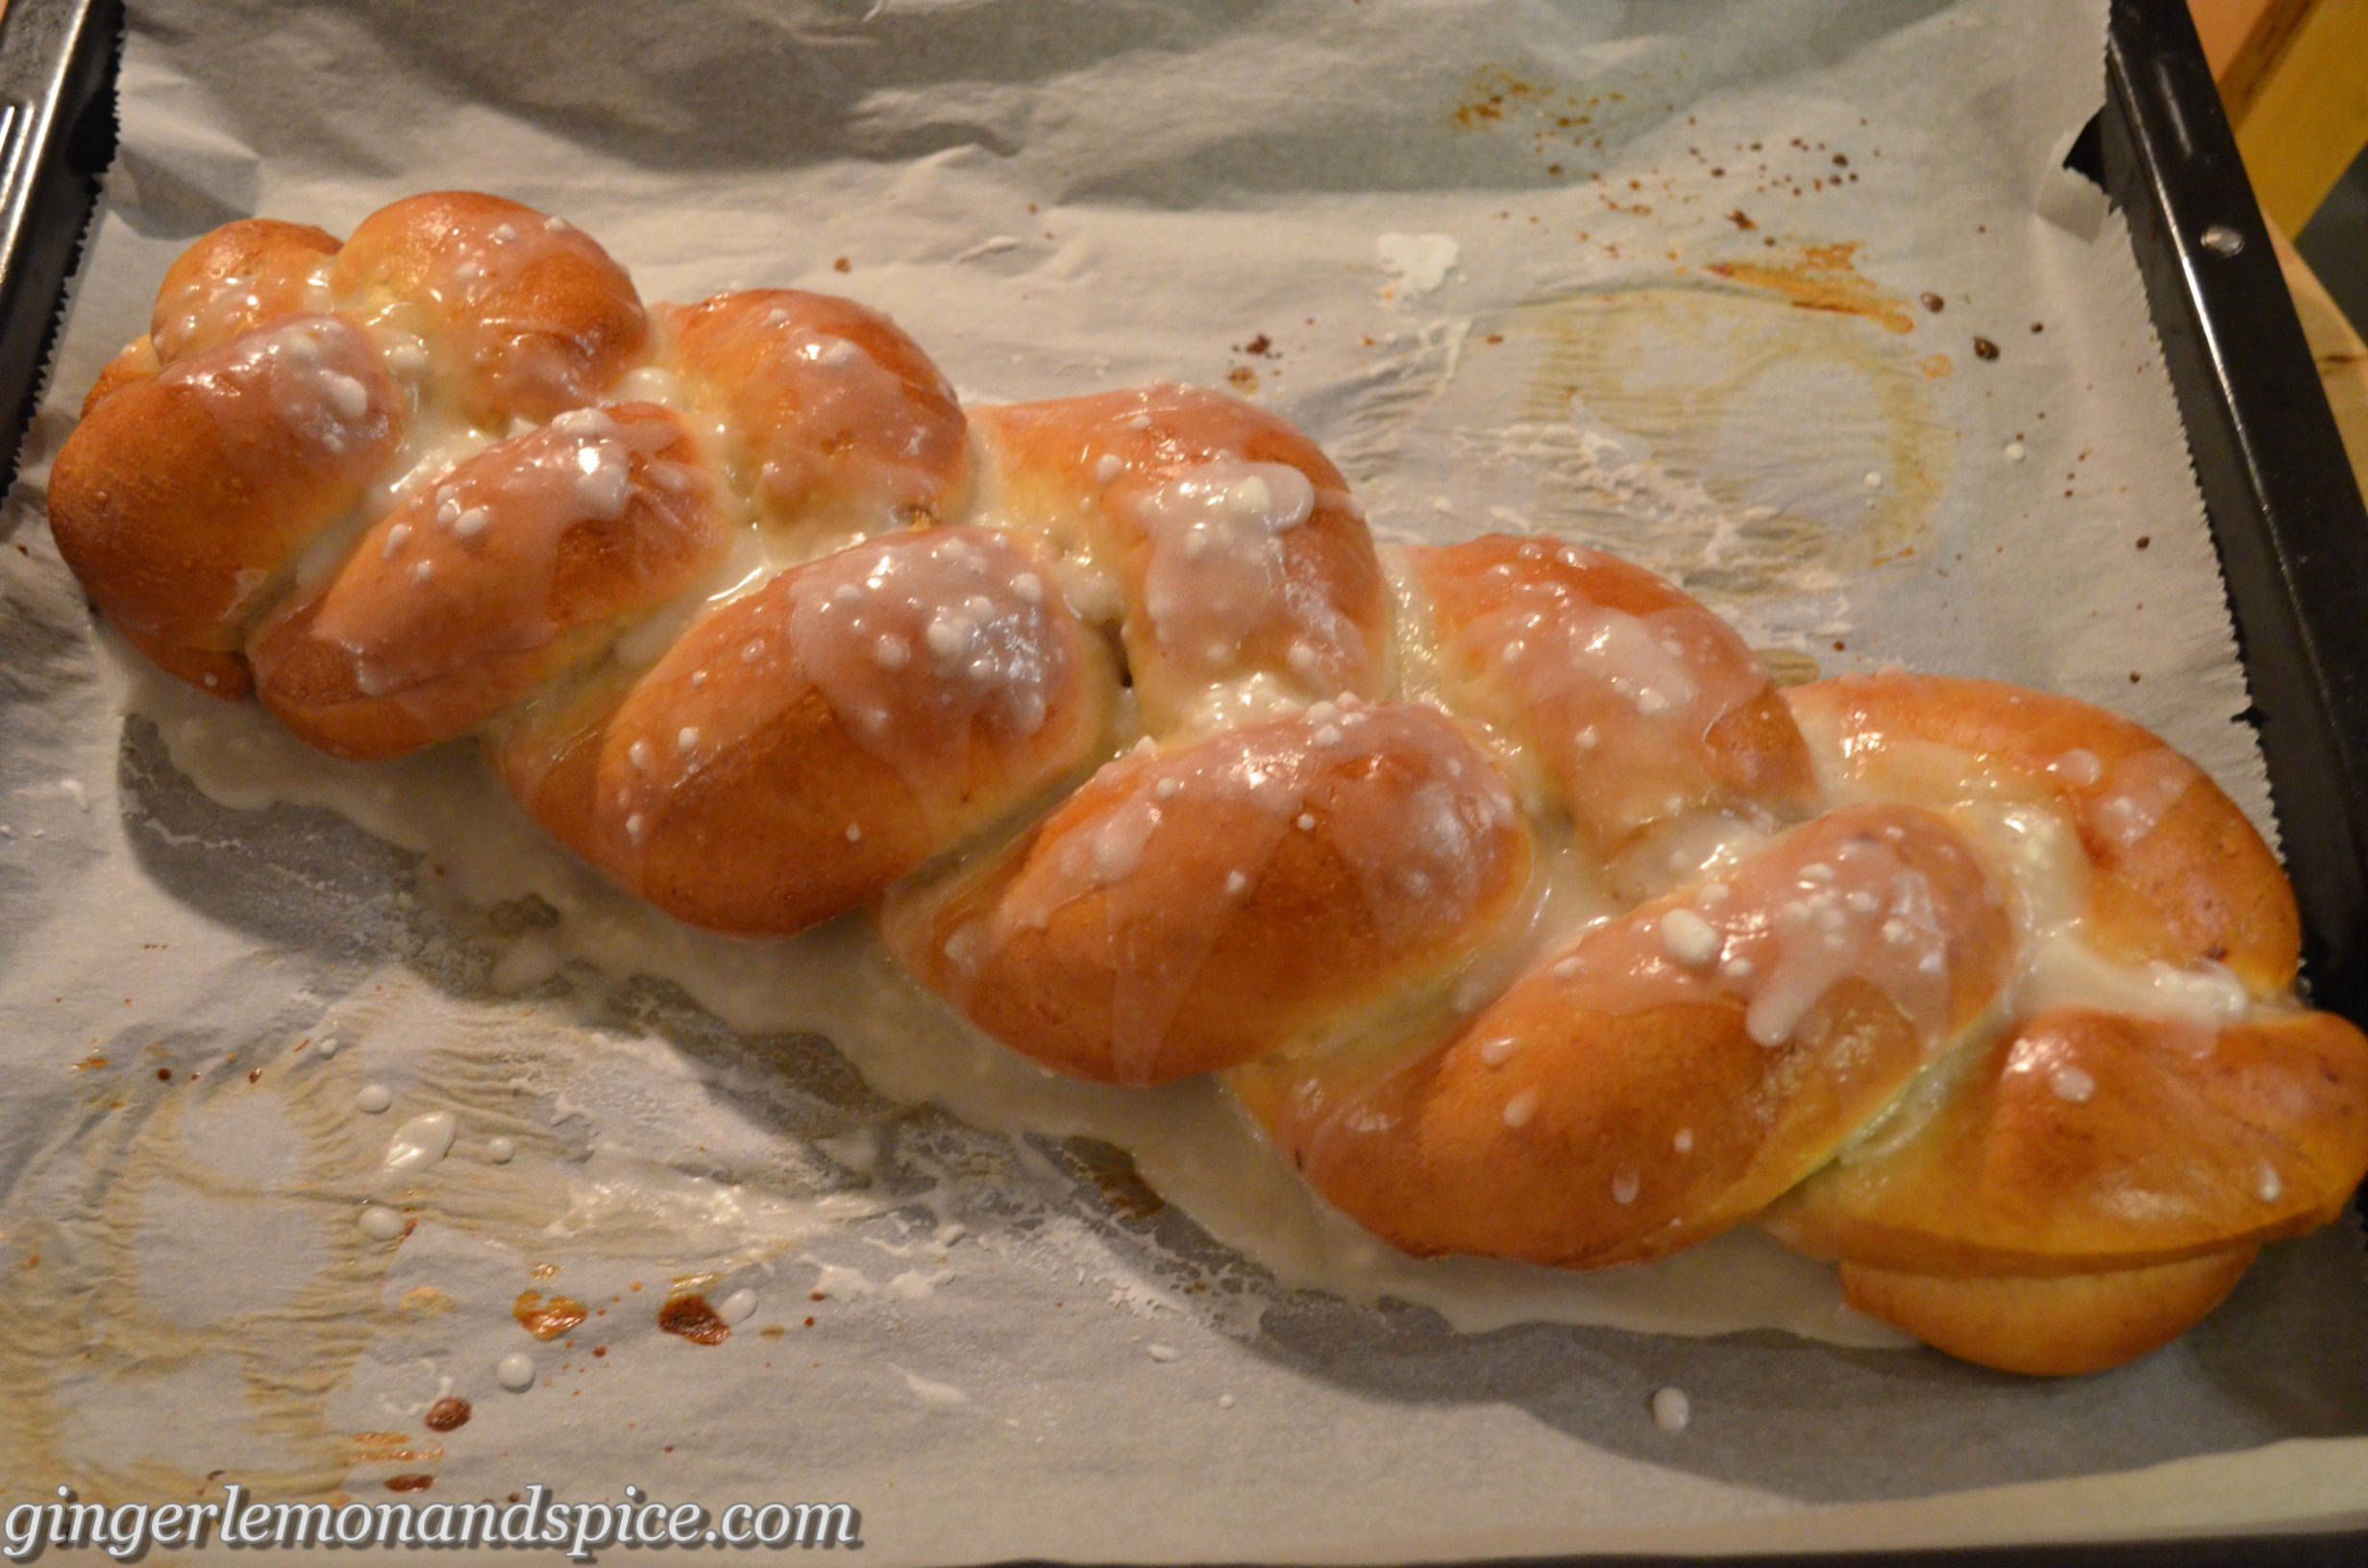
Here is a little picture to help you visualize what the dough sheets look like and what to do with them 🙂

Around the World, Week by Week: Turkey: Appetizer: Sigara Böreği by gingerlemonandspice


Have you been to Turkey yourself? Have you tried or even cooked Turkish food? What were your experiences?

I would love for you to share in the comments! 🙂


Sigara Böreği
 
Prep time
Cook time
Total time
 
Author:
Recipe type: Appetizer
Cuisine: Turkish
Serves: 6
Ingredients
  • 1 package triangular shaped yufka-sheets (about 25 sheets -turkish store)
  • 300 g beyaz peynir or feta cheese
  • 1 handful of parsley, finely chopped
  • water
  • rapeseed or sunflower oil
Instructions
  1. Prepare the filling first by squishing the feta cheese or beyaz peynir as finely as you can. Mix with parsley and set aside.
  2. Arrange your workspace: Put a clean and slightly wet towel on your surface. You need a bowl with water, your filling, the yufka sheets and a clean plate in arms length!
  3. Now you can start rolling your Sigara Böreği: Place one sheet of yufka on your towel, the wide side facing towards you. Sprinkle with water, especially the sides that will be folded in!
  4. Take some of your filling (about 1 tablespoon) and distribute in a line near the end of the round side of the triangular. Fold the sides in and roll your Sigara Böreği up! Tip the pointy end of your yufka into your bowl with water and close the roll. Set aside on your plate and continue until all the yufka sheets are used up!
  5. Heat the oil in a wide pan. You need about 1 cm of oil in your pan. Use a wooden spoon to test if the oil is already hot enough. There will be bubbles forming on the spoon when you put a corner of it into the oil. When the oil is hot enough put some Sigara Böreği in. They have to be in one layer and you need a little bit of space to turn them. Turn them once after the bottom side is golden and lay them on a paper towel to drain excess oil when you take them out.
  6. Enjoy preferably with some salad or çaçik!
Notes
I have tried to make them with less oil already but the results were always a disaster! The dough was still raw inside and the outside was burned and it never got crispy and flakey.

Around the World, Week by Week: Turkey: Appetizer: Sigara Böreği by gingerlemonandspice

Afiyet olsun!!

– That means enjoy your meal in Turkish 🙂


Here are the other recipes I shared during this series:

An Introduction to the new series

Main Dish – Köfte, Cacık & Pirinç Pilavı

Dessert – Künefe

Drink – Ayran 

Salad – Kısır

Pastry – Kurabiye

Snack/Fast Food – Lahmacun

Guest Post – Acılı Ezme


~ Kathrin

Introduction To The New Series: Around The World, Week By Week

Introduction To The New Series: Around The World, Week By Week

Hello everybody!

Today I am going to introduce you to my first series on this blog!! I was dreaming about this for quite some time now, but it took some preparation and time to make it happen 🙂

Around the World, Week by Week: Turkey by gingerlemonandspice

As you might or might not know I really love to travel. Especially Ireland and Turkey feel like my second homes! This is mostly because of the very warm welcome I have been given and the openness and hospitality of the people there!

I love to discover new cultures!! I love to do sightseeing and experience the way of life the people are having there! This applies of course especially for the food culture too! I am always excited to try new things and ways of cooking and also embed what I’ve learned in my cooking at home. Just last night I whipped up a quick dinner turkish style for me and my flatmate and we were both very pleased with the result 🙂


Now what I want to do is not only have those experiences on my own but rather share them with you!!

From tomorrow on you can find a new series on this blog. It is called: Around The World, Week By Week!!

For a whole week I will feature the culture especially in food of one country!! I will tell you about eating habbits and their way of life and some stories about what I have been experiencing there! You will get a new recipe of a different category each day and by the end of the week there will be a little special extra too 🙂 I plan to do a new country every month!


The first country I feature will be TURKEY

Around the World, Week by Week: Turkey by gingerlemonandspice

I have been spending two months last summer in Izmir at the west coast working at the University of Izmir. It was my first time in this beautiful country and I really had such a great time!!

Around the World, Week by Week: Turkey by gingerlemonandspice


Here are the categories of the recipes I will share:

Monday: Appetizer (Sigara Böreği)

Tuesday: Main Course (Köfte, Cacık & Pirinç Pilavı)

Wednesday: Dessert (Künefe)

Thursday: Drink (Ayran)

Friday: Salad (Kısır)

Saturday: Pastry (Kurabiye)

Sunday: Fast Food or Snack (Lahmacun)

Guest PostAcılı Ezme by Zerrin Günaydin of Give Recipe


I hope you will enjoy this as much as I do! 🙂

Maybe you have been to Turkey yourself or have tasted turkish food too? Tell me about your experiences! 🙂

I am looking forward to a great week!!


With love,

Kathrin

Kanzashi Flower Wreath

Kanzashi Flower Wreath

Hello there!

It’s me – today with something completely not food related! Unbelievable, I know! 😉

Kanzashi Flower Wreath by gingerlemonandspice

I made this wreath for my grandma’s 75th birthday last week and I liked it sooo much that I needed to show it to you!

It is not hard to make, you just need some time and patience, a styrofoam wreath, some yarn, fabric scraps and some buttons. I saw some yarn wreaths at pinterest – a thing I’m only using since this year. I guess it would be correct to say this is the first thing I made because I saw it on pinterest! 🙂 In my own way, of course, as there was no ‘how-to’ with that picture.

Kanzashi Flower Wreath by gingerlemonandspice

The flowers are made in the ‘Kanzashi’- Style. You take squares of fabric in different sizes, fold them and then sew them together! If you want me to make a tutorial on how to make those flowers, just leave me a comment! 🙂

Kanzashi Flower Wreath by gingerlemonandspice

Well my grandma liked it very much too and hanged it on her front door of her appartement. Also my other grandma already told me that that’s what she wants for her birthday in September! 🙂

Kanzashi Flower Wreath by gingerlemonandspice

Next week there will be something very special waiting for you on this blog! All I can say is that it will be my very first series I am doing and that it is very special to me! I am so looking forward to how much you will be liking it! Or not – but that’s not what I hope that happens 🙂

And here is a last picture, just because I can’t get enough of them!

Kanzashi Flower Wreath by gingerlemonandspice

Have a nice day!!

~ Kathrin

Guest Post: Pulled Pork, Magic Dust and Coleslaw by Tobias

Guest Post: Pulled Pork, Magic Dust and Coleslaw by Tobias

Hi guys!

Today I have something very special for you: The very first guest post on my blog!!

It is even more special because it is my brother Tobias who took the time to write this post and say hi to you!! He is a very passionate cook too, especially barbecuing is something he really likes and celebrates!

me and my brother

Please give him a warm welcome and don’t be shy with comments!! Who knows – he might come back and whip something up for us again 😉

Have fun bro! 🙂


Hi,

This time it’s my turn! I’m making a guest article for my Sister!

I absolutely love barbecuing so that’s why my recipe is about one of the most difficult category of BBQ: Pulled Pork. It’ is pork which is smoked for 12 hours between 90 – 120 °C, 100°C are perfect. In the end it’s incredibly delicate, so you can easily pull the meat fibres apart.

I made it yesterday with some friends and it was absolutely fantastic. But first things first:

We started with three 3 pork shoulders (Two with about 1,3 kg and one with 1,6 kg). They have to be marinated one day before start barbecuing for the best tasting experience. So I coated it really thin with medium-hot mustard and then rubbed it with my absolute favourite spice “Magic Dust”.

Actually it IS absolute magic! You should always keep a spice shaker next to your Barbecue: It’s fantastic with pork, whatever part of it. Unfortunately the recipe is top secret so I can’t tell you the ingredients, sooo…. aahh what the heck:


Magic Dust

Magic Dust

Ingredients

  1. 6 Parts Paprika mild
  2. 2 Parts Paprika hot
  3. 2 Parts Garlic
  4. 1 Parts Mustard seeds light
  5. 1 Parts Mustard seeds dark
  6. 4 Parts Sugar brown
  7. 4 Parts Salt
  8. 2 Parts Pepper black
  9. 1 Parts Cumin
  10. 2 Small hot Chilies

Directions

  1. The Ingredients should be in the shape of powder and dry. I prefer using whole pepper and whole cumin and grind it myself for better taste and the whole taste of the essential oil. Just mix everything together!
http://gingerlemonandspice.com/2013/07/pulled-pork-magic-dust-and-coleslaw/


Back to topic: After rubbing it, the pork should be dry outside, so you should use a real lot of the magic dust. It can use it!

Now wrap it with foil and keep it in the fridge for at least 12 hours. The longer you keep it the better it is!


But what about the Hardware I use?

I got a Kettle Barbecue grill from Dancook the Dancook 1400. It has a fantastic technique which helps saving charcoal, for further informations just google it! There are some good tests about it!

For charcoal I used Profagus Brekkies. There are completely made out of beech from the last charcoal factory in Germany. They are one of the best on the market. High and long heat, easy to light and they don’t smoke!

For lighting I use the Weber rapidfire chimney starter. I put one egg carton and a paraffin cube underneath it and it glows in 10min.

Pulled Pork, Magic Dust and Coleslaw from gingerlemonandspice

Furthermore I have a Maverick ET-732 for BBQ-temperature and food-temperature control and a Smokinator grill attachment. With this Smokinator you can perfectly keep the BBQ Temperature at about 100 °C.


Beside the Meat we wanted Coleslaw, so I made one a day before, also like my favourite recipe.

Toby's Coleslaw

Prep Time: 20 minutes

Total Time: 20 minutes

Toby's Coleslaw

Ingredients

  1. 1 white cabbage
  2. 2 onions
  3. 1 Cup Oil sunflower
  4. 1 Cup Spice vinegar
  5. 1 Cup Sugar
  6. Pepper, Salt, caraway,

Directions

  1. Slice cabbage and onions.
  2. Heat oil, vinegar, sugar and spices and pour it hot over the vegetables.
  3. Keep it for a few hours while mixing it every once in a while.
http://gingerlemonandspice.com/2013/07/pulled-pork-magic-dust-and-coleslaw/

On the next day I started at 4:30am with lighting up the charcoal. It was 5:00 am when the Pork got on to the Barbecue. Use about two hands of watered beech on the charcoal for a great smoky flavour. The meat only gather the smoke in the first few hours!

Pulled Pork, Magic Dust and Coleslaw from gingerlemonandspice

This Picture was made after 5 hours. On the left side you see the Smokinator with the charcoal inside. The bowl underneath the meat is for the juice.

The Meat Temperature should get up to 94°C. When you try to do so, you will notice a strange phenomenon. The temperature rises in the first 4 hours from 10 to 60 °C but at about 65 °C it keeps a REALLY long time to rise over 70 °C. In my case it took another 4 hours to get over 70 °C. This is called the Stall.

It is because of the enthalpy of evaporation. This keeps the temperature the same as long as you have free liquid water in the meat, but there is a small simple trick to get it faster: wrap the meat with aluminium foil. With this trick you minimize the volume of the relevant cooking chamber, so the air is saturated with steam much faster. When the air is saturated, the process of evaporation and condensation is fulfilled much faster and the temperature rises again.

When the meat is at 94 °C its still wrap in aluminium foil, but before you start eating, let it some time to relax. The best way to do so is to take a big cooling box and put some glass bottles filled with boiling water on the bottom of it, put the wrapped meat on it and another layer of bottles. Keep it for half an hour so the juice can spread.

Now the “work” is done! 🙂

Pulled Pork, Magic Dust and Coleslaw from gingerlemonandspice

Take two forks and start pulling! It should be so delicate that it crumbles.

Pulled Pork, Magic Dust and Coleslaw from gingerlemonandspice

Now take a burger bun, half it, toast it, put some pulled pork and some barbecue sauce (recipe below) on one side and some coleslaw on the other.

Pulled Pork, Magic Dust and Coleslaw from gingerlemonandspice

Put it together and enjoy 🙂

Pulled Pork, Magic Dust and Coleslaw from gingerlemonandspice

For one of the best barbecue sauce ever, take the meat juice from the bowl and reduce it, put some apple vinegar, sugar, a tube tomato paste to it and season it with magic dust. Et voila 🙂

Now you might think: “stand up at 4 o’clock and barbecue for 12 hours? Why???” The only thing I could say: try it only once and you’ll be on my side! All my friends thought the same until they have tasted.

I hope you all enjoyed my first blog article. I would love to hear some constructive criticism.

Best wishes

Tobias

Easy Low Fat Apricot Cake

Easy Low Fat Apricot Cake

Hey there!

I wrote another guest post about this Pretty Low Fat Apricot Cake!

Easy Low Fat Apricot Cake

I did it last weekend, when we had such a nice weather and I was at my parents for the weekend. They have a beautiful backyard with hammock and all and I took the chance and made the pictures outside! I just looove them 🙂

Easy Low Fat Apricot Cake

Later that day I took a big slice of that cake and ate it in the hammock, with my godchild and her friend next to me. What an awesome lazy sunday!!

Easy Low Fat Apricot Cake


Hop over to Rants From My Crazy Kitchen or scroll down to see the recipe!


Easy Low Fat Apricot Cake
 
A light and delicious summer cake that's easy and quick to make - a win-win!!
Author:
Recipe type: Cake
Serves: 12
Ingredients
  • 850g (1.8 lb) of fruit (canned or fresh apricots or peaches, I used homemade canned peaches)
  • 3 eggs
  • pinch of salt
  • 6 tablespoons lukewarm water
  • 100g (1/2 cup) sugar
  • 1 teaspoon lemon zest
  • 150g (1¼ cups) flour
  • 1 teaspoon baking powder
  • 1 tablespoon powdered sugar
Instructions
  1. Prepare the fruit: Drain with sieve if it’s canned, or wash, peel and cut in big chunks if fresh. Preheat oven to 180° C (350° F). Prepare a springform (26cm in diameter) pan with baking paper. Just place the pan on a sheet of baking paper, circle around the bottom and cut it out. Butter the pan and place the circle of baking paper on the bottom.
  2. Separate the eggs into two different bowls. The bowl with the egg whites has to be completely clean and fat free otherwise the whites won’t get stiff! Beat the egg whites with the salt and an electric mixer until they form stiff peaks.
  3. Then beat the yolks with the sugar until creamy. You don’t have to clean up your beaters if you do it in that order! Add the water and whisk on very slow speed.
  4. Add lemon zest, flour and baking powder and mix well. Then add the egg whites and whisk carefully per hand. Don’t overmix!! It should just be incorporated!!
  5. Pour the batter into the pan and distribute the fruit on top. Bake for 25 minutes.
  6. Let the cake cool for 10 minutes then remove the pan and sprinkle with powdered sugar. Let cool completely and enjoy!!
Notes
I used my mom’s springform pan and hers is 28cm in diameter. Because that’s a little bigger I had 4 eggs and adjusted the rest of the ingredients accordingly!


Easy Low Fat Apricot Cake


Have a great week!!

~ Kathrin

Braided Yeast Bread with Walnut Filling – Hefezopf mit Walnussfüllung

Braided Yeast Bread with Walnut Filling – Hefezopf mit Walnussfüllung

Hey folks! 

Always wanted to say that 😀

Braided Yeast Bread with Walnut Filling – Hefezopf mit Walnussfüllung by gingerlemonandspice

Well here I am with a great new recipe for you: It is a yeasted and braided bread with a filling of ground walnuts (from our own tree in the backyard!!)! It is sooo pretty and tastes incredibly good! You can’t stop eating once you started 🙂

Braided Yeast Bread with Walnut Filling – Hefezopf mit Walnussfüllung by gingerlemonandspice

I made this braid with my godchild because she wished for it as she had never done one before. You see, I can’t see here as often as I want to because I live and study in another city but I really wanted to make her wish come true! So we made a date and just started baking 🙂 It was awesome!! I really enjoyed the time being with her and doing stuff I love and makes her happy too! 🙂 We were very proud of the outcome and I’d say we were right to be!!

I took a lot of pictures to show you every step of how it’s done! But because I didn’t want you to have to scroll over soo many pictures until you finally reach the recipe I installed a little feature: A slideshow!! Hope you like it 🙂

And here is the recipe:

Braided Yeast Bread with Walnut Filling
 
Prep time
Cook time
Total time
 
Elegant, soft and yummy yeast bread that is perfect for any coffee table!
Author:
Recipe type: Sweet Bread
Cuisine: German
Serves: about 12
Ingredients
Dough
  • 500g (4¼ cups) flour
  • 1 sachet of dry yeast
  • 1 pinch of salt
  • 50g (1/4 cup) sugar
  • 50g (1/4 cup) butter, softened
  • 200ml (3/4 cup) lukewarm milk
Filling
  • 150g (1¼ cup) grounded walnuts
  • 75g (1/3 cup) sugar
  • 1 tablespoon vanilla sugar (or 1 teaspoon extract)
  • 1 tablespoon bread crumbs
  • 6 tablespoons cream
  • 1 egg white
  • if you want: apricot marmelade
Finish
  • 1 egg yolk
  • 1 tablespoon of milk
Glaze
  • 40g (1/3 cup) powdered sugar
  • about 1 teaspoon milk or lemon juice or mixture of both
Instructions
Dough
  1. Put flour, dry yeast, salt and sugar into a bowl and mix. Put softened butter in flakes on top. Slowly add warm milk and mix with a dough hook on an electric mixer. When it pulls of the bottom of the bowl take the dough out on a floured surface and knead with your hands for 5 minutes. Put it back into the bowl and cover with a kitchen towel. Let it sit on a warm place until it doubles in size (about 30-45 minutes).
Filling
  1. Mix walnuts, sugar, vanilla, bread crumbs, cream, egg white and if you prefer some apricot marmelade to taste.
Assembling
  1. Roll out your dough on a floured surface. You can make it as thick or thin as you like. If you prefer your filling more evenly distributed make it thinner and if you want a thicker layer of filling do it thicker.
  2. Cut the dough into 3 parts lengthwise. Distribute the filling on all three parts, then roll up each one individually from the larger side. Now you have your three strings and you can start braiding from the middle to each side (look on the fotos for reference). Hide the ends underneath the braid and put the whole thing onto a baking tray that's layered with baking paper.
  3. Let it sit covered with the kitchen towel in the warm place for another 30 mins.
  4. Preheat oven to 180° C (350° F).
Brushing
  1. Mix the egg yolk with the milk and brush it on top of the braid. Bake for about 35 minutes.
  2. Your braid is finished when the top (and bottom) are golden brown and a wooden skewer inserted into the middle comes out clean.
Glaze
  1. Mix powdered sugar and liquid (little by little!! until you have the consistency you want) and brush on top of hot braid. Let cool and Enjoy!!

Braided Yeast Bread with Walnut Filling – Hefezopf mit Walnussfüllung by gingerlemonandspice 

Have a great day!!

~ Kathrin

Pasta With Mushy Aubergine & Tomato Sauce

Pasta With Mushy Aubergine & Tomato Sauce

Hey there! 

It’s me again 🙂

Pasta With Mushy Aubergine & Tomato Sauce  from gingerlemonandspice.com

We’re planning a big grilling party today with friends! So I’m a bit out of the normal 😉 Usually I am all for planning big and complex, but this started out as just a wish to turn on the grill… I talked to one of the girls I am living with and we decided we wanted to grill since it’s summer and all. Well, needless to say I was all in! I thought yeah, let’s do this as we don’t do it often in the ‘big’ city. We only have a very small backyard.

At my parents we have a big backyard and in summer time we kind of live outside. We grill nearly everyday and it usually goes without planning! When my relatives that live next to us want to do it too, they just come over with their stuff or we go to their house and then we just have a good time. It is all very SIMPLE! The basic ingredients for salads and the stuff that will be grilled we usually have at home or we create something out of the things we have.

Pasta With Mushy Aubergine & Tomato Sauce  from gingerlemonandspice.com

But this thing here in the city with my flat-mates – it got kind of out of hand 😉 It is all very planned out, like a week planned ahead, who brings what so that there won’t be two kinds of pasta salad or something else that ‘horrible’. 😉 We   even hat to delay the party for a week! There are some friends coming too. All this exact planning leaded to me being a wee bit stressed out… At some point I was quite annoyed that it wasn’t the easy thing I was used to!

I feel quite sorry for that now! I know it will be an awesome evening and we will have lots of fun! I guess everybody plans very different and I have to learn to tame myself and be more tolerant! 😉 I just look back on all this with a big smile now.  Can you relate to that? Do you have sometimes feelings you’re not proud of? 😉

Pasta With Mushy Aubergine & Tomato Sauce  from gingerlemonandspice.com

The recipe I have for you today is my newest invention: Mushy Aubergine & Tomato Pasta! I dreamed it up after watching Donal Skehan’s newest episode on Jamie Olivers Foodtube. He was cooking Smashed Tomato Pasta and used the word ‘mushy’ a lot 😉 Watch the video! He really is a great cook and he explains the way that you feel that everybody can do it! And his accent really is the best! So very irish 🙂 Read here why I love Ireland!

Well, I had an aubergine in the fridge to use up. So I started cooking a quick meal and while I went on stiring and stiring I was singing ‘mushy, mushy, mushy’ in my head. 😉 I think the video really got to me! At first I didn’t really plan to take pictures and put the recipe on the blog, but it tasted soo awesome and flavorful, that I just had to take the minute to shoot some pictures!! I don’t like aubergines very much usually. Only since last year when I stayed in Turkey I realized that aubergines really CAN taste great! In this recipe the flavor comes out beautifully, you will love it!

Just give it a try 🙂 Enough talk, on to the recipe we go!


Pasta With Mushy Aubergine & Tomato Sauce
 
Prep time
Cook time
Total time
 
A very tasty and comforting pasta dish made in the time the pasta needs to cook! Tastes like summer because of a secret ingredient!
Author:
Recipe type: Pasta
Cuisine: mediterranean style
Serves: 2
Ingredients
  • 250g spaghetti
  • 1 big aubergine (eggplant)
  • 3 teaspoons salt
  • 2 tablespoons olive oil
  • 1 Bratwurst - optional
  • 3 tomatoes
  • lime juice of 2 limes
  • freshly ground pepper
  • some parmesan if you like
Instructions
  1. Fill your kettle with water and turn it on. If you don't have a kettle heat a pot big enough for the pasta with water on the stove.
  2. Meanwhile preheat a non stick pan to high heat. Chop your aubergine in cubes with sides about one centimetre of length. Put them in the pan and sprinkle with 1 teaspoon of salt and stir until the salt is distributed. Let the aubergine roast (without oil!) and stir often. There will be a bit of a coat on the bottom of the pan - just stir it loose. We want this, it is full of flavor! Just don't let it go black 😉
  3. When the water kettle is finished just pour the water into a pot on the stove and reheat on high heat until it boils. Add 2 teaspoons of salt and the pasta and set your timer on the time it says on the box of the pasta. Turn the heat down to low-medium.
  4. Now you can add the bratwurst (cut into thin slices) if you have it and add the olive oil. mix well. The aubergine should now start to soften up!
  5. Chop your tomatoes roughly in cubes and don't forget to stir your aubergine once in a while.
  6. Add the tomatoes to the pan when you have about 5 minutes left on your timer. You want the aubergine and tomato mixture to get really mushy!!
  7. Just before pasta is cooked, add pepper and lime juice to the pan. Turn the heat off. You don't need to drain the pasta, just put the pot and pan close together, take a pasta fork and fish the pasta out of the pot, let it drain a little and put it directly into the pan. We want a little pasta water to get into the pan!
  8. Now mix it all together well and serve directly. Sprinkle parmesan on top if you like! Dig in 🙂

Pasta With Mushy Aubergine & Tomato Sauce  from gingerlemonandspice.com 

Have a great day!

~ Kathrin

Cheese & Cream Cake with Strawberries and Oreos – Käsesahne-Torte mit Erdbeeren und Oreos

Cheese & Cream Cake with Strawberries and Oreos – Käsesahne-Torte mit Erdbeeren und Oreos

Hello everybody!!

I am so very sorry that it took me so long to get back in posting mood! I had so much stress and worries about university that I couldn’t really think about the ‘nice’ things in life – like updating this food blog, that I have grown to love so much 🙂

Well things with university are still not sorted out and I have to wait until the beginning of next month to get notice if I will be allowed to keep on studying or if I have to quit. This is very nervewracking and it seems to take forever!!

Cheese & Cream Cake with Strawberries and Oreos – Käsesahne-Torte mit Erdbeeren und Oreos from gingerlemonandspice.com

After the first shock and some time of despair when I received the news I am back to seeing things positivly and try not to think about it all the time. In the last weeks I was barly cooking and did no baking at all – that’s how you can see how serious this was! Also I was sick quite some time with a stomach flu, I guess all the stress before just caught up on me…

That’s just how live goes I guess – with all its up and downs…

Cheese & Cream Cake with Strawberries and Oreos – Käsesahne-Torte mit Erdbeeren und Oreos from gingerlemonandspice.com

But I finally brought you something, you all have been waiting for a long time: My mother’s day cake!! It is a creamy and not too heavy Cheese & Cream Cake filled and decorated with strawberries and oreos!! ‘Käsesahne-Torte’ as it is called in Germany is liked very much here. It is a traditional!! Usually it looks quite different, but I gave it my own little twist and spiced it up a bit for the special occasion. Also I like decorating cakes and I don’t get the chance often, so I had to do that too!! 😉 The traditional German Käsesahne-Torte only has one layer of filling and has mandarin oranges and no strawberries or oreos. But that wasn’t fancy enough for me 🙂

You can find the rest of my mother’s day meal here: Steak, Grean Beans and Hasselback Potatoes.

Cheese & Cream Cake with Strawberries and Oreos – Käsesahne-Torte mit Erdbeeren und Oreos from gingerlemonandspice.com

I guess you have waited long enough! Here it comes! Just give it a try yourself, you won’t regret it, it is very yummy 🙂


Cheese & Cream Cake with Strawberries and Oreos - Käsesahne-Torte mit Erdbeeren und Oreos
 
Prep time
Cook time
Total time
 
A cake perfect for mothers day or any other fancy occation! Easy and quick to make - just needs a little time to set.
Author:
Recipe type: Cake (Torte)
Cuisine: German
Serves: 12
Ingredients
Cake Base
  • 5 eggs
  • 5 tablespoons of water (lukewarm)
  • 250g (2 cups) flour
  • 250g (1⅛ cups) sugar
  • 1 sachet of baking powder (1 tablespoon)
Filling
  • 10 sheets of gelatine + cold water for soaking
  • juice of one lemon
  • 100ml (1/2 cup) water
  • 150g (2/3 cup) sugar
  • 500g (18 ounces) of curd cheese (Quark)
  • 500g (17 fl.oz) cream, whipped
  • 15 Oreos
  • 400g (14 ounces) fresh strawberries
Instructions
Cake Base
  1. Preheat oven to 160° C (325° F).
  2. Butter a 28 cm (11 inches) springform pan and line the bottom with baking paper. For this you just put the pan on top of a sheet of baking paper and trace the pan and then cut it out and put on botton of buttered pan!
  3. Beat eggs with water in a bowl until foamy. Add sugar and beat until white, thick and creamy. This takes time! It has to be really creamy! Add flour and baking powder and mix gently until just incorporated. Pour into springform pan and bake on the middle rack for about 20-25 min. Insert skewer to see if it is ready! Skewer then comes out clean when put into the middle of the cake.
Filling
  1. Put gelatine in a small bowl of cold water and soak for 10 min.
  2. Meanwhile heat up sugar, water and lemon juice in a pot on the stove on medium heat. It doesn't have to boil. Take the gelatine out of the water and press gently and then dissolve in the warm liquid.
  3. Stir the curd cheese in a bowl and add the gelatine liquid. Mix until incorporated. Add the whipped cream and mix gently. Reserve ⅓-1/2 of the mixture. Pour it into a box or bowl and cover tightly and put in refrigerator.
  4. Wash strawberries. Reserve 12 pretty small strawberries and 6 oreos for decoration and cut the rest into bits.
Assembling
  1. Take your cake base and cut twice horizontally. Take a plate and put 3 stripes of baking paper in form of a triangle on top. When you put the bottom cake base on top the borders should be sitting on the paper! You can later remove them easily and still have a clean plate! Place a cake ring around the cake base and adjust it to the cakes size.
  2. Half the rest of the filling. Use one batch for the first layer: Distribute just a little bit of the filling on the cake base - just a thin layer. Add half of the cut strawberries and oreos. Make it kind of even and cover with the rest of the first half of the filling.
  3. Now put the middle piece of cake base on top. Repeat the filling layer like you did the first time!
  4. Place the top piece of cake base on top and press down gently. Refrigerate the cake for at least 2 hours, the best is overnight.
Decoration
  1. To finish up the cake loose up the cake ring and remove it carefully. Take the leftover filling out of the fridge and whisk it until it is fluffy again. It will not be as creamy as the day before, but with patience and taking little by little you will be able to cover the whole cake. If you are not known for your patience you could still just use all the filling actually to fill the cake and just frost the cake with some whipped cream with whipped cream stabilizer.
  2. Decorate the cake like you want, you can see how I did it on the pictures 🙂 Remove baking paper stripes and put the cake back into the fridge until you are ready to eat it! Earn a lot of uuuhs and aaahs for all the work you've done! 🙂
Notes
Cake Base can be made a day ahead without any problem! Just wrapp in cling film! You can also use a 26 cm (10.2 inches) sprinform, then you need only a cake base made of 4 eggs (you have to cut down the rest of the ingredients accordingly). If you really can't find curd cheese you could use cream cheese, but you might need a little more liquid in your mix. Traditionally the German Käsesahne-Torte only has one layer of filling and is filled with mandarin oranges. It is not frosted on the outside, just sprinkled with powdered sugar on top!

Cheese & Cream Cake with Strawberries and Oreos – Käsesahne-Torte mit Erdbeeren und Oreos from gingerlemonandspice.com

Bon appetit!

~ Kathrin


Recipe admitted to Gewinnspiel Erdbeerzeit from Party Princess Blog!

Erdbeer-Gewinnspiel_2501

Zucchini, Corn And Feta Muffins

Zucchini, Corn And Feta Muffins

Hello everybody!!

 Zucchini & Feta Muffins with Walnuts and Corn by ginger, lemon & spice

Sorry it took me so long to get back writing on my blog. There was so much on my plate the last 3 weeks or so… But more about that in my brandnew post later today.

Right now I want to tell you about my very first guest post!! Carrie from Chicago Foodie Sisters asked on her Facebook page if someone would be willing to share a recipe and a bit about themselves on her website. And I said yes!

Actually it then took some time until it all happened, but now I am very proud to say: It is finally up!! Hop on over and read on Chicago Foodie Sisters about my savory Zucchini and Feta Muffins with Walnuts and Corn!!

Zucchini & Feta Muffins with Walnuts and Corn by ginger, lemon & spice

I liked them so very much – they were the perfect snack through any time of the day, be it breakfast, afternoon or the middle of the night! As I knew they wouldn’t be eaten all at once I froze most of them and they were even better after thawing!! I just left them at room temperature until they weren’t frozen anymore and enjoyed them 🙂

Zucchini & Feta Muffins with Walnuts and Corn by ginger, lemon & spice

Also I tried myself on a little bit of ‘food decorating’ for this shoot – how do you like the pictures?


Zucchini, Corn And Feta Muffins
 
A perfect and delicious little snack, which keeps well and is ideal to put in lunchboxes or take on picnics!
Author:
Recipe type: Savory
Serves: 12
Ingredients
  • 2 eggs
  • 80ml (1/3 cup) oil (rapeseed or sunflower)
  • 300ml (1¼ cup) buttermilk
  • 300g (2½ cups) flour (I used half white/whole wheat)
  • 1 teaspoon salt
  • 1 tablespoon baking powder
  • 100g corn* (canned or frozen)
  • 100g zucchini*, finely grated
  • 100g chopped walnuts*
  • 150g feta* in small cubes
Instructions
  1. Grease a muffin tin and put in muffin paper cups if you want. Preheat oven to 180°C (350 °F).
  2. In a bowl mix eggs, oil and buttermilk well. Add flour, salt and baking powder on top and distribute the dry ingredients a little with a spoon. Then mix wet and dry ingredients slowly until just incorporated.
  3. Add corn, zucchini and walnuts. Then fold in feta carefully with a tablespoon.
  4. You can use the spoon now to transfer the batter into the muffin cups! You can make the cups pretty full, at least in my case the muffins just rose but did not spill and sank back when cooling!
  5. Bake the muffins for 25-30 minutes. Check with a wooden skewer!
  6. Enjoy!! 🙂
Notes
* I am sorry I can't tell how much of those ingredients you need in cups. Corn, walnuts and feta it is approximately 1 big handful of each and zucchini about ¾ of a smaller one.


 Zucchini & Feta Muffins with Walnuts and Corn by ginger, lemon & spice

Lots of love,

~ Kathrin

Steak, Green Beans and Hasselback Potatoes on Mother’s Day

Steak, Green Beans and Hasselback Potatoes on Mother’s Day

Hello Everybody!!

I hope you all had a great weekend! I was at my parents house, spending a lot of time in the kitchen 🙂 My goal was to make a great mother’s day lunch for my parents and me, my two grandmas and grandpa. Of course I started preparing on saturday, but got really sabotaged as I found myself persuaded to do another cake for my mum to bring to a barbecue and to prepare lunch and dinner that day too. Oh my 😉 The end of it was that I didn’t start preparing the cake that I intended to make in the first place until late afternoon!!

But actually I didn’t mind much. My mom was so very happy this weekend, at least a bit because I made all this, that it was totally worth it 😉 The only thing I wished I did different was that I didn’t take much pictures!! Especially the dinner of  my Speedy Shrimp Pasta my father and me had on saturday was soooo awesome!! I thought it was already on the blog, so I wouldn’t need it, but this time I used frozen shrimps and homemade tagliatelle which made it sooo much better even!!

So what did we have for Mother’s Day lunch then? You might have guessed, as the title says it:

Beef steak, hasselback potatoes, green beans and wild garlic butter recipe for mother's day by ginger, lemon and spice

Beef steak prepared by my father, green beans the way I love to eat them, hasselback potatoes with lots of fresh herbs and a yummy wild garlic butter with all that! And for ‘dessert’ we had a Strawberry Oreo Cheese & Cream Cake (in Germany we say Torte for this type of cake!). It was sooo delicious!!

Beef steak, hasselback potatoes, green beans and wild garlic butter recipe for mother's day by ginger, lemon and spice

And you know what?! You will get the recipe for ALL of that!! And it even will be printable!! As you can see I installed a new feature on my blog which makes it possible for you to print the recipe only – and not all of the other things I am saying nor the big pictures. How do you like that?! 🙂

Steak, Green Beans and Hasselback Potatoes on Mother's Day
 
Prep time
Cook time
Total time
 
Easy to prepare but soo yummy!! Perfect for any kind of holiday meal!
Author:
Recipe type: Meat Main Dish
Serves: 6
Ingredients
Wild Garlic Butter
  • 125g (1/2 cup) softened butter
  • 200g wild garlic
  • salt
Herby Hasselback Potatoes
  • 16-18 small potatoes
  • fresh herbs (I used rosemary and lemon thyme)
  • coarse sea salt
  • 5 tablespoons olive oil
Steaks
  • 6 beef steaks
  • olive oil
  • salt, pepper and a sprinkle of fresh thyme
Green Beans with Tomatoes
  • 750g frozen green beans
  • 4 big tomatoes
  • 55g (1/4 cup) butter
  • very herby salt (or normal herb salt with extra herbs)
Instructions
Wild Garlic Butter
  1. Chop wild garlic very finely. Mix with butter and salt to taste. Put on a piece of baking paper and form into a roll and put in the fridge to cool down. This is best prepared a day ahead.
Herby Hasselback Potatoes
  1. Preheat oven to 200°C (375° F). Brush and wash your potatoes thoroughly. Take a sharp knife and cut into the potato far but not through. It has to be attached a little! Make more of those incisions about 2-3 mm apart. To make sure not to cut through the potato you can hold your knife peak downwards like a landing airplane! Once you touch your cutting board with the peak just stop cutting.
  2. Chop your herbs very finely. Seperate the cuts of the potatoes a little bit with your fingers and sprinkle herbs in. Arrange all potatoes on a baking tray covered with baking paper and drizzle with olive oil. Sprinkle sea salt on top.
  3. Bake your potatoes in the middle rack for about 35-40 minutes. You have to have a look how crispy you want them!
Steaks
  1. About 2 hours before you want to cook them take the steaks out of the fridge and let them reach room temperature. Brush them with oil and sprinkle with salt and pepper. When your potatoes are ready turn the oven off and start cooking the meat.
  2. We used a griddle (electric grill with two griddle pans pressed together) to cook the steaks as I was occuping the pan with the beans. So preheat whatever you are using and once it is really hot put the steaks in. They only need like 3 minutes on each side! You want the insides to be rose. Put the steaks on a plate, sprinkle with just a little of finely chopped thyme and put them in the turned off oven (where your potatoes are - you are just using the left over heat) for a few minutes until you are finished with the beans.
Green Beans with Tomatoes
  1. Put green beans in a large pan on high heat and cover with a lid. Meanwhile chop your tomatoes in chunks. Once the beans are thawed remove the lid and continue heating the beans on high heat and stir. When the beans are warm and most of the water is evaporated add the tomatoes. At the time the tomatoes start to soften turn the heat off and add the seasoning and butter and stir until the butter is melted. You can add more salt or herbs if you feel the need to.
  2. Serve immediately and dig in!! 🙂

Beef steak, hasselback potatoes, green beans and wild garlic butter recipe for mother's day by ginger, lemon and spice

The recipe for the Strawberry Oreo Cheese & Cream Cake will be in the next post!

Beef steak, hasselback potatoes, green beans and wild garlic butter recipe for mother's day by ginger, lemon and spice

Have a nice week!

~ Kathrin