Hello everybody!!

I hope you are great, all of you? Well, I took some time off to have my second birthday party with my family and friends at home. Then I did a whole lot of nothing, resting my brain from all the work 😉 But now I am back again!! Ready to show you some more food and stories and finally being creative again! 🙂 Last night I had a great time with my godchild. She always wanted to do a sweet yeast bread with poppy seeds on her own, so we just made a date and did it!! It was very much fun and the two braided buns turned out beautifully, too!! Of course everyone had to make their own. I would love to show you a picture, but I was so very clever to bring only my camera and not my charger to my parents house and we already took too many pictures at the wild animal park we went as a family last sunday. Well, things happen 😉
With a little luck my godchild remembered to take a picture of hers when she got back to her house!! But I can’t promise. At least I can say it wasn’t very difficult at all, so maybe I will make it again soon with proper pictures! To round up the evening we had a lot of fun eating pasta with pesto, watching Harry Potter and the Order of the Phoenix in English and laughing about the silliest scens and of course – trying the first pieces of our sweet bread!! It tasted as good as it looked!
Today I have a recipe of a couscous salad for you. Well, it is not any couscous salad!! As I already told you, I live in a flat with two other girls – and this is what we eat a lot. And I really mean A LOT!!! We eat it on mondays or tuesdays, for lunch or for dinner, together or seperately – just all the time!! It is soooo very quick and definitly way too delicious to not been eaten at least twice a week!! I also take it to university if I don’t have time to eat at home which works perfectly too.
I don’t want to keep you in the loop any longer!! Here you go:
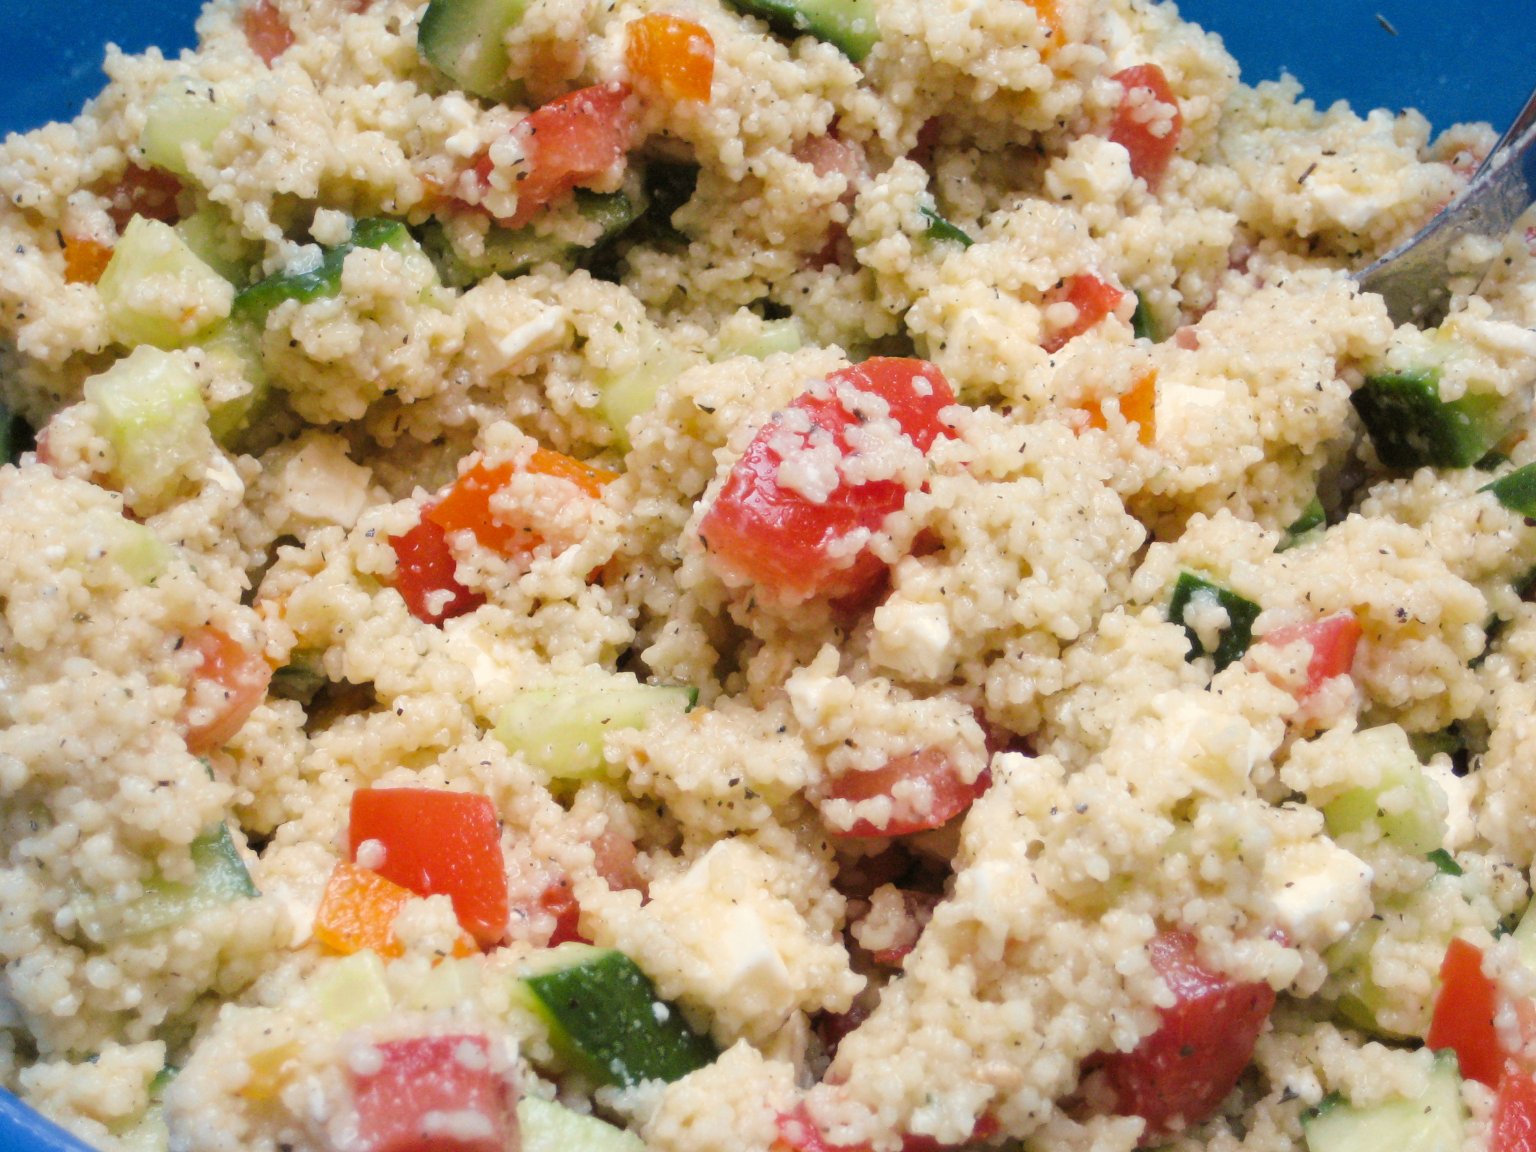
Simple Everyday Couscous Salad
Ingredients:
2 cups couscous (the easy cooking type)
4 cups boiling water
2 tea-bags (about 6-8g, or as much as you want) of mint tea – fresh might be better, but that’s all we have on hand in winter
2 teaspoons of granulated vegetable broth
1/2 cucumber (Salatgurke in German)
3-4 big tomatoes (or the equivalent in small ones)
200g feta cheese (in Germany that is one package)
about 8 tablespoons white balsamic vinegar
6 tablespoons olive oil
Salt, Pepper
optional: 1 bell pepper
directions:
1. Put couscous, mint, vegetable broth and hot water into your salad bowl. Stir a little bit with a fork, then let sit for 10 minutes.
2. Cut cucumber, tomatoes, feta cheese and bell pepper into squares.
3. If the water is soaked up by the couscous already, loosen up with a fork. If not, just wait a little bit more and then go on. Put the vegetables and feta into your bowl and continue loosing up the mixture.
4. Season with salt and pepper, be careful with the salt as the feta already is salty. Pour olive oil and balsamic vinegar over the salad and mix well. Have a taste! We never measure olive oil or vinegar, we just go on taste. So if you feel you need more of anything, just add it. I like a little tingling from the vinegar on my tounge 😉
5. Enjoy lukewarm or cold!! We usually eat this as a whole meal, but it would be great as a side dish or at a barbecue too!!